


A Budget Friendly DIY Rug Runner
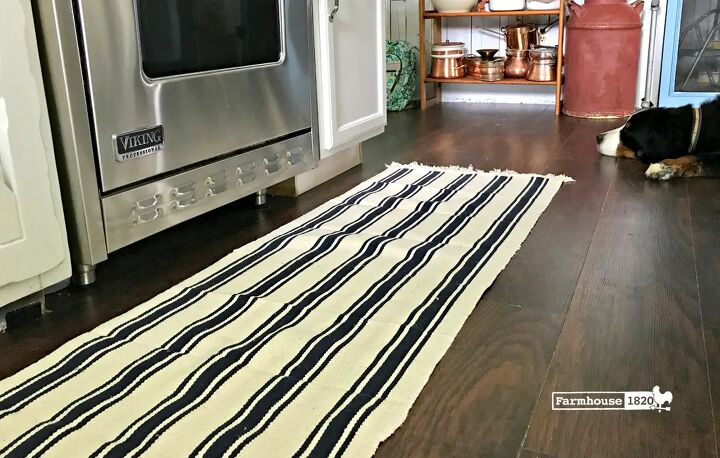
I love rugs as much as I love hardwood floors. It’s the best of both worlds, really, because they go together hand in hand. It’s almost like floor teamwork. Rugs warm up a room, absorb sound so rooms don’t echo, provide a little cushion under the feet, and they’re pretty. Although I don’t care much for big rugs in the kitchen, I do like to have a small one in front of the sink, and I also prefer to have rug runner in front of the stove. Since we installed a new floor in the kitchen, I’ve been on the quest for the perfect runner that was within budget (not much $$) and that complimented the farmhouse kitchen. Since I wasn’t finding exactly what I had in mind for a runner, I decided to make my own. Today, I’m going to share with you how to make a DIY budget friendly rug runner.
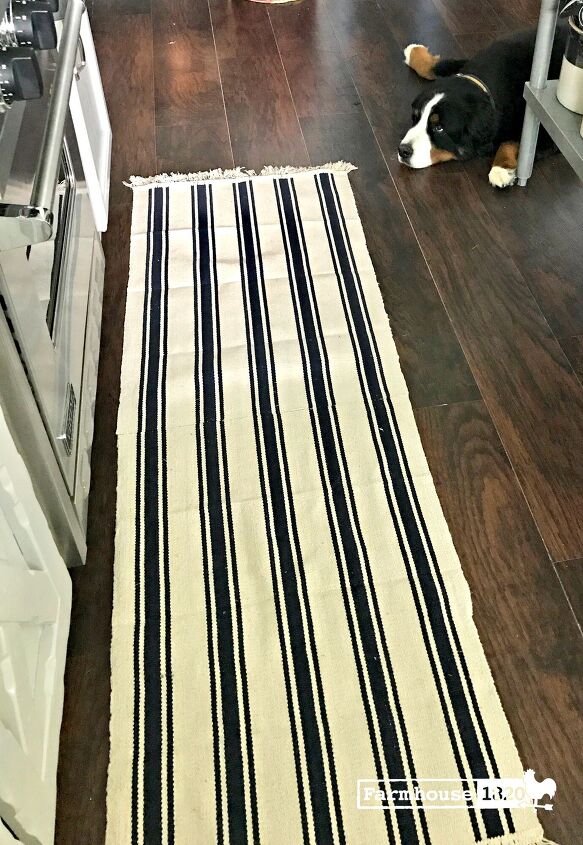
In my quest for a rug runner I did find some beauties, but they were either too elaborate for the space, or too pricey. I made my way to IKEA to have a look and I came across the perfect rug design for the sink area. I liked it so much, I wanted a runner in the same striped design and looked all over for one.
Nada.
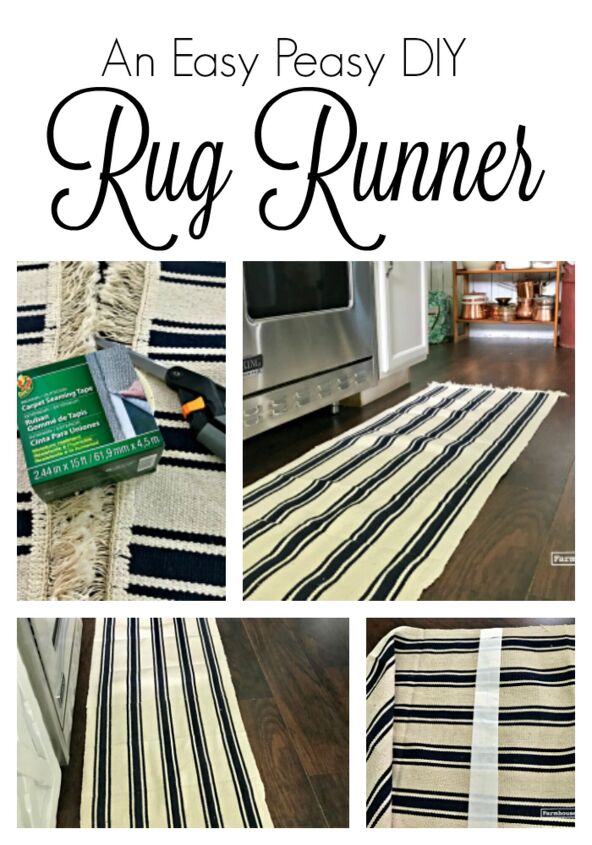
So, I decided to make one. How hard could it be, and for the low price of $3.99 per rug, I couldn’t go wrong. I bought three; one for the sink area, and two to make the runner. No need to sew the rugs together, all that’s needed is some rug seam tape. I bought this roll.
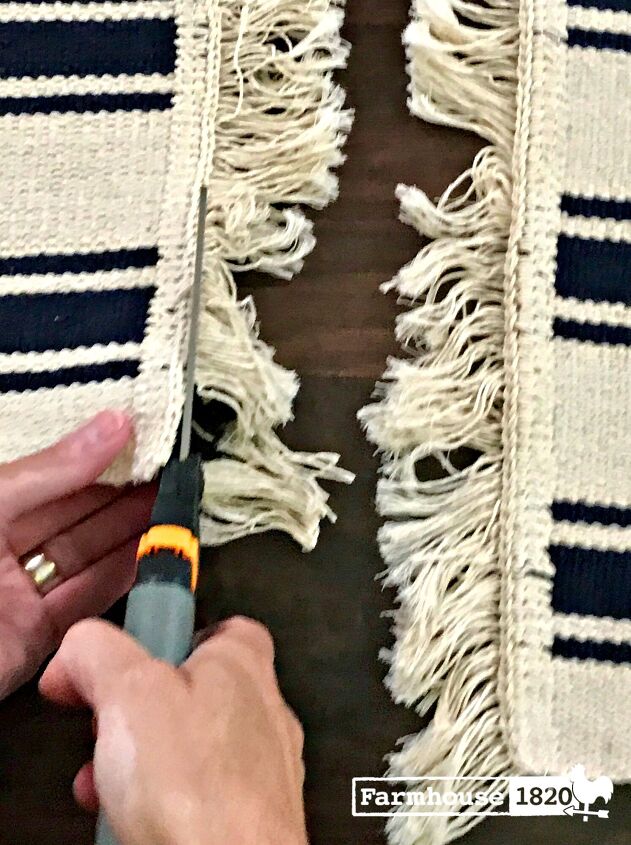
First, cut the fringe (if there is any) on the side of the rugs that will be joined together.
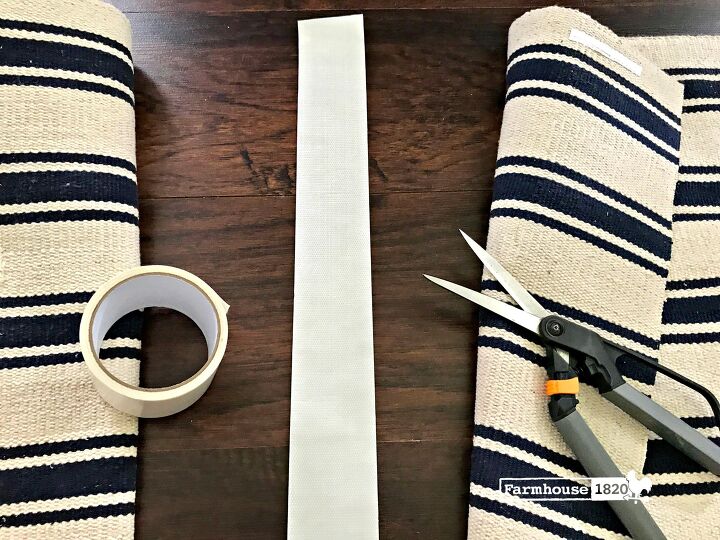
Cut a piece of seam tape the length of the rug edge to be joined. Carefully adhere one rug to tape, only going halfway down on the tape, leaving the other half for the second rug. Adhere the second rug, carefully lining up the stripes and/or pattern, and making sure that the rugs are completely lined up and no seam tape shows. Press down on the rugs down the seam for the seam tape to completely adhere. That’s it. Easy peasy.
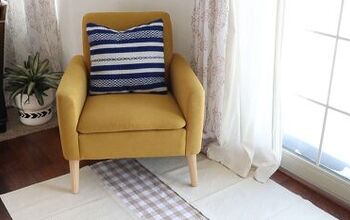
This project can be done to make larger rugs, too. Combine patterns and colors. Have at it! This is an easy and budget friendly way to make rugs and runners.
**this post contains an affiliate link**


Comments
Join the conversation
-
Too cute. I’ll be trying that. I never had a rug in front of my stove before. I like the idea.


Frequently asked questions
Have a question about this project?
Are they washer and dryer safe? Even if I put no slip tape on them?
Will the rug unravel where you cut off the fringe when washed due to the tape being removed prior to washing?
I don’t think I missed it, but I don’t see what you did with the white area where the fringe was attached. Did you also cut that off or fold it underneath?