


How to Do a Epoxy Chip Garage Floor in 7 Easy Steps

I'm excited to share a comprehensive step-by-step tutorial on how to apply an epoxy chip garage floor coating. This project not only enhances the aesthetics of your garage but also provides a durable and resilient surface.
Let's dive into the process of transforming your garage into a sleek and functional space.
Tools and materials:
- 2-part epoxy coating kit
- Garage floor cleaning solution
- Cement filler
- Colored chips
- Manufacturer-recommended paint roller and brush
- Plastic sheets or drop cloths
- Safety gear (gloves, safety glasses, and a mask)
- Pressure washer
- High-quality putty knife
- Long-handled roller
- Mixing container and stirring stick
Steps
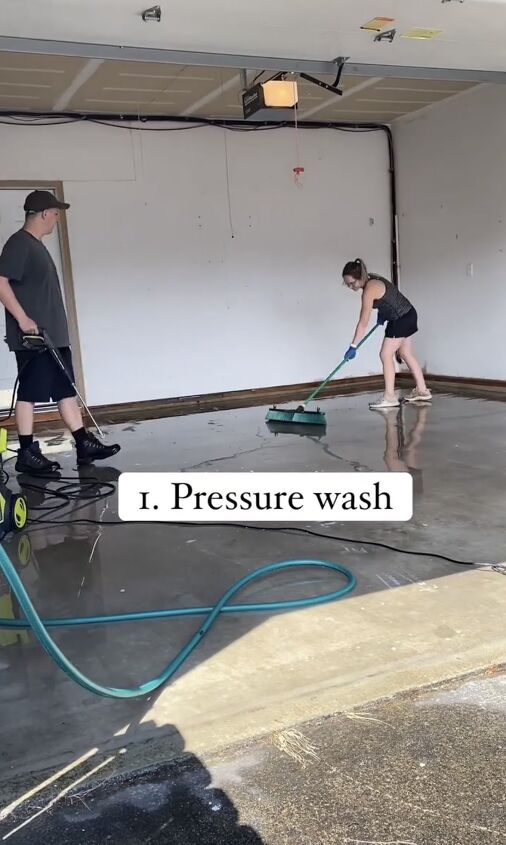
Step 1: Pressure Wash the Garage Floor
Start by cleaning your garage floor thoroughly using a pressure washer with a heavy-duty floor cleaning solution added. This will ensure the removal of all dirt and grease, providing a clean surface for the epoxy coating to adhere to.

Step 2: Scrub and Clean
Once the floor is dry, scrub it with the garage floor to work the cleaning solution into the surface, eliminating any remaining contaminants like dirt or grease.
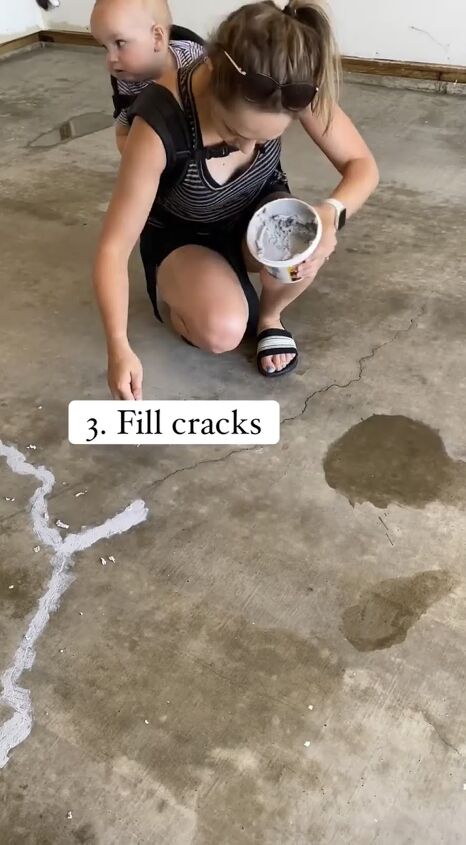
Step 3: Fill Cracks
Use a high-quality putty knife to fill cracks in the floor with cement filler, ensuring a smooth and level surface.
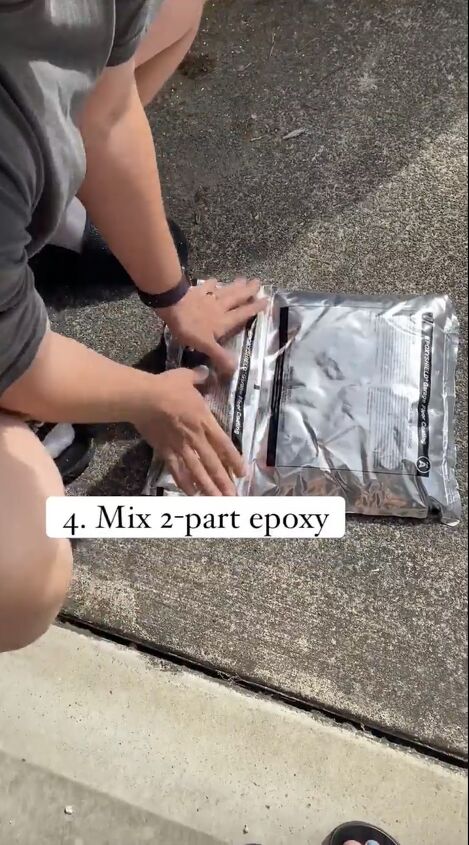
Step 4: Mix the 2-Part Epoxy
Follow the manufacturer's instructions to mix the 2-part epoxy. Use a mixing container and stirring stick for an accurate and thorough blend. Make sure to wear your safety gear during this process.
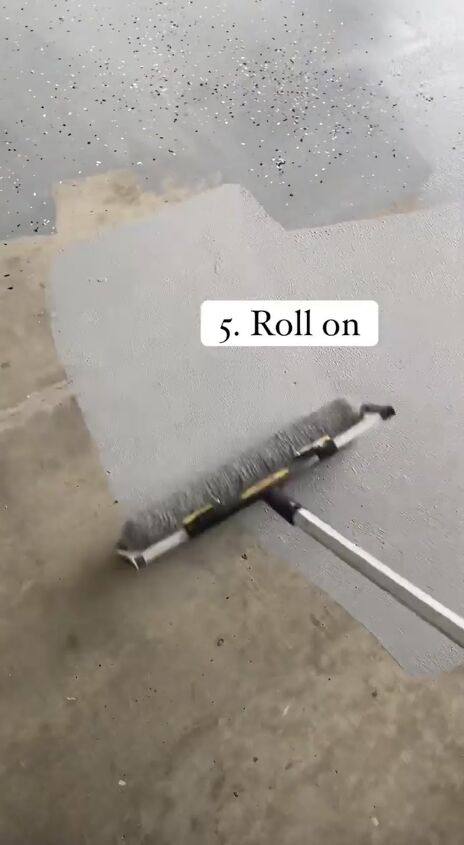
Step 5: Apply the Epoxy
With the mixed epoxy ready, it's time to apply it to the garage floor. Use a long-handled roller for an even and efficient application. Start from one corner and work your way towards the exit to avoid trapping yourself in the coated area.
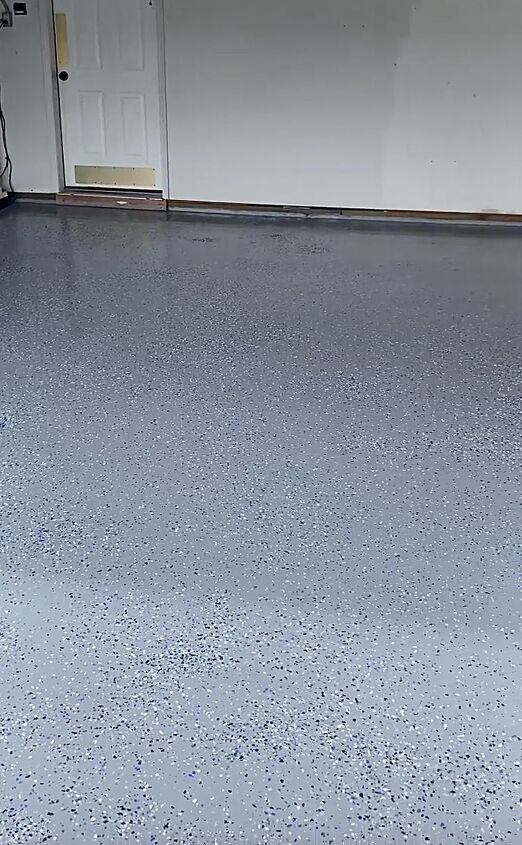
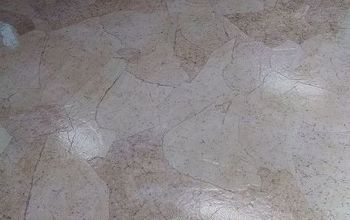
Step 6: Add Chips
While the epoxy is still wet, enhance the visual appeal by adding chips. Simply throw them onto the surface a handful at a time until all plain areas are covered. Feel free to experiment with the amount of chips for a customized look – more chips result in a richer-looking finish.
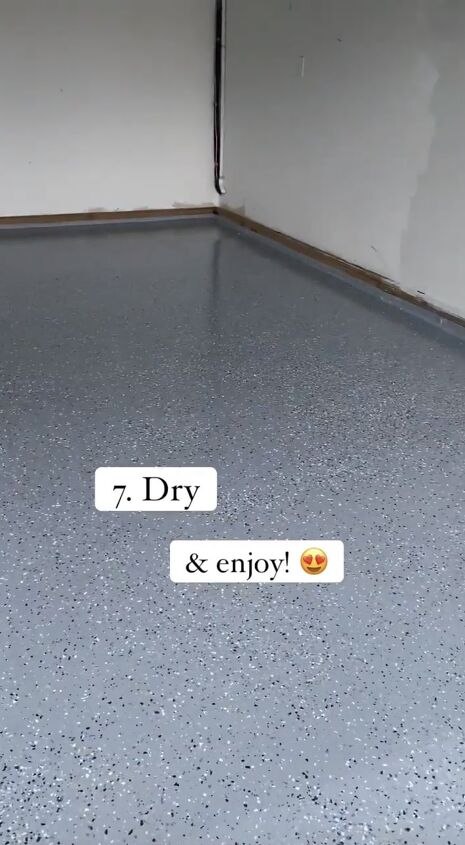
Step 7: Let It Dry
Allow the epoxy chip coating to dry according to the manufacturer's suggested drying time. This step is crucial for achieving a durable and long-lasting finish. Place plastic sheets or drop cloths around the perimeter to protect the surroundings.
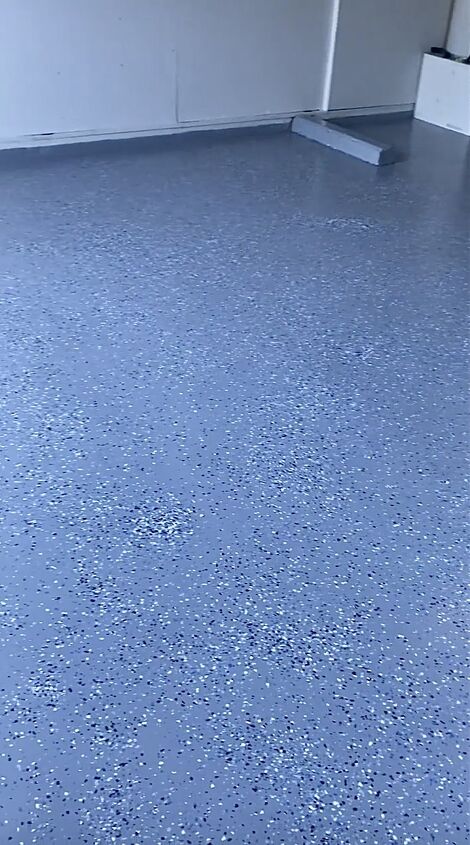
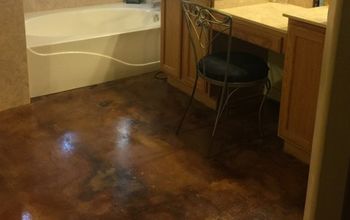
Epoxy chip garage floor
You've successfully transformed your garage with an epoxy chip garage floor coating. Not only does it look stunning, but it also provides a resilient surface that can withstand the demands of a busy garage.
Enjoy your newly upgraded space, and feel free to share your DIY success in the comments below.
Follow @gatheratthebooths for more DIY ideas.


Frequently asked questions
Have a question about this project?