


Office Nook Makeover
I have a little space off of my kitchen that serves the purpose of a small pantry and a little office nook with a desk. Even though I loved how I decorated it years ago, it just wasn't as functional as it could have been and honestly, it had just become a cluttered catch all space. I was able to give this area a whole new look plus a ton of added functionality!
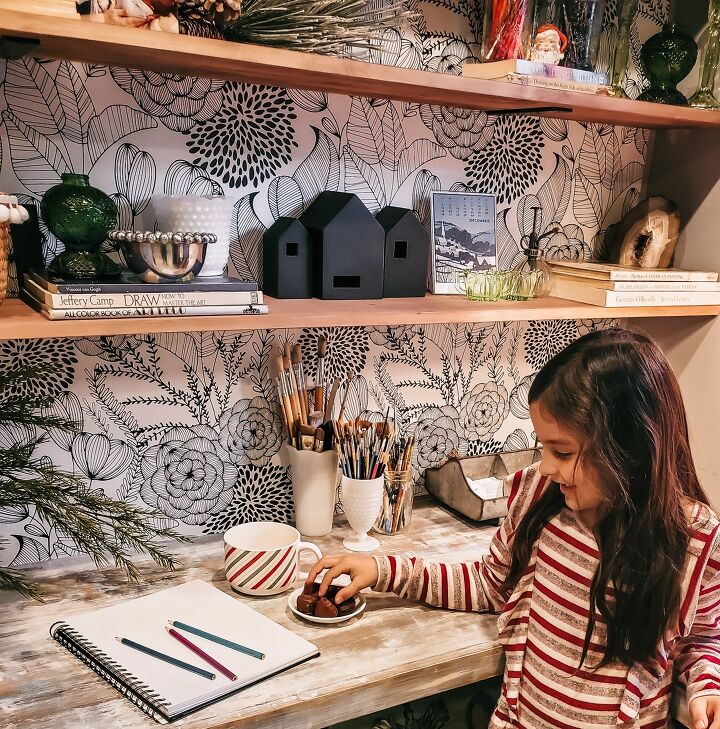
I couldn't be happier with how this cute little nook turned out! (My daughter insisted on helping with staging and photography 😊)
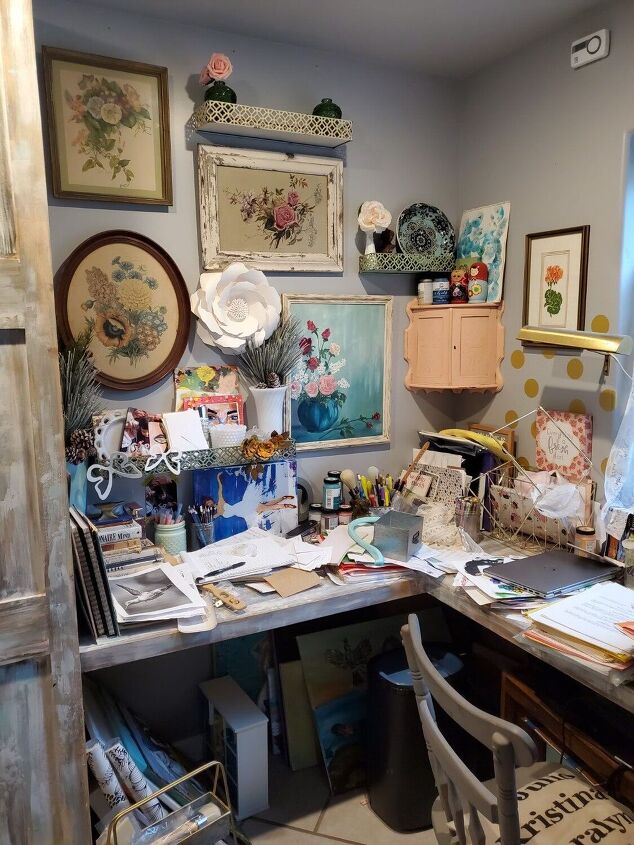
Here is where I started out... I was so close to cleaning up and organizing this space before taking a before picture but decided to just put it all out there! 😂😂 (Don't judge me, please.)
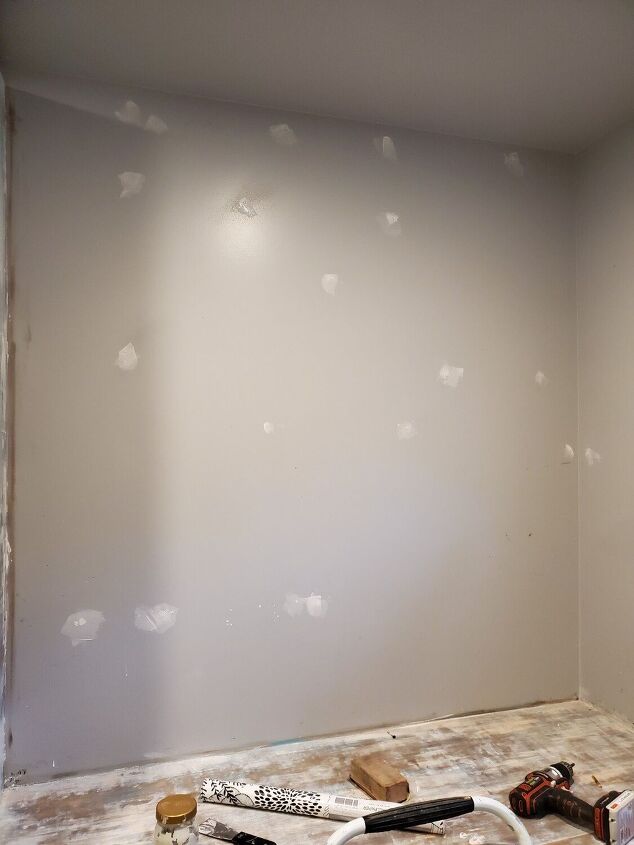
First, I cleared everything out and removed all shelving and artwork from the walls. I filled and sanded all of the holes so I had a nice clean slate to work with. I went through so many designs and paint colors in my head for this nook but finally decided on peel and stick wallpaper.
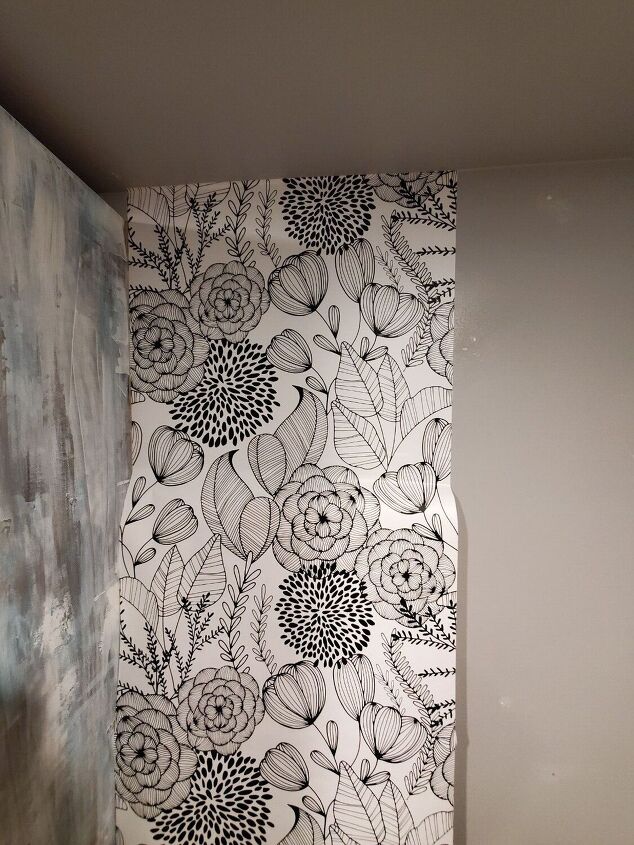
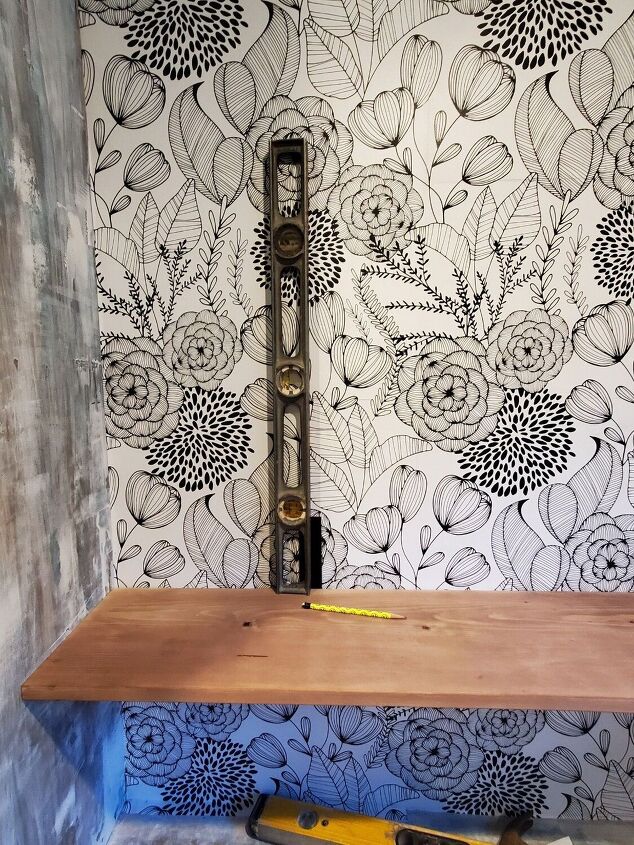
I started on the side closest to my pantry cabinet. This space isn't perfect square or plumb so I decided to kind of split the difference and leave a small gap at the top. I might add some trim to the cabinet in the future so this little gap won't be very noticeable. This was my first time using peel and stick and I can honestly say that I find that a good quality traditional pre-pasted wallpaper is easier to work with for me personally. It was difficult for me to apply it smoothly and not have many wrinkles or bubbles that I had to correct. It did get a little easier to work with as I went along though so I guess practice makes perfect.
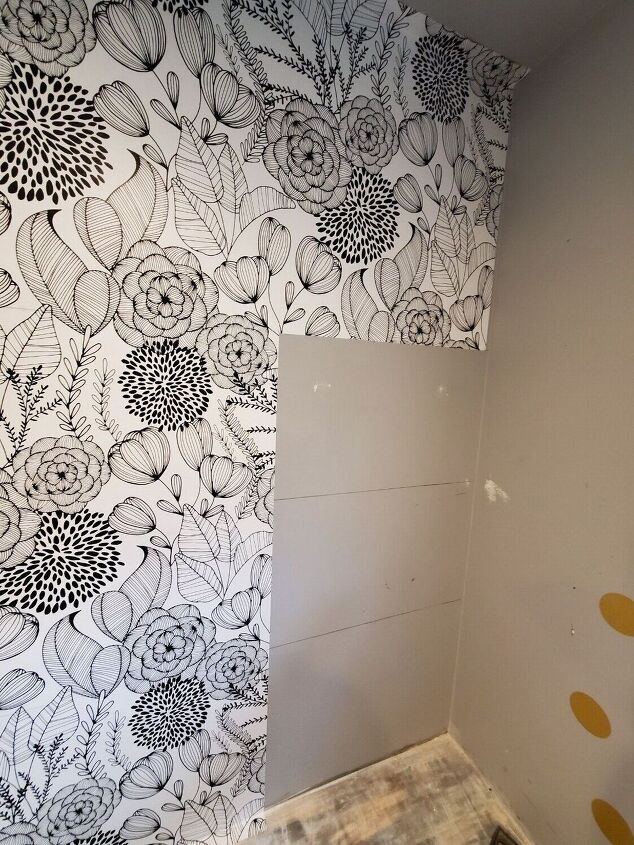
For the second and third strips of wallpaper I decided to cut them at the spots that I was installing shelves. This gave me smaller pieces to work with and the seems would be covered by shelving. I was just extra careful at marking out exactly where my shelves would go and measuring and cutting accordingly. This also helped with lining up the pattern better because, at least in this particular batch of wallpaper, the pattern was off just a bit when I went to line up the strips.
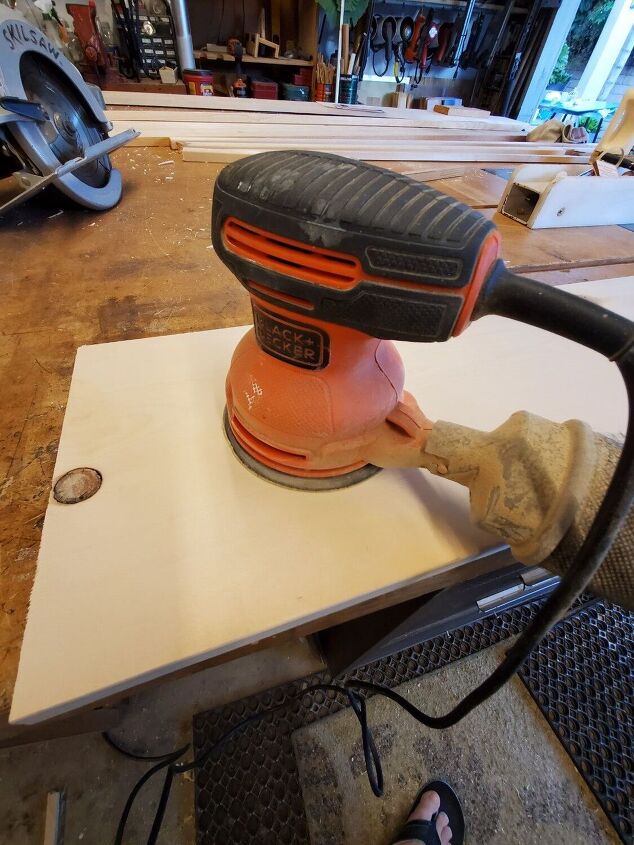
After I was done with the wallpaper I got my shelves cut and sanded. I had some pine boards that were the exact depth I wanted so I just had to cut them to length. For these shelves I used #2 pine boards.
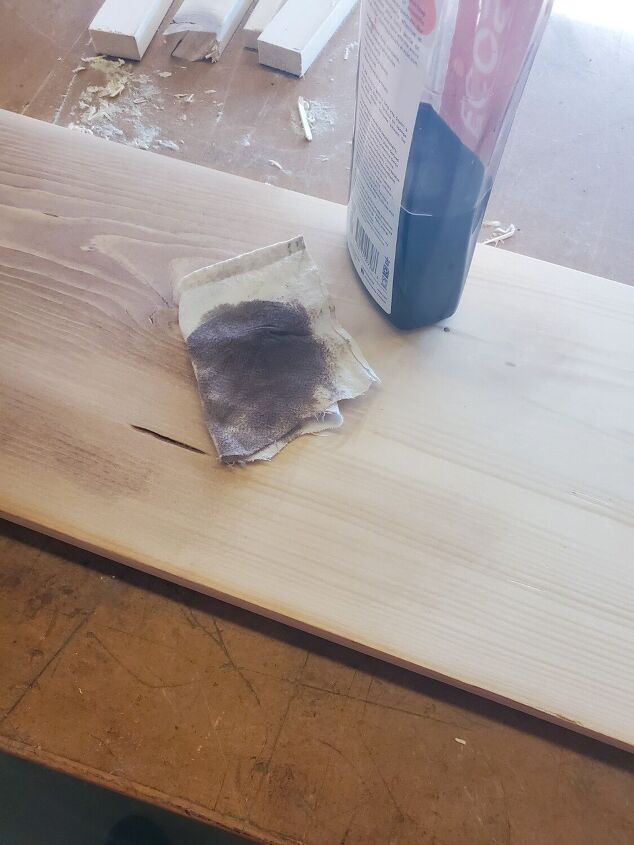
I used the same stain that I had mixed up for the wooden mantle I made a few weeks before. I loved the color so much and I liked the fact that the wood tones would be cohesive. I used a product called Trans Tint Dye in Coffee Brown. You can mix this dye with water or denatured alcohol. I chose to use the alcohol since it has a very quick dry time.
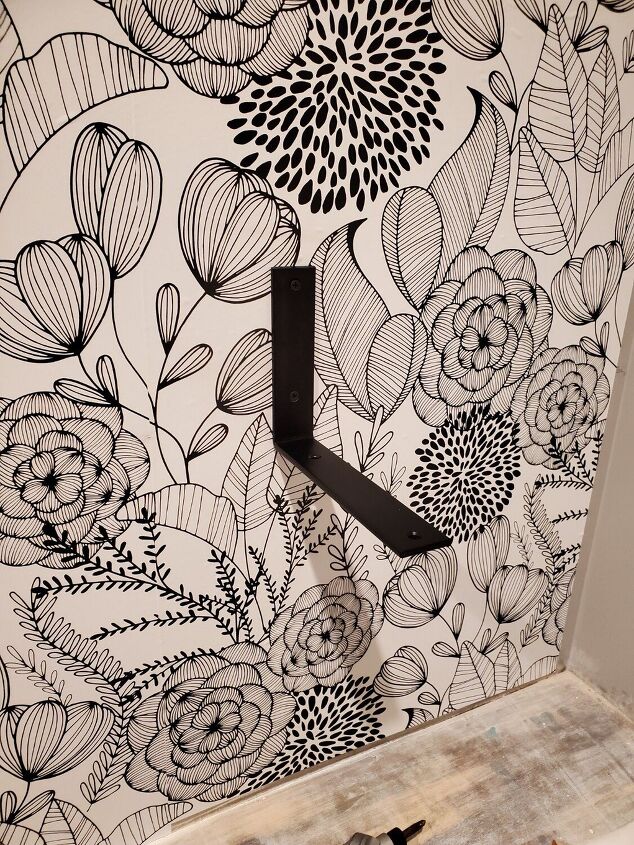
I used a stud finder to mark my studs and then installed these black metal brackets. I love these because you can use them two different ways. I chose to place them so the support against the wall would be above the shelf instead of underneath. This way, I can place items on the shelves to hide the brackets and they will appear to be floating.
After my first shelf was installed I used a level to mark the stud where my other brackets would go. This allowed me to line everything up easily. (I still used the stud finder just to double check.)
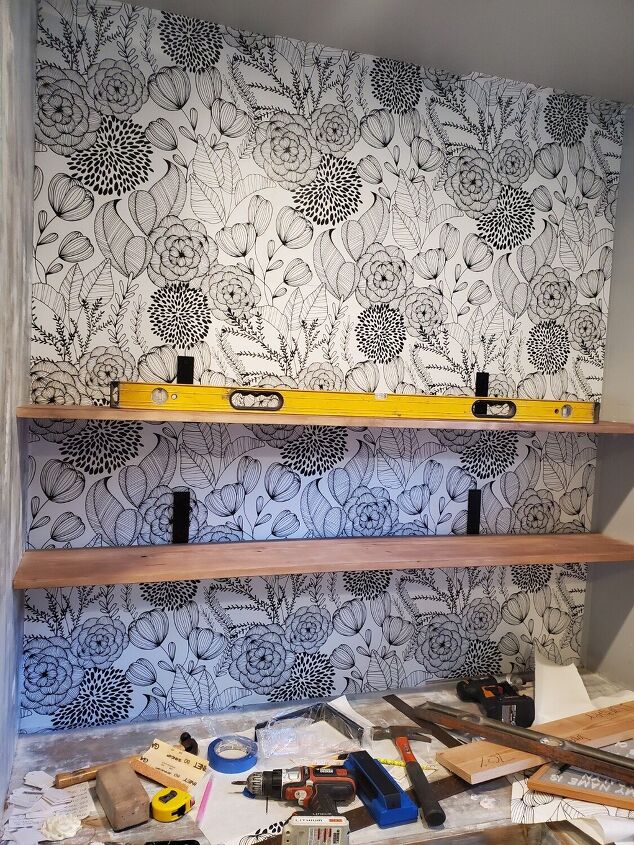
Almost done! I also ensured each shelf was nice and level as I installed them.
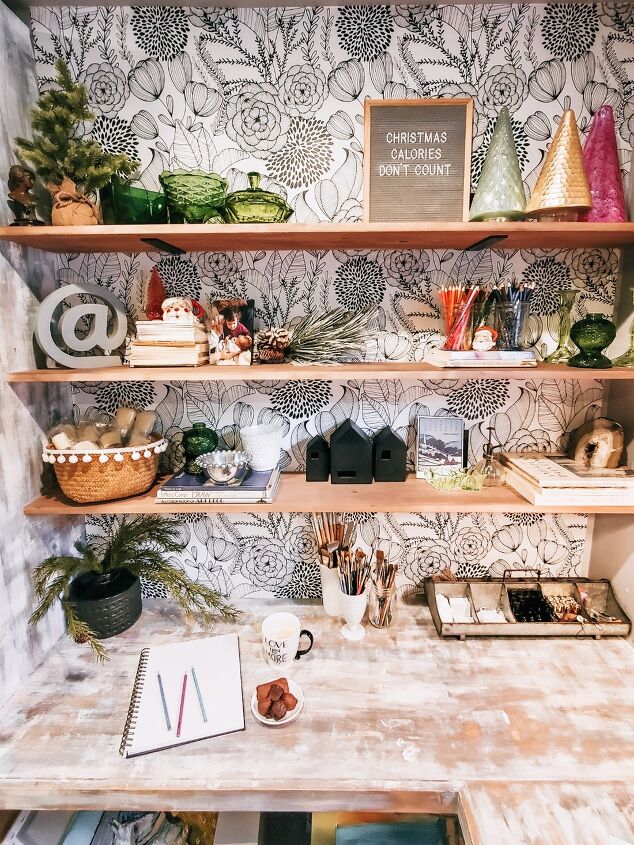
I'm so happy with this fairly quick, inexpensive, and easy makeover! I should also mention, I was left with a small amount of space after I put up the third strip of wallpaper. At the bottom there is about an inch and at the top it meets the wall almost perfectly. So, instead of opening up a second pack of wallpaper and trying to get an angled strip to fit in perfectly, I am going to install some pieces of quarter round trim once I decide on a paint color for the other wall.

I hope you enjoyed this makeover and thanks for following along!! Phase 2 of this project will be painting the cabinet, desk, and wall. Getting things up on this pretty shelving gave me a lot more open desk space and I'm committed to keeping it *fairly* tidy and organized moving forward!
Resources for this project:
See all materials


Comments
Join the conversation
-
I like it too, but I really liked the 'before', it looked like my workspace. Loved the framed florals too. Nice space for computer work though. Thanks for sharing with all of us. Great job!
-
Change is a Good Thing!


Frequently asked questions
Have a question about this project?
Nice job! But what did you do with the very pretty framed florals that were on the wall? I thought they were beautiful!
Hi Kris...
I LOVE the wall paper!!
Can you tell me what Brand + Pattern it is and where you got it from, please..? It's very interesting and looks great as-is in Black + White but...it kind of makes me want to get out some pretty markers and 'doodle' around on it. : )
Love it! The wall paper is beautiful.