


How To Reupholster A Chair Like A Pro In 7 Steps
Do you have a chair or two that looks a little worse for wear? Maybe the fabric is frayed? Here’s how to reupholster a chair like a pro!
If you’re out shopping flea markets and estate sales and find a chair that is need of a serious face lift, don’t be intimidated. I have all of the tips and tricks how to reupholster a chair easily.
If there’s two things in the home that I am moderately obsessed with, and seem to now be “collecting,” are lamps and chairs. I have a weak spot for both, and though I’ve managed to just stop short of our home looking like a light fixture store, I may or may not have one too many chairs around here. I have tearfully sold some on Marketplace to make room for the new, but dang, I do love me a chair!
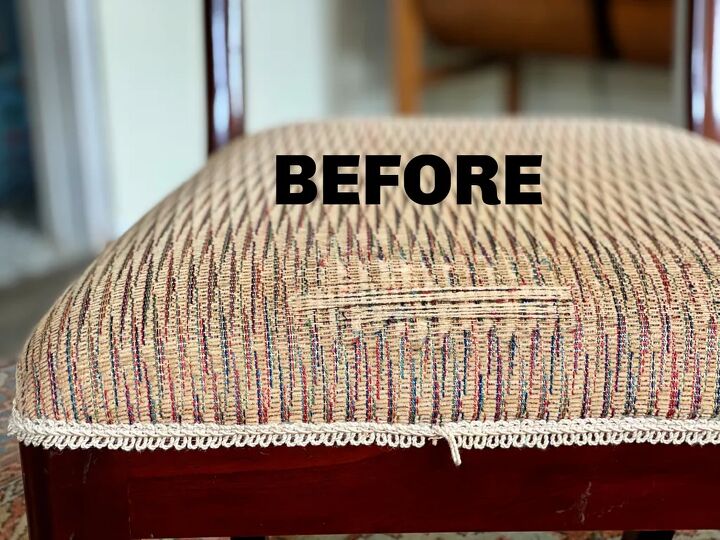
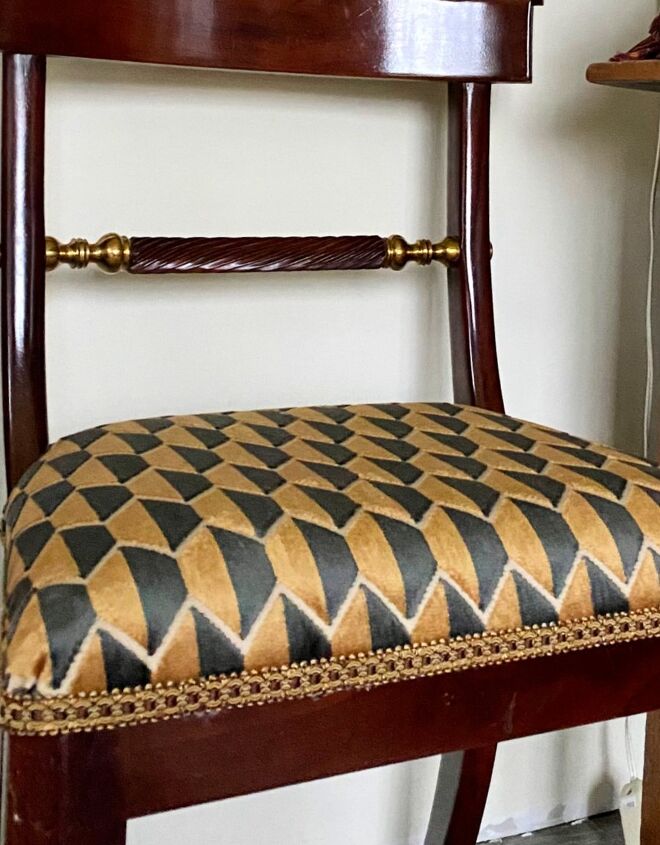
So, knowing this, it seems only fitting that I found a pair of chairs at a consignment shop in North Carolina, and had to bring them home with me. I fell in love with the wood and brass combination, and just the silhouette of them. It didn’t matter one bit that the fabric was old, worn and frayed because I knew I could reupholster them to look like new. Honestly, my only battle was how I was going to tell and convince Sean that they needed to come home with us. Because of my chair obsession, I’ve ended up recovering many, and I’ve learned so many valuable tips with each project, that I can now share these tips with you.
How To Reupholster A Chair Like A Pro In 7 Steps
To reupholster a chair cushion isn’t as daunting as it seems. There are two tools that professional reupholsters use and require: a power staple gun and a hot glue gun. Both are crucial when reupholstering a chair cushion yourself.
Before I dive into the how-to’s, I want to explain quickly the importance of a power staple gun over just a regular one. When doing reupholstery projects or even installing a stair rug runner, the power gun will install the staples more securely than a regular one, on those hard wooden surfaces. The power gun also works so much better and easier in those weird angle situations that you’ll come across on a chair frame. It’s worth the cost, and you’ll aways have it. Plus, you’ll be surprised just how much you will use it on future projects.
Here are the tools you will need for this project:
- needle nose pliers
- standard screw driver
- power staple gun
- T50 1/2-inch staples
- hot glue gun
- hot glue sticks
- sharp fabric scissors
- fabric of your choice (most chair cushions require one yard of fabric)
- trim of your choice (Measure the entire circumference of the chair cushion, then add an addition foot, just to be safe)
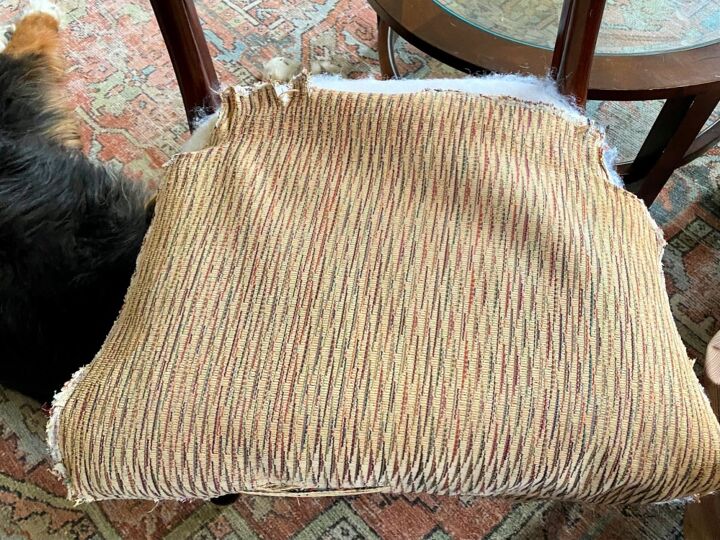
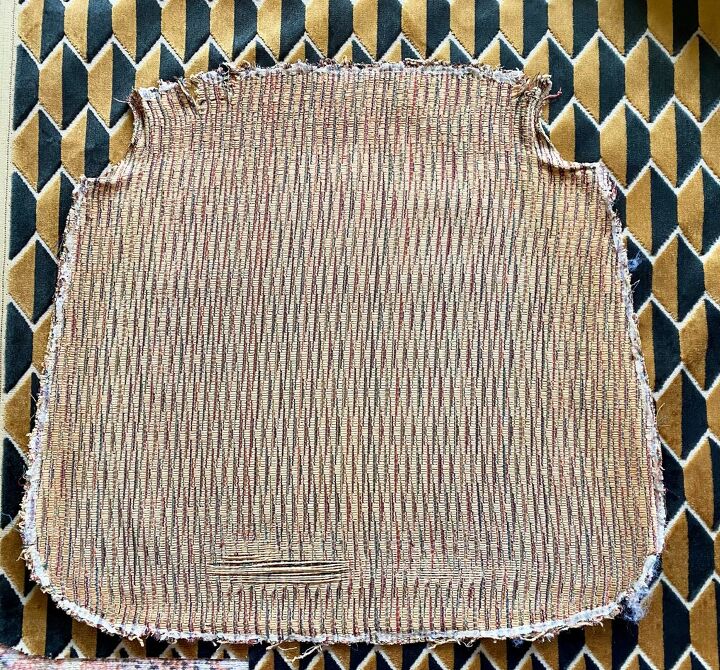
The first important tip I have for you, is to do everything in your power to keep the original fabric in one piece. You will need it to use as a pattern for the new fabric.

Step 1: Using the needle nose pliers, pull off the trim from around the cushion.
Step 2: Carefully loosen and pry off the staples using the standard screw driver. Use the pliers to remove the staple all the way. There will be several, so patience is key.
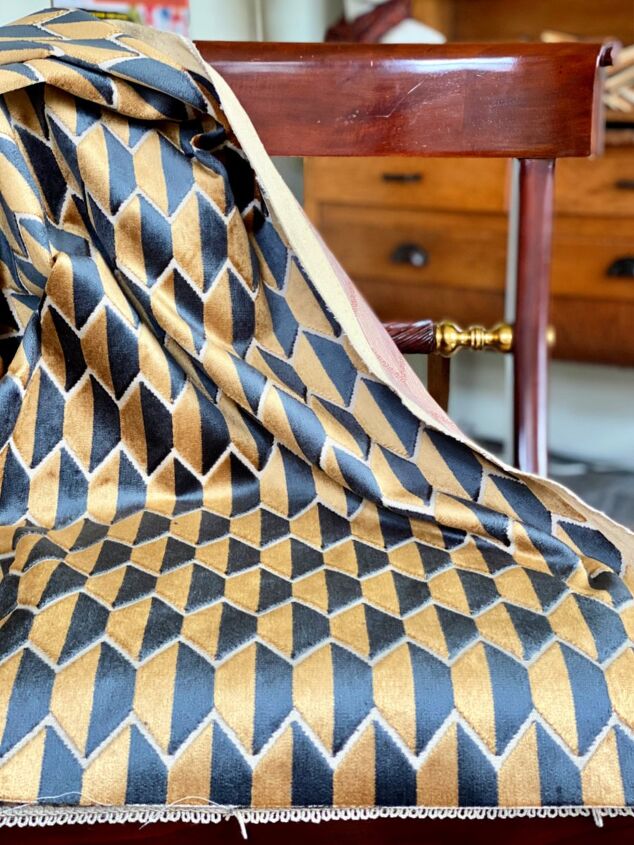
Step 3: Once all of the staples have been removed, take the old fabric and place it on top of the new fabric. Pin old fabric to the new, and cut around the edges, giving yourself a one inch seam allowance.
Step 4: Place the new fabric on top of the cushion, centering up the fabric to the center of the chair.
Second important tip: to achieve a professional upholstered look, you must pull fabric tightly, keeping the chair cushion smooth.
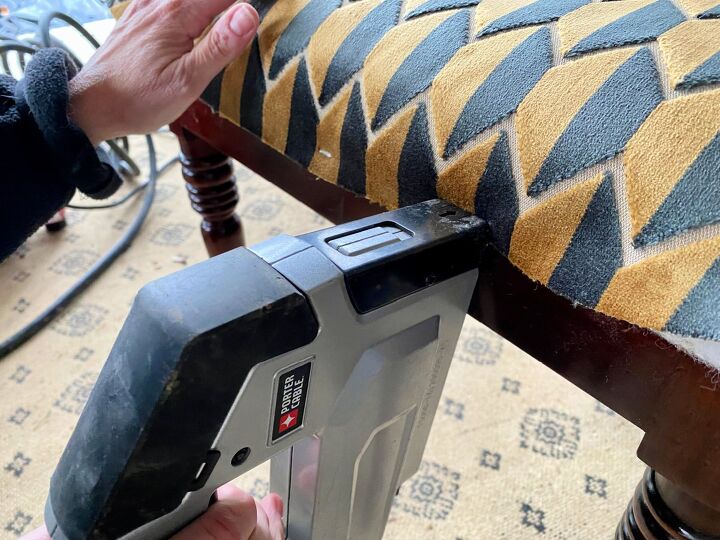
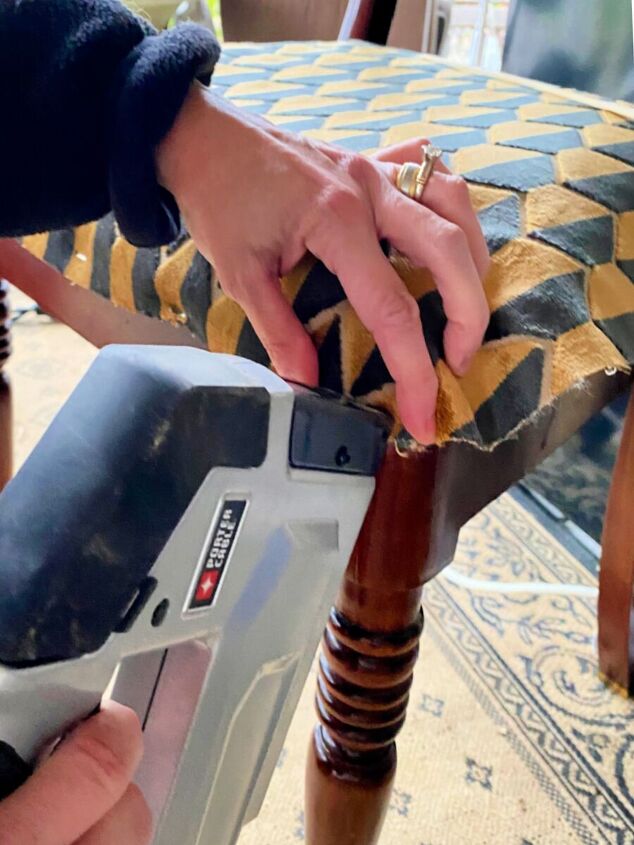
Step 5: Take the staple gun and secure one staple in the front center. Pulling tightly, shoot another staple in the back center. Move to the right side, and then the left. From here, keep stapling the front, continuing around the corner and to the sides. Finish by stapling the back, continuing to pull tightly with each staple.
Step 6: Use the scissors and cut jagged edges
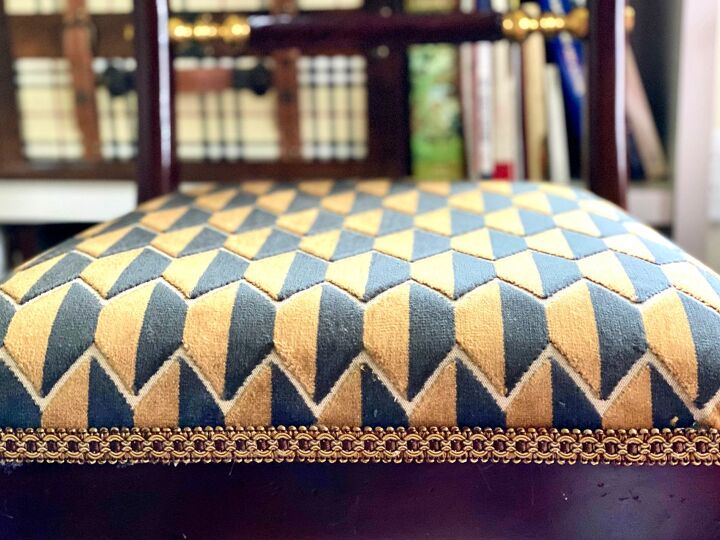
Step 7: Preheat glue gun. Starting on the side closest to the back of the chair, and move to the front and around to the other side, hot glue the trim, covering the edge of the fabric. Hot glue trim to the back of the chair, following same guideline. Trim any loose threads, if any, and you’re good to go.
For me, there’s something so satisfying reupholstering a chair myself. No need to shell out a mortgage payment to hire a pro. When you follow my tips, your chairs will look just as professional, if not better.
Give it a shot!
This post contains affiliate links.


Frequently asked questions
Have a question about this project?
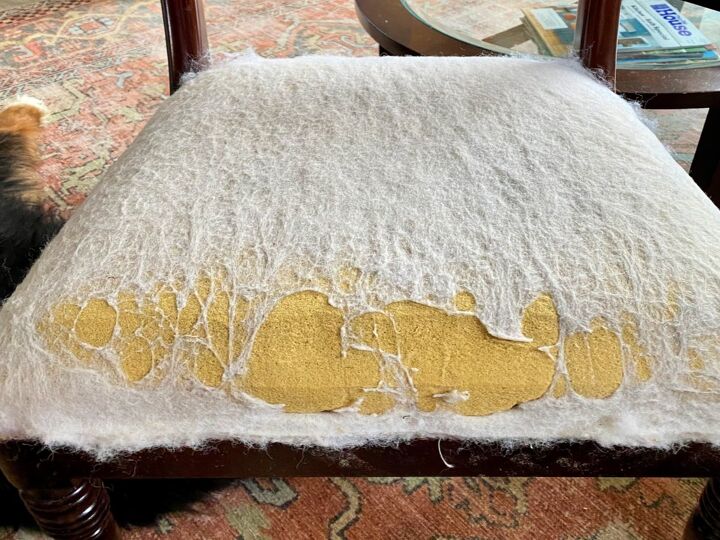
Really great job !! The chairs look gorgeous !! I wanted to know what do I do if I have to replace the actual padding too ? ( I have a few chairs I would like to recover but the padding ( I'm not sure what you really call it ) needs replacing too as the chair sinks when you sit on it . Thanks so much 😊