


Ceiling Fan Makeover: How to Save Big on Home Decor

Do you have some tired-looking ceiling fans in your house that could use a fresh makeover? I totally get it! Going to the store to buy new ones can be pricey and overwhelming with all the options available. But don’t worry, I've got a fantastic and budget-friendly solution for you.
We'll revamp those fans and give them a whole new look that will leave you feeling accomplished and your space looking fabulous. So, let's roll up our sleeves and get ready to give those ceiling fans a stylish transformation!
This post was transcribed by a member of the Hometalk editorial team from the original HometalkTV episode.
Tools and Materials:
- Phillips screwdriver
- Cleaning cloth
- Paintbrushes (various sizes for painting and splatter technique)
- White spray paint
- Gray spray paint
- Brown spray paint
- Masking tape
- Drop cloth
- Water-based paint
- Sandpaper (optional, for prepping the fan blades)
- Paint primer (optional, for better paint adhesion)

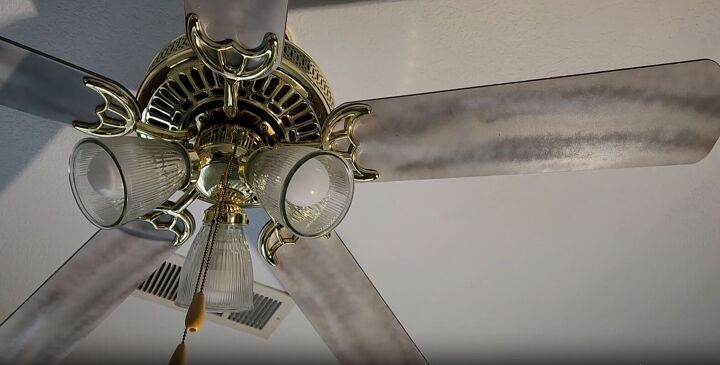
1. Removing the Fan Blades
First things first, let's start by taking down those fan blades. It's a simple process; you'll need a Phillips screwdriver to remove the two screws holding up each blade. With a gentle twist of the wrist, the fan blades will come down in no time.
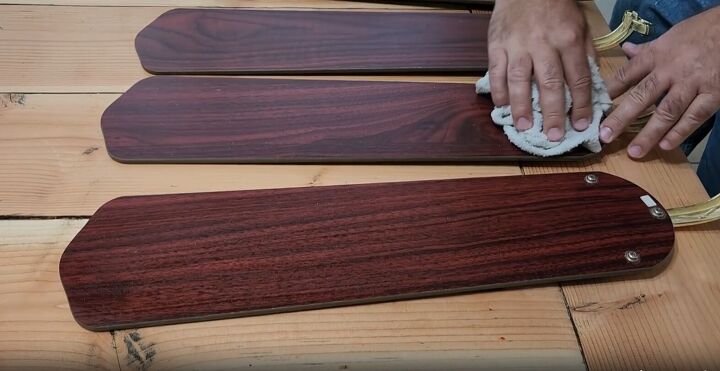
2. Cleaning the Blades
Now that we have the fan blades off, we can give them a good cleaning. Over time, these blades tend to collect dust and grime. This is our chance to make them shine like new again!

3. Removing the Brackets
Next up, let's remove the brackets that hold the fan blades in place. It's usually just three screws holding them on. Remember to save those screws as we'll need them later.
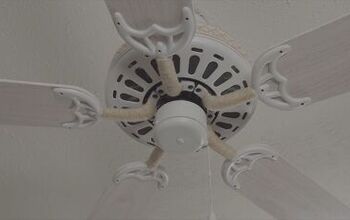
Once the brackets are off, you'll have a clean canvas ready for a makeover!
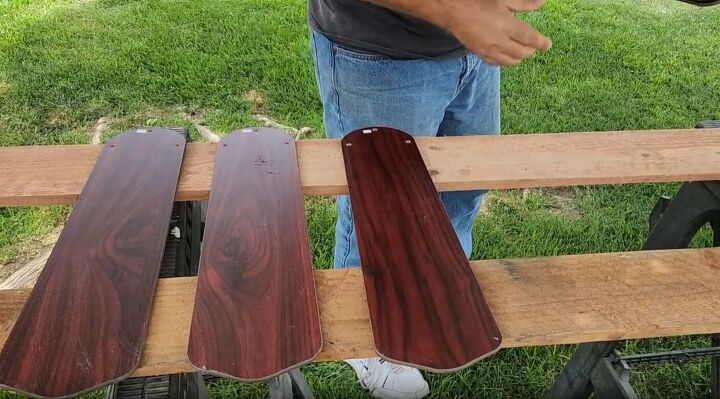
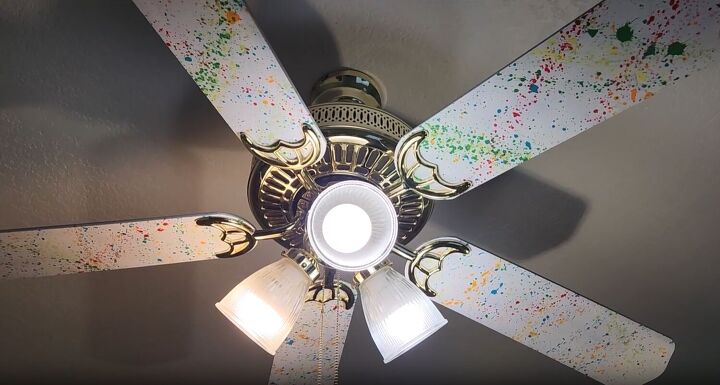
4. Choosing the Design
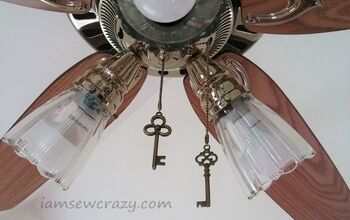
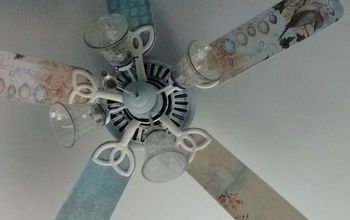
Now comes the fun part - selecting the design for your fan blades. I had two sets of fan blades, one for my office and the other for my son's bedroom. I decided to paint mine with a faux wood look and create a colorful splatter effect on the blades for my son's room.
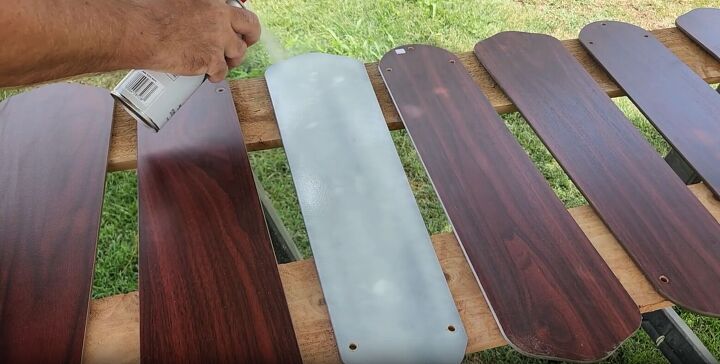
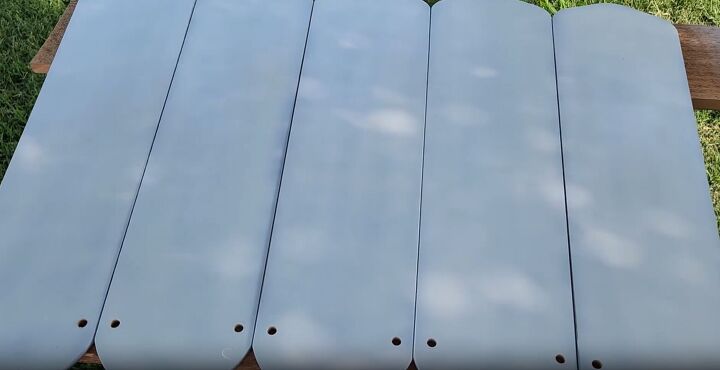
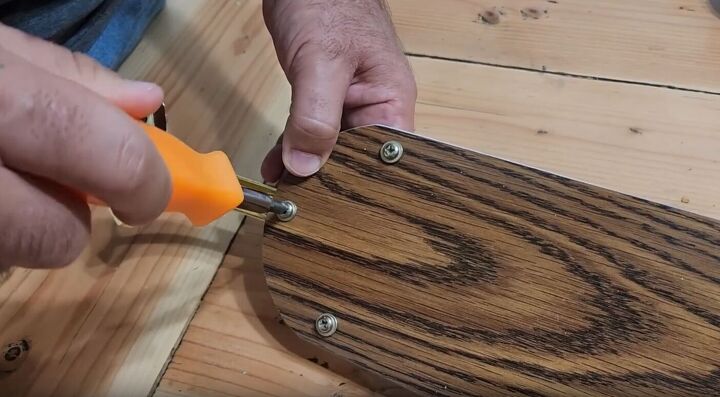
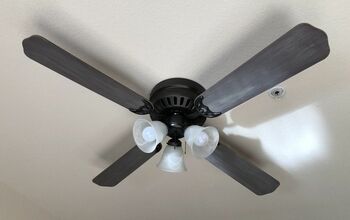
5. Creating the Faux Wood Look
For this project, we'll need some white spray paint. Don't worry about splurging; the affordable white spray paint works just fine for this. Let's start with one coat of white on all the blades for a base.

To achieve that natural wood appearance, we'll add some gray and brown to the mix.
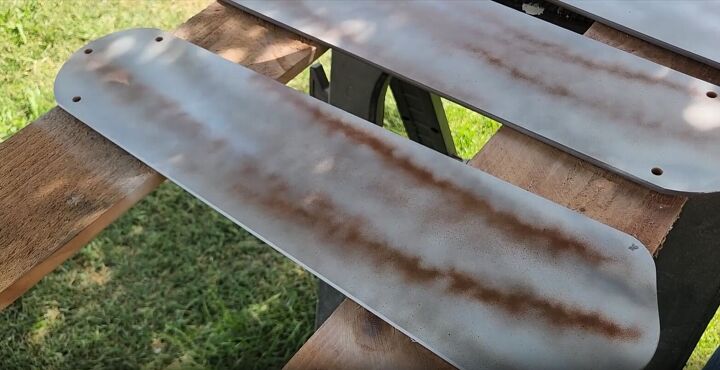
Simply alternate between white, gray, and brown, layering the colors to create that authentic wood grain effect.
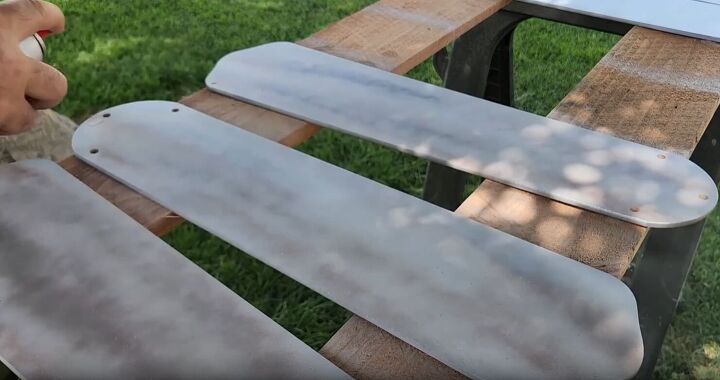
It may look a bit uneven at first, but trust me, it'll turn out amazing!
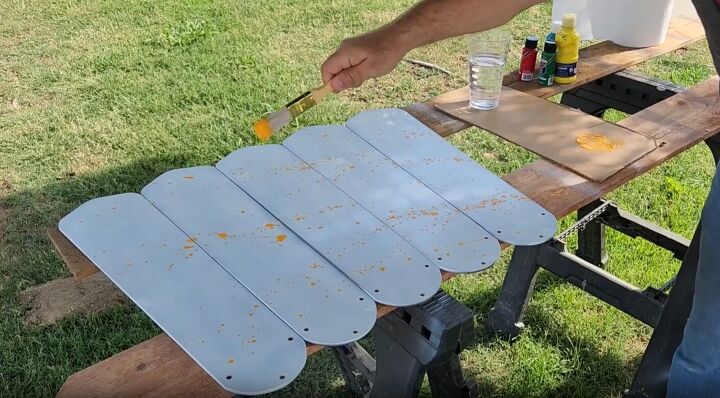
6. Creating the Paint Splatter Effect
Begin the splatter effect by spray painting the blades with a few coats of white.
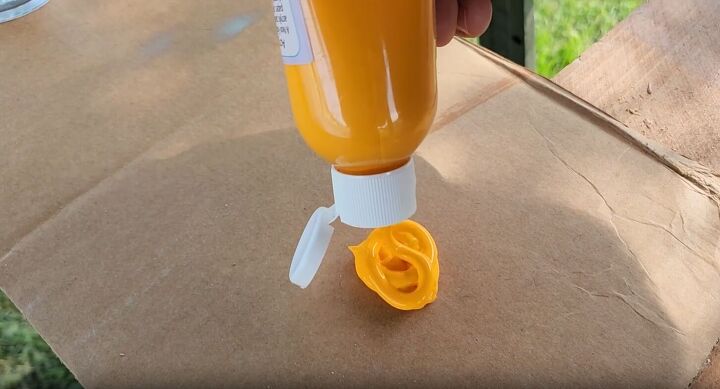
Squeeze out the paint color you want to start with.
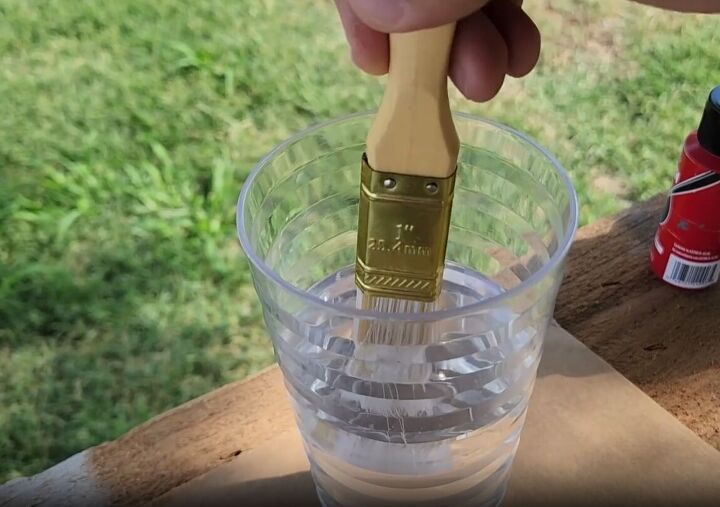
Dip your brush in water.
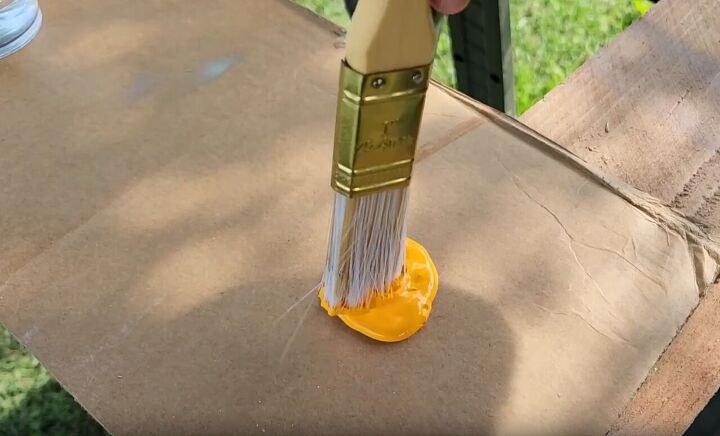
Mix your wet paintbrush with the yellow paint.
Now, dab the paintbrush in the color, and splatter away!
Remember to clean off your paintbrush between colors.
It is also important to splatter each color at a different angle.

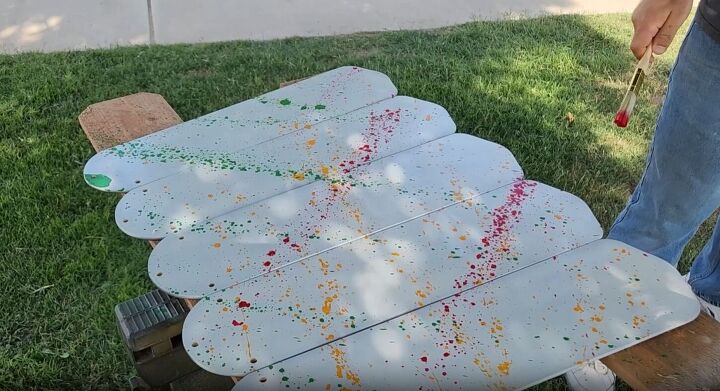
Let your creativity run wild, and you'll end up with a fantastic and unique design.
Now, allow your blades to completely dry
7. Reassembling the Fan Blades
The final step is to put the brackets back on. Remember to place the painted side down to display your masterpiece to its fullest. Reattach those brackets with the saved screws, and voilà, your newly revamped fan blades are ready to shine!
Ready to tackle another ceiling fan project?
Ceiling Fan Makeover Tutorial
And there you have it! Your ceiling fan makeover journey is complete, and I bet your fans look incredible. I know mine do! Not only did this project save us from splurging on new fans, but it also added a touch of personalization to our rooms.
Now it's your turn to give it a try! Get creative, have fun, and share your results in the comments below. I'd love to see how your ceiling fan makeover turns out.
Comments
Join the conversation
-
I would only put this fan with the paint done like this in a young child’s room
-
Yes I painted the motor I took the fan down and took the cover off the motor and painted it. But I did another without taking it apart I was careful not to get paint inside but it was harder to do


Frequently asked questions
Have a question about this project?