


How to Make a DIY Faux Roman Clay Fireplace Using Joint Compound

In this step-by-step tutorial, I'll guide you through the process of creating your own DIY faux Roman fireplace. This captivating accent piece will add a touch of elegance and warmth to your space without the need for a real fireplace.
By following these simple instructions, you'll be able to achieve a beautifully textured and realistic faux fireplace that will become a focal point in any room. So, let's get started!
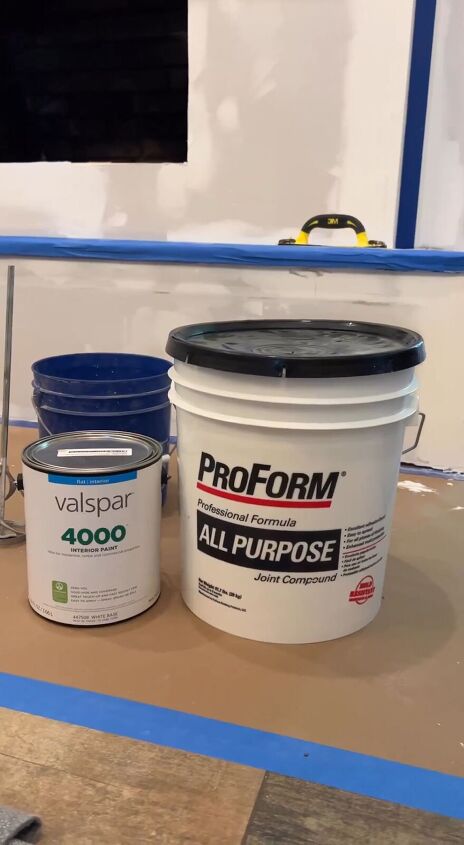
Tools and materials
- Joint compound (approximately 1/3 of a 5-gallon bucket)
- Water (about a cup)
- Paint (desired color)
- Paint mixing container
- Paint mixing stick
- Spackle knife
- Drop cloth or old sheets
- Painter's tape
- Sandpaper (medium-grit)
- Impregnator sealer
Steps
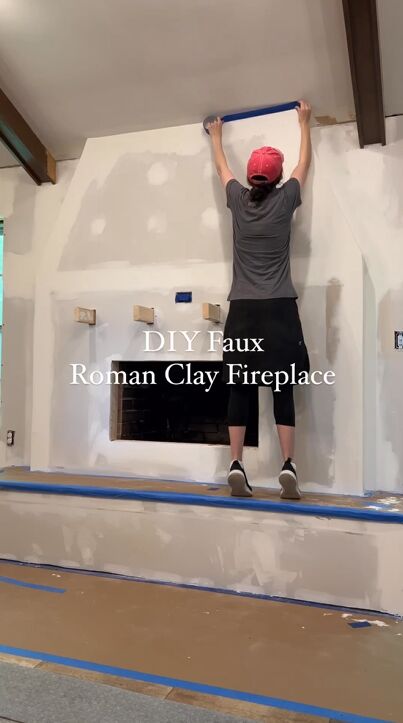
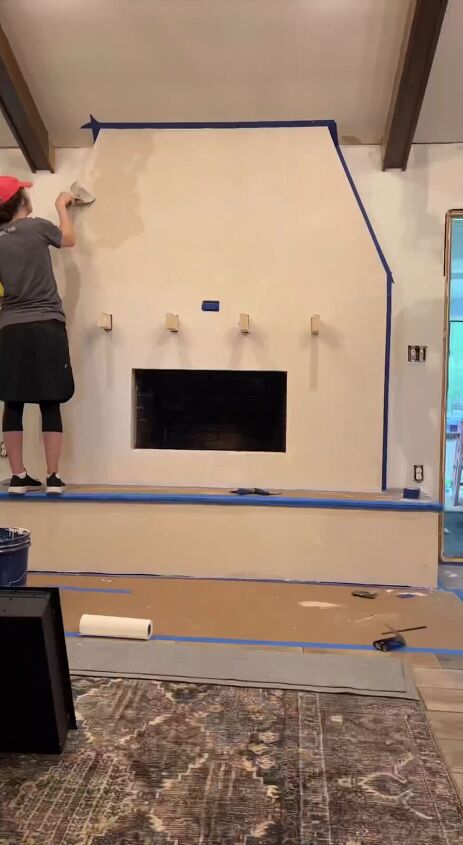
1. Prepare Your Workspace
Cover the surrounding area with a drop cloth or old sheets to protect it from any splatters or spills. Make sure the floor and nearby furniture are well-protected. Use painter's tape to mask off any adjacent surfaces that you want to keep paint-free.
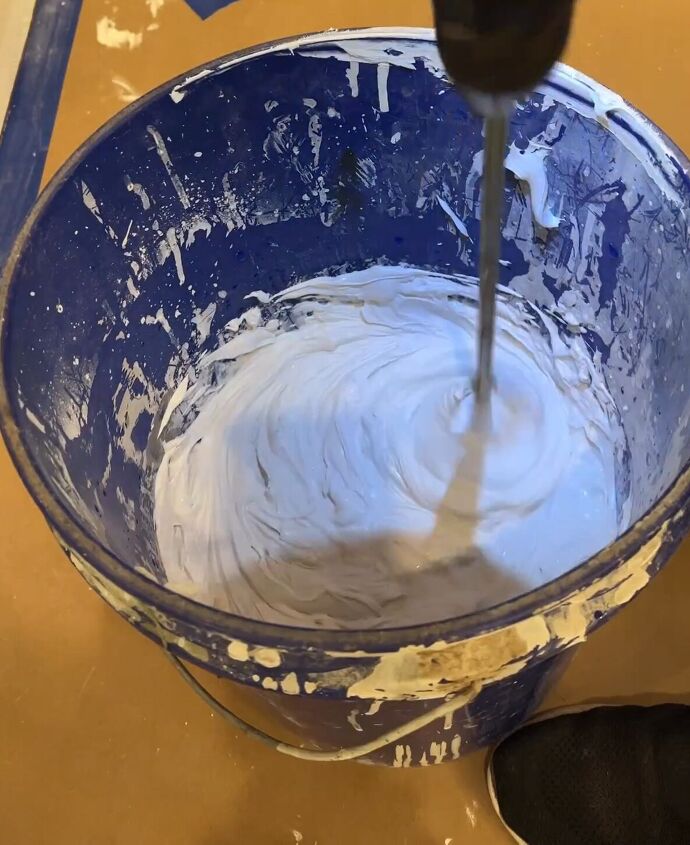
2. Mix the Joint Compound
Take your 5-gallon bucket and pour in about 1/3 of its volume of joint compound. Gradually add approximately a cup of water to the joint compound while mixing with a paint mixing stick. Stir until you achieve a smooth and creamy consistency. The water helps make the joint compound easier to work with.
3. Add Paint for Color
Determine the desired color for your faux fireplace and add the corresponding paint to the joint compound mixture. The amount of paint you add will depend on the intensity of the color you want. Start by adding a small amount and gradually increase until you achieve the desired hue. Mix the paint thoroughly into the joint compound until the color is evenly distributed.
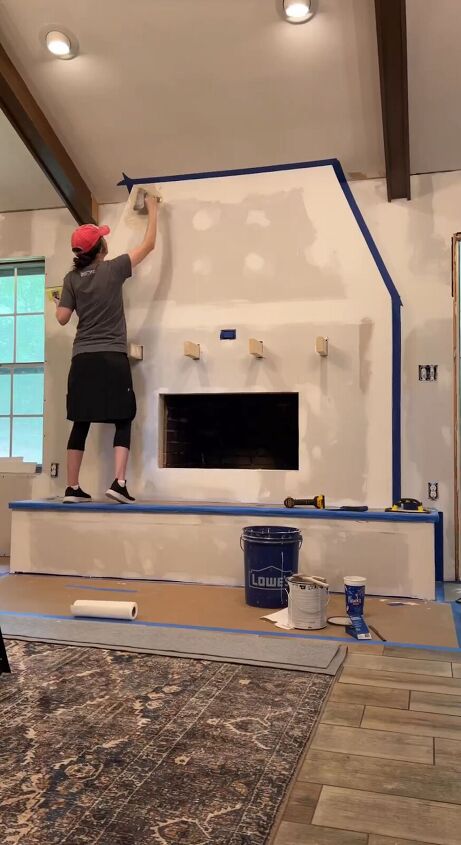
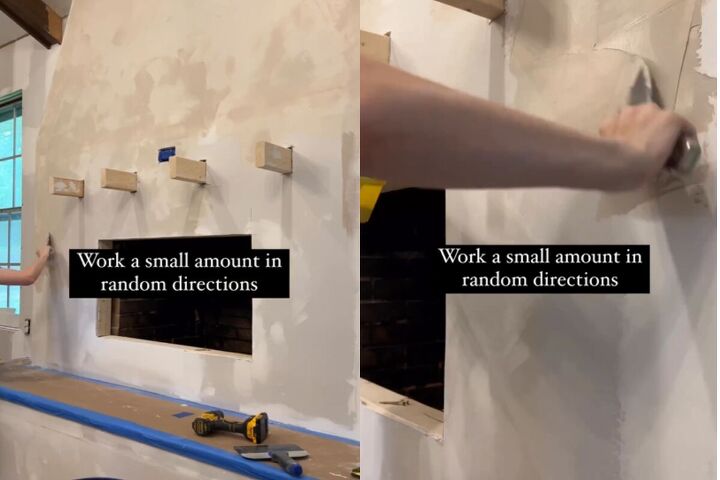
4. Apply the First Coat
Using a spackle knife, begin applying the colored joint compound mixture onto the area where you want your faux fireplace to be. Create the texture of the stone by dabbing and swirling the mixture with the knife. Don't worry about perfection; the natural variations in texture will enhance the realistic look. Spackle on small amounts in different directions.
5. Adjust Color and Texture
If the color isn't dark enough, add more paint to the mixture and apply another layer. For a lighter color, add more joint compound. Continue adding layers until you achieve the desired color and texture. Allow each layer to dry before adding the next.
6. Apply a Second Coat
Once the first coat is completely dry, apply a second coat using the same technique. This will enhance the depth and texture of the faux fireplace. You can vary the application technique slightly for added realism.
7. Sand for Smoothness (Optional)
If desired, lightly sand the surface of the dried joint compound with medium-grit sandpaper. This step will create a smoother finish and further enhance the realistic appearance of the faux fireplace. Wipe away any dust after sanding.
8. Seal the Finish
Once everything is completely dried, it's time to seal your faux fireplace. Apply an impregnator sealer over the surface according to the manufacturer's instructions. The sealer will darken the appearance temporarily but will lighten as it fully dries. This step will protect your creation and give it a finished look.
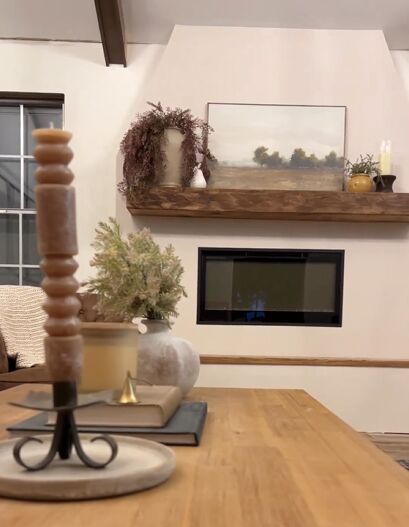
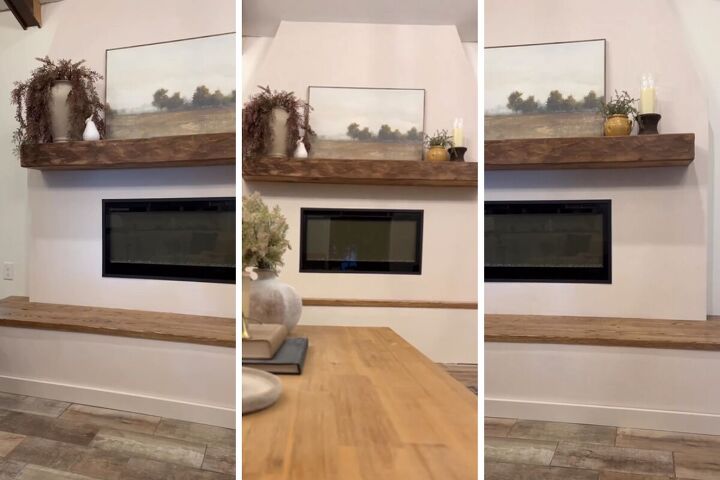
DIY faux Roman fireplace
After the sealer has dried, step back and admire your beautifully crafted DIY faux Roman fireplace. This project has allowed you to showcase your creativity and bring a unique piece of decor into your living space.
Whether you're aiming for a classic or modern aesthetic, your faux fireplace will undoubtedly captivate the attention of anyone who enters the room. Enjoy the warmth and beauty it brings to your home!
What do you think of this DIY project? Let me know in the comments below.
Follow @hannah.is.home on Instagram for more DIY ideas.


Frequently asked questions
Have a question about this project?