


How to Easily Make DIY Labels Without Using a Cricut

If find yourself in need of labels but don't have a label maker on hand, you must try this DIY labels hack.
In this step-by-step tutorial, I'll guide you through creating your own DIY labels using a simple method that involves materials you likely already have at home.
All you need is paper, packing tape, water, and a bit of patience. Let's get started!
Tools and materials:
- Paper (for printing your label)
- Printer
- Scissors
- Packing tape (higher quality for better results)
- Water
- Scraping tool (could be a plastic card or a spatula)
- Items to label
How to make DIY labels
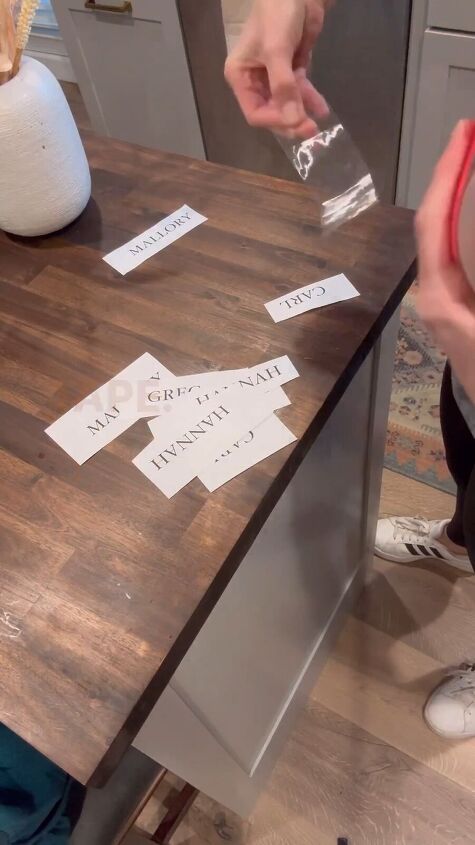
Step 1: Print and Cut
Begin by printing out whatever you want to turn into a label on a regular sheet of paper. It could be text, images, or a combination of both. Once printed, carefully cut out the label using a pair of scissors.
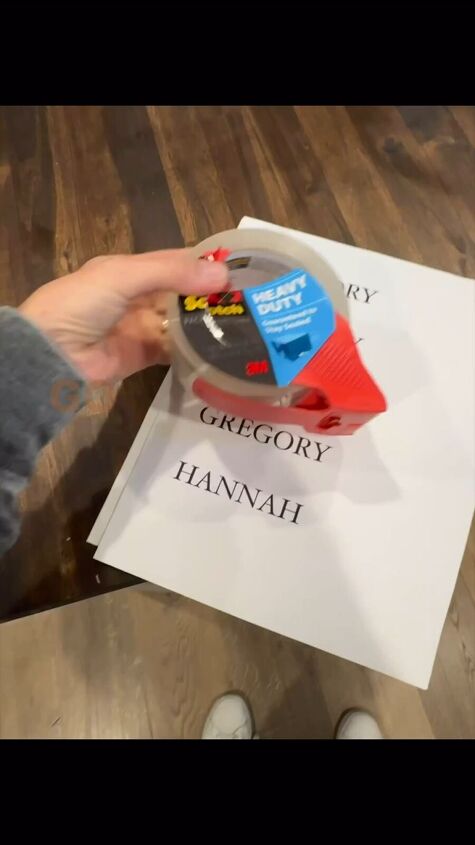
Step 2: Apply Packing Tape
Now, take a piece of packing tape that is slightly longer than your label. Lay the tape on a flat, clean surface, sticky side up. Place your cut-out label face down onto the sticky side of the tape, ensuring it is centered and well-positioned.
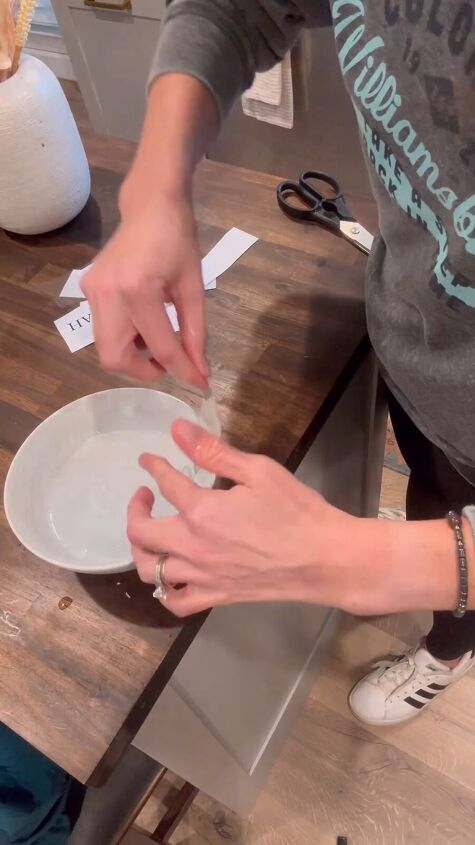
Step 3: Wet and Scrape
Fill a container with water and dip your fingers or a brush into it. Gently wet the paper on top of the tape. If you don’t want to use your fingers try using a scraping tool, like a plastic card or spatula. Scrape off the paper. The water will help transfer the ink from the paper onto the tape.
Step 4: Let It Dry
After scraping off the paper, let the tape and label air dry for a little bit. This process allows the ink to set onto the tape. Be patient, as the stickiness of the tape will return once it's completely dry.
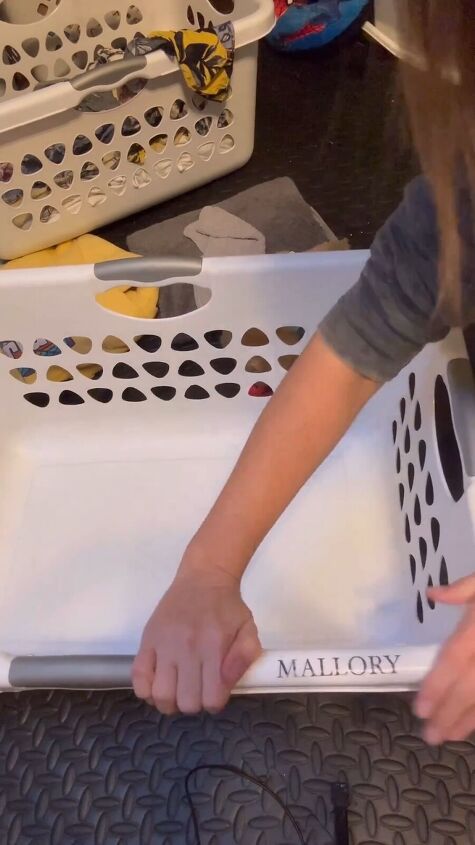
Step 5: Apply Your DIY Label
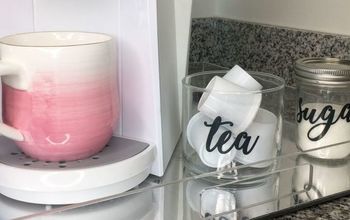
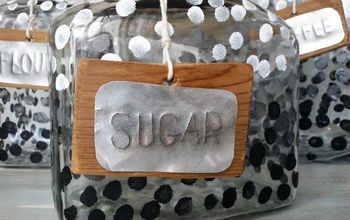
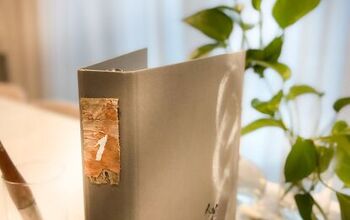
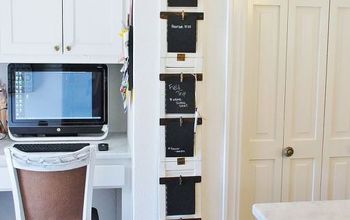
Once the tape is dry and sticky again, peel off the backing and apply your DIY label to whatever you want to label. Whether it's laundry baskets, jars, folders, or containers, your custom labels will add a personal touch to your items.
How to make DIY labels without a Cricut
Now you know how to make labels without a Cricut. Creating DIY labels without a label maker is a fun and cost-effective way to personalize and organize your belongings. With just a few simple supplies and easy-to-follow steps, you can make unique labels that suit your style.
Get creative, experiment with different designs, and enjoy the satisfaction of having custom labels for all your items. Leave me a comment to let me know if you love this hack as much as I do. Happy labeling!
Follow @home.by.hand on Instagram for more DIY ideas.
Comments
Join the conversation
-
I print labels on my computer.
-
This is awesome!!! Easy, doable, fun, and easily personalized. Thank you for sharing this very cool method.


Frequently asked questions
Have a question about this project?