


How to Easily Build a DIY Privacy Screen Outdoors
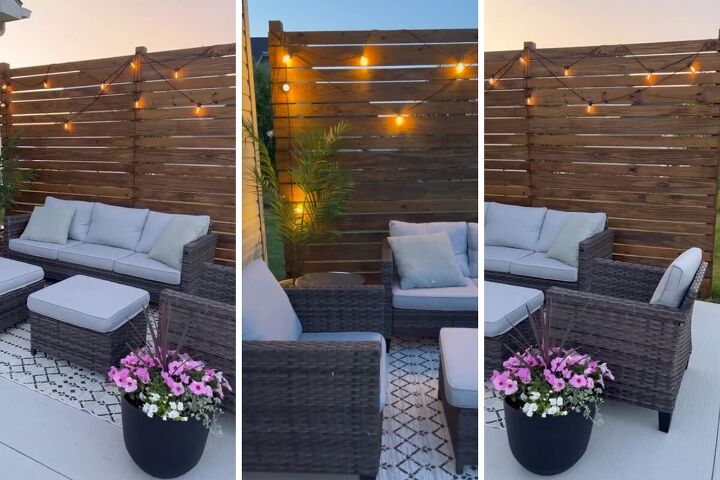
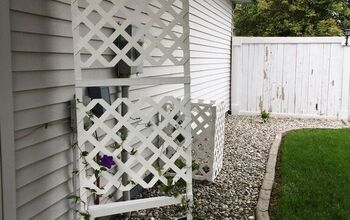
I'm excited to show you how I transformed my patio into a cozy summer oasis by adding a DIY outdoor privacy screen. It's a relatively straightforward project that adds both function and style to your outdoor space.
Tools and Materials
- Measuring tape
- Level
- Post hole digger
- Quick-setting cement
- Wooden fence posts (4x4)
- 1x6 and 1x4 wooden planks
- Scrap wood (for spacing)
- Nails or screws
- Hammer or screwdriver
- Wood stain
- Paintbrush
How to build an outdoor privacy screen
1. Planning and Preparation
Measure and mark the area where you want to install the privacy fence. Make sure you have a clear plan for the placement and layout of the fence.

2. Digging and Installing Posts
Use the post hole digger to dig holes for the fence posts. For added stability, dig holes about 3 feet deep. Place the wooden fence posts (4x4) in the holes. Use a level to ensure they are perfectly vertical.
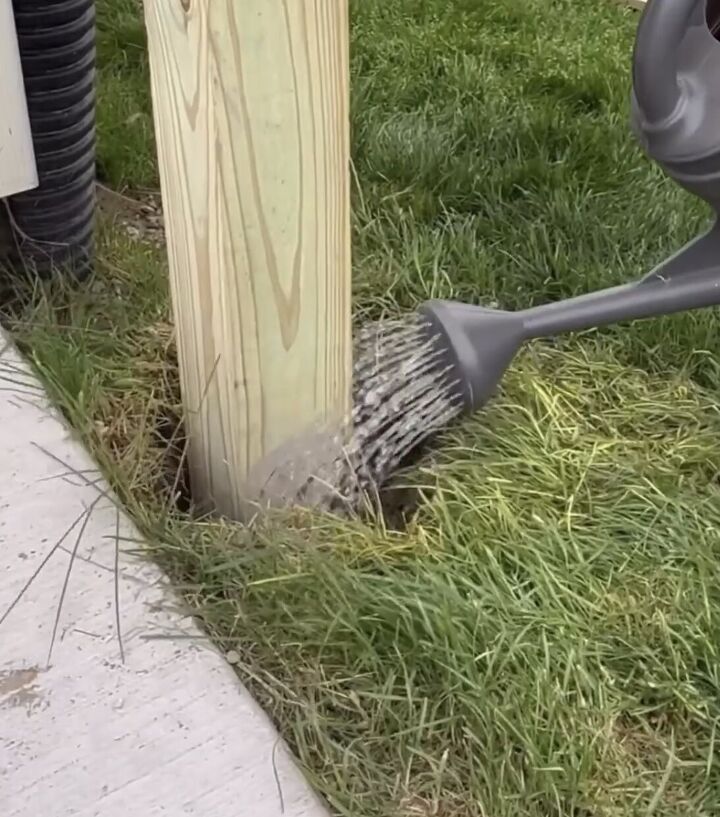
Mix the quick-setting cement according to the manufacturer's instructions and pour it into the holes around the posts.
This will secure the posts in place. Allow the cement to set as per the instructions.
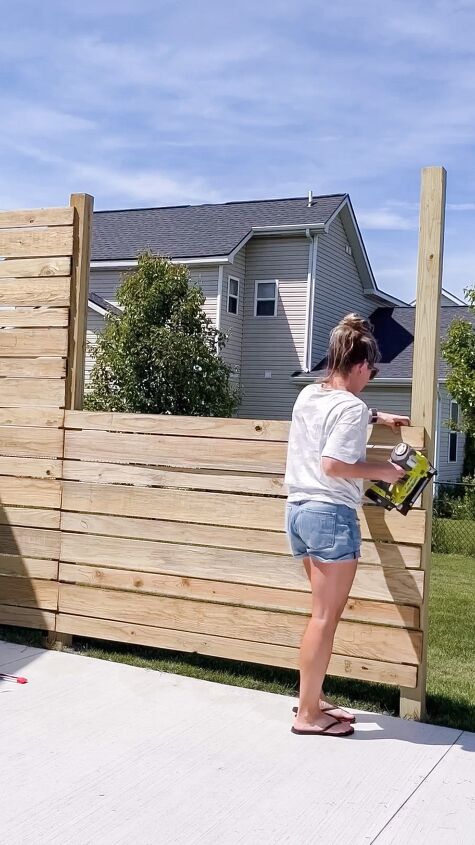
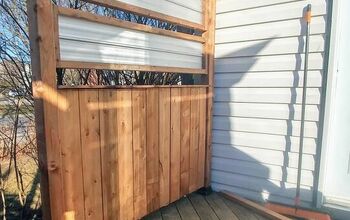
3. Adding Horizontal Planks
Once the cement has set, it's time to add the horizontal planks for the fence. Decide whether you want to use 1x6 or 1x4 wooden planks, or alternate between them like I did.
Begin by attaching the first plank at the top of the posts. Use nails or screws to secure the plank in place.
Place a piece of scrap wood (or any spacer of your choice) between the first and second plank to create a consistent gap. This gap provides both visual interest and allows air circulation.
Continue attaching the planks horizontally, using the spacer between each plank. Alternate between 1x6 and 1x4 as desired.
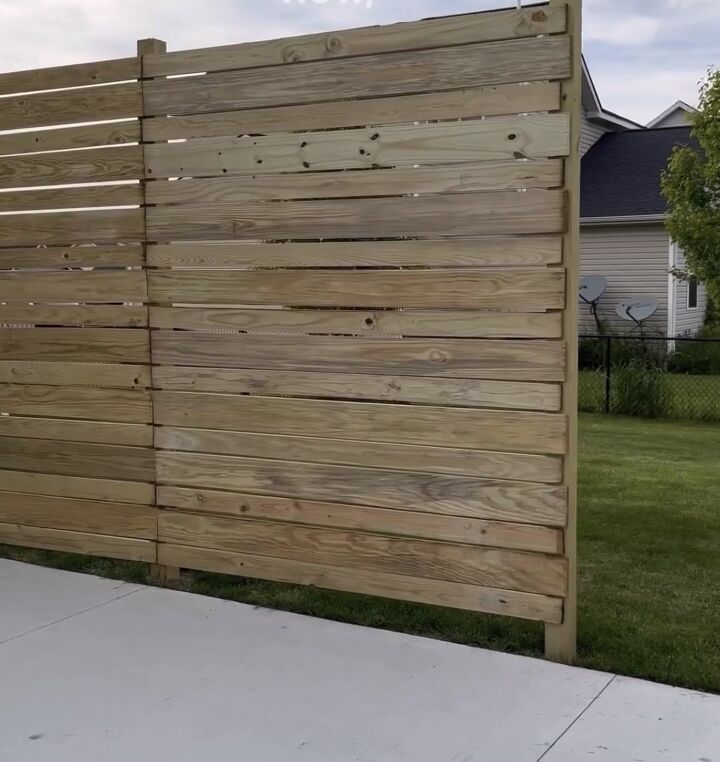
4. Creating Privacy
As you add more planks, you'll notice the fence providing privacy and seclusion. Keep attaching planks until you've covered the entire fence line.
Stand back occasionally to check if the planks are evenly spaced and aligned. Adjust as needed.
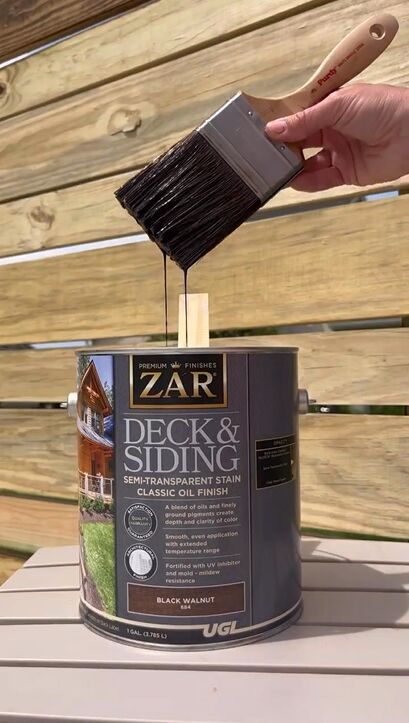
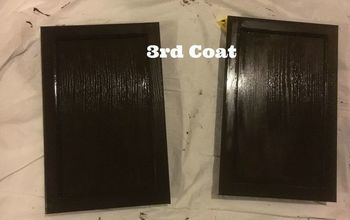
5. Staining the Fence
Now that the fence structure is complete, it's time to add some color! Choose a wood stain that complements your patio's aesthetics.
Using a paintbrush, apply the wood stain evenly to all sides of the wooden planks. Follow the stain manufacturer's instructions for drying time between coats if multiple coats are desired.
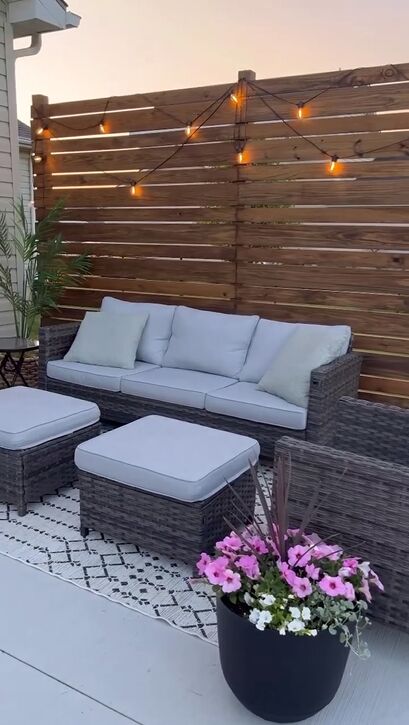
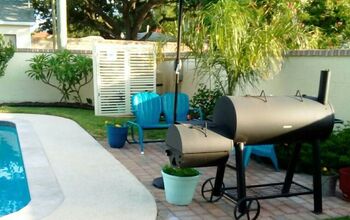
DIY outdoor privacy screen
Once the stain is dry, step back and admire your beautiful and functional privacy fence. Invite friends and family over to enjoy your transformed patio space with added seclusion and style.
There you have it! By following these simple steps, you've successfully created a DIY outdoor privacy screen that enhances the ambiance of your patio. Feel free to get creative with the design and customize it to your preferences. Share your creations with us in the comments below.
Follow @midmimomdiy on Instagram for more DIY ideas.


Frequently asked questions
Have a question about this project?