


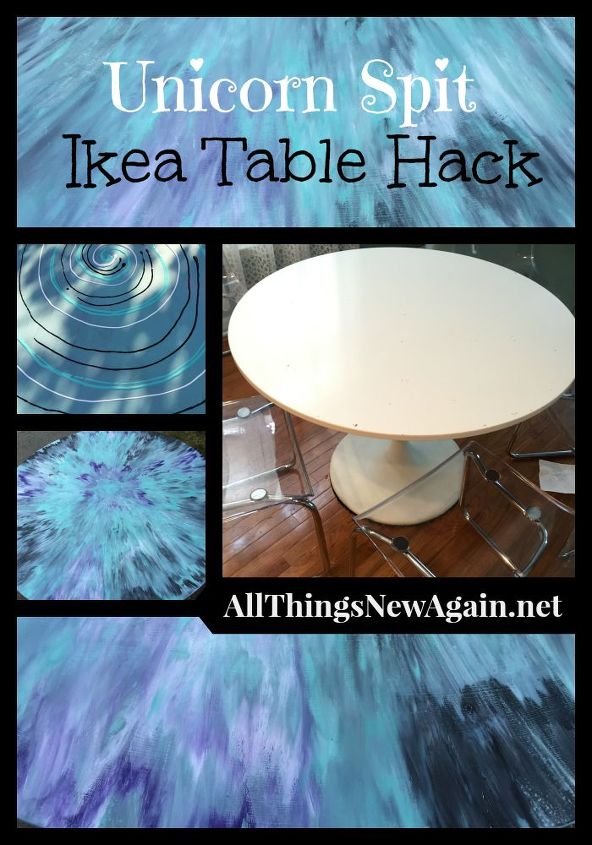
Unicorn Spit Ikea Table Hack
I love kitchen tables and all of the LIFE that happens around them. This is the spot where you feed your baby mashed-up carrots for the first time. Then you blink and you're making her breakfast for the first day of school.
With three little kids and one big dog, my sister's Ikea table has A LOT of life happening around it---and it was starting to show. This table was a perfect candidate for a . We camouflaged the damage and created a one-of-a-kind look using Unicorn Spit non-toxic rainbow gel stain. Here's our tutorial:
With three little kids and one big dog, my sister's Ikea table has A LOT of life happening around it---and it was starting to show. This table was a perfect candidate for a . We camouflaged the damage and created a one-of-a-kind look using Unicorn Spit non-toxic rainbow gel stain. Here's our tutorial:
This Ikea table is perfect for my sister's home---small enough to tuck into the space between her kitchen and living room, but big enough to comfortably hold her family of five.
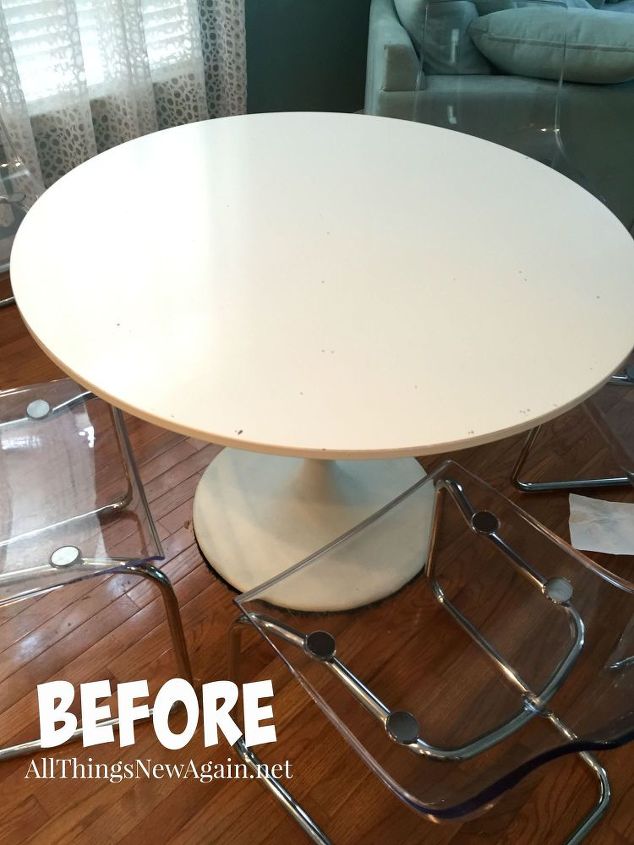
However, it was showing wear and tear. We're not sure if those stab marks are from the baby's fork or from the dog hopping up to swipe leftovers when he thinks nobody is looking.

This table came from Ikea and is made of pressed wood with a slick laminate top. This type of furniture can be tricky to paint and usually involves a lot of prep work like sanding the slick surface and applying a primer to help the paint stick. These steps---while important---can be time-consuming.
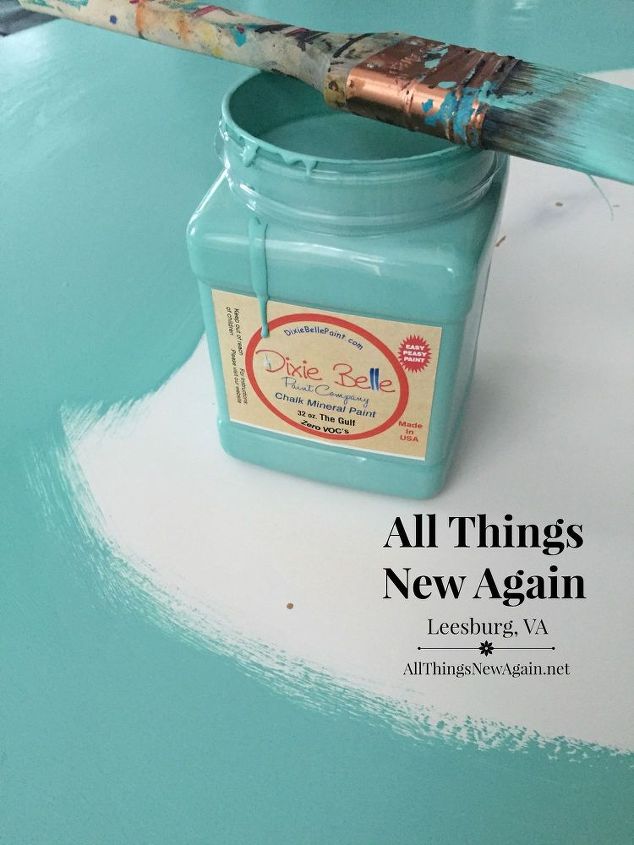
Here's the awesome news! Dixie Belle stuck to Ikea---no sanding or priming required. This is the coverage after one swipe of paint. I have tried painting Ikea furniture with several brands of paint and this is by far the best coverage I've seen with just one coat.
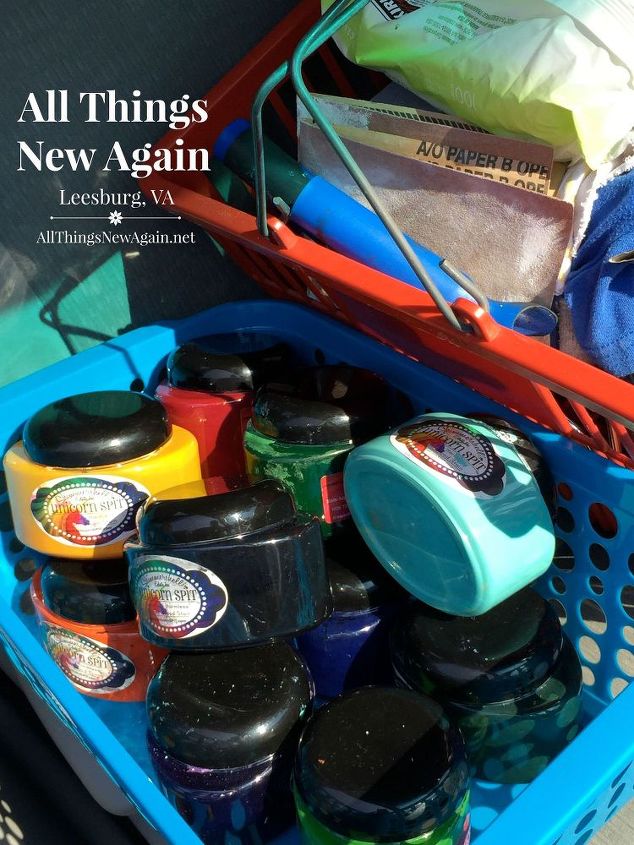
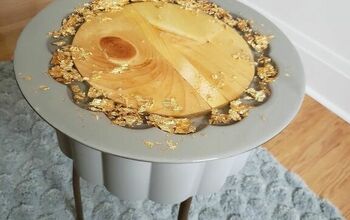
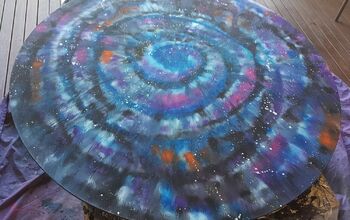
I came back the next day with my Traveling Spit Kit! That's Unicorn Spit, a new non-toxic rainbow gel stain and glaze in one. It has a variety of applications, including using as a straight-up stain or creating colorful designs. We went with a starburst design called an Aura Blast.

I started by loading the first color into one of those little syringes you use to give medicine to babies. I squirted it onto the table in a circular pattern like a snail shell. I came back and filled in with three other colors of Unicorn Spit.
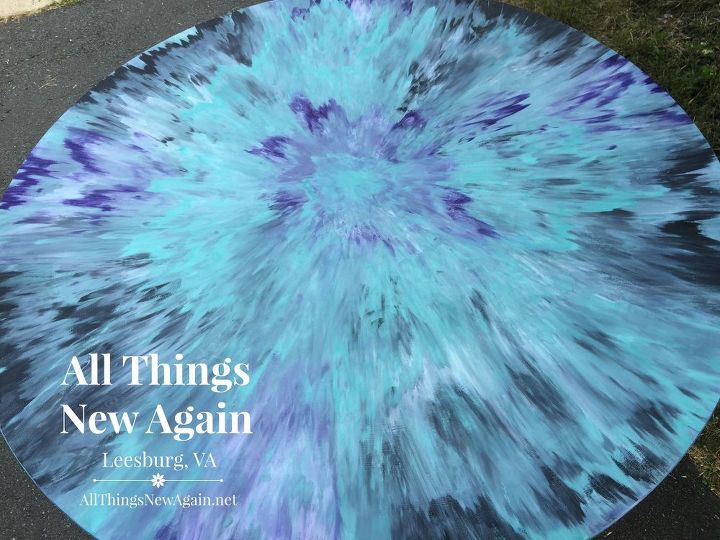
Unicorn Spit must be sealed with an oil-based sealer. We used Minwax Polyurethane. It does a really cool trick of making the Unicorn Spit design look three-dimensional in person. (Not so much in the photographs.) We applied four coats of poly, letting each coat dry really well.
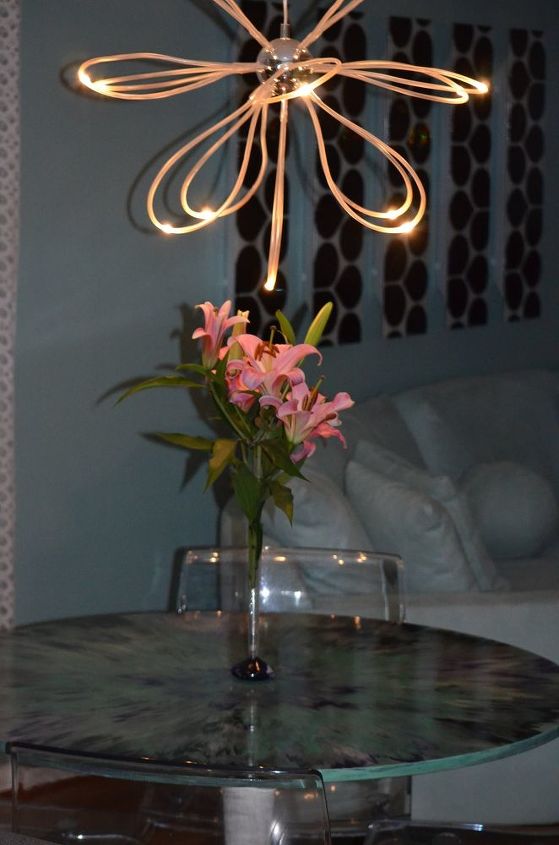
Check out our All Things New Again Blog for more photos of this project and other DIY paint tutorials. And if you are ever in Leesburg, Virginia, please stop by our shop All Things New Again. Our coffee pot is always on!

Want more details about this and other DIY projects? Check out my blog post!
Comments
Join the conversation
3 of 10 comments
-
Hey hey lady!! Look who is featured again!
-
li I will seriously be using this! I love the look, and I have a LOT of old, beatup furniture, and a very small budget. Paint is my answer to a host of evils. THANK YOU!


Frequently asked questions
Have a question about this project?
Did you sand in between coats of poly?
I've been in love with the idea of unicorn spit for a while now. But like a lot of crafters have a limited budget. So, I have not tried it yet. But want to try it. I love your project. One question: we recently rescued a desk that had been exposed to the elements. I believe it is mostly pressed board. The front edge of the desk it slightly raised from moisture but is dry now. However it gives a sharp edge along the desk when you lean on it. What can we do to smooth that edge down? Should we sand it or is there something that can be done to get rid of the sharp edge? Please advise?
My email is gypseerambler@gmail.com.
Thanks,
Gypsee