


Gilded Chalkboard Pumpkin
A few weeks ago I was at Michael's and saw a bin full of chalkboard pumpkins. I grabbed one not sure what I was going to do with it and then I saw it....a handout with instructions to make a Gilded Chalkboard Pumpkin. I knew what I wanted to do!
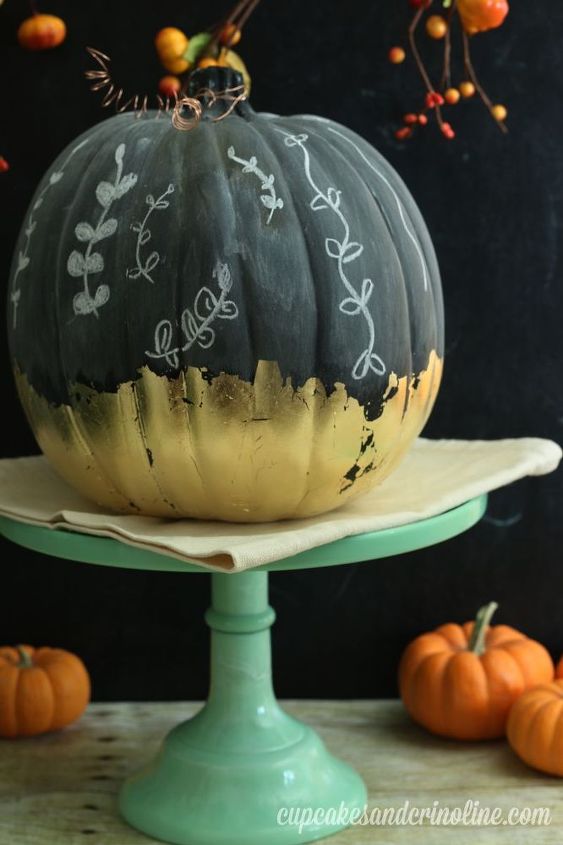
I love how it turned out and the best part was it didn't take long at all to do it.
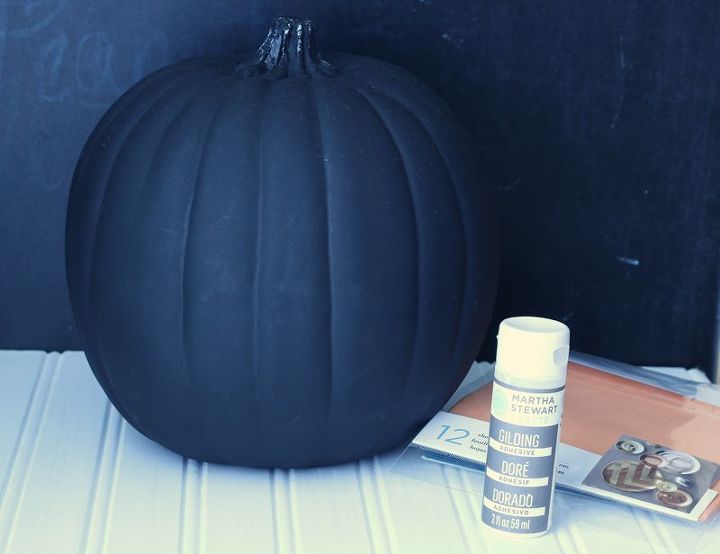
I already had the gilding sheets and the adhesive so I was all set.
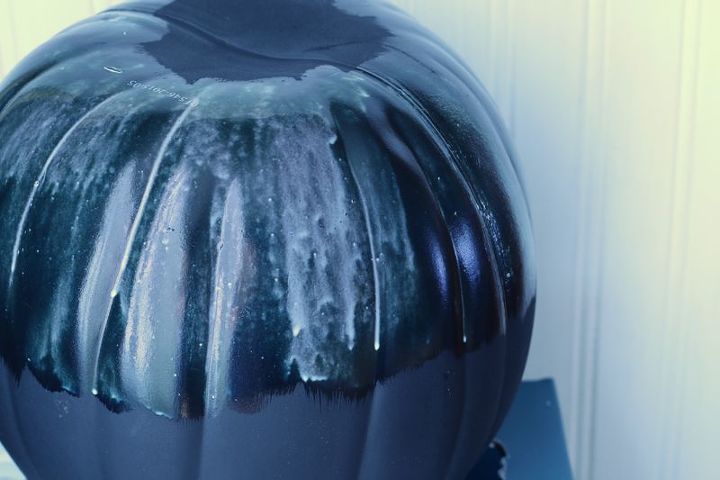
I flipped my pumpkin upside down and placed it on a box and then applied the adhesive about 1/3 of the way up the pumpkin (from the bottom to the top) in a feathered fashion. No straight edge.
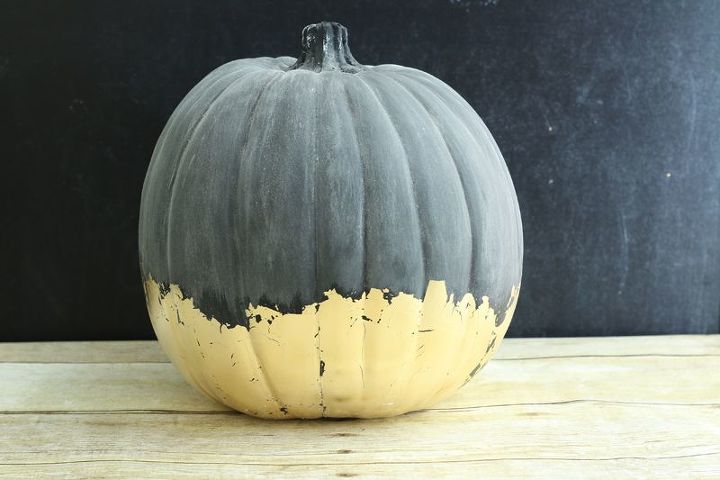
When the adhesive was still tacky I applied the gilding paper and buffed it to a nice shine and then applied chalk to the entire chalkboard surface of the pumpkin (not the gilded area) and wiped it off leaving a trace of chalk dust behind.
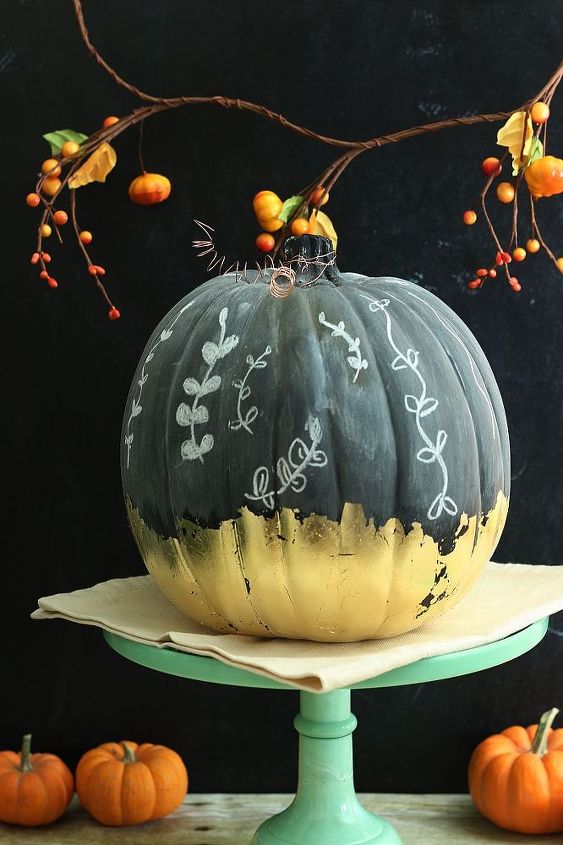
The final touch was copper wire wrapped around a wooden spoon which I attached to the stem and some freehand chalk vines. You can check out more of the details on my blog post in the link below.

Want more details about this and other DIY projects? Check out my blog post!
Comments
Join the conversation
4 of 8 comments
-
This is beautiful!
-
i just love your idea. I will try it for Thanksgiving. Thank you for sharing.


Frequently asked questions
Have a question about this project?