


2 Fall & Halloween Throw Pillow Ideas With Removable Designs
Welcome to this exciting and spook-tacular DIY project that will add a festive touch to your home for the upcoming season. We'll be creating two fall and Halloween throw pillow ideas that have multiple design options. They all use easily removable materials, so you can switch it up whenever you please. Let's get started!
This post was transcribed by a member of the Hometalk editorial team from the original HometalkTV episode.
DIY fall and Halloween throw pillow ideas
Tools and materials
- Scissors
- White pillow
- Large googly eyes
- White tank top
- Hot glue gun
- Orange pillow
- Yarn or adhesive cork
- Marker
- Foam felt
- Adhesive felt
- Jack-o-lantern stencil
- Napkin holder
Ghost/Mummy pillow
For this project, I'll be using a white pillow from IKEA.
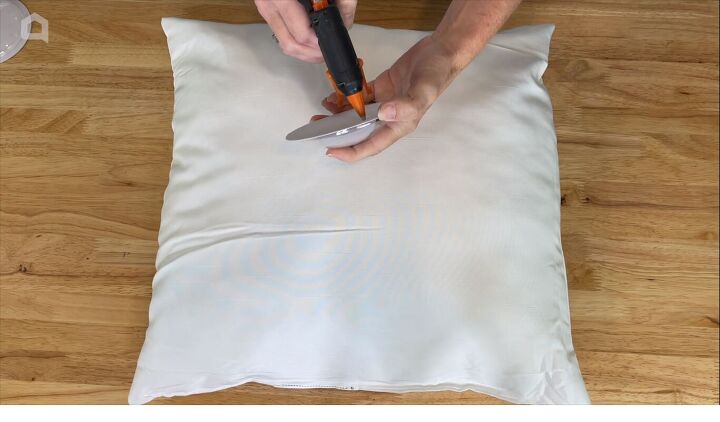
1. Glue the googly eyes
The first thing I'm going to do is go ahead and hot glue on some large googly eyes that I found at the Dollar Store.
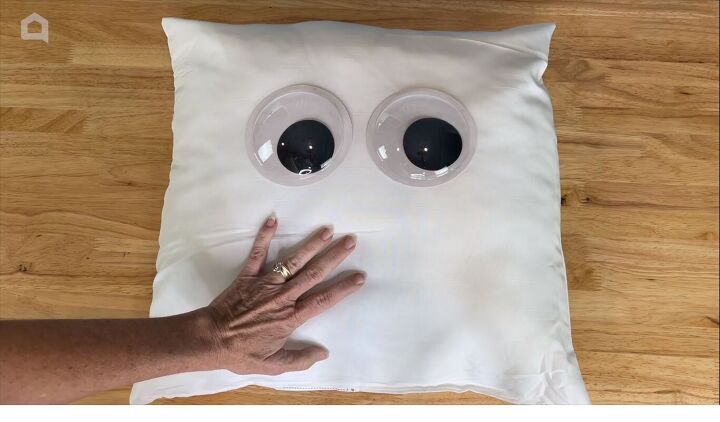
Now, you could stop right here and you have a super cute ghost, or you can do what I'm going to do next.
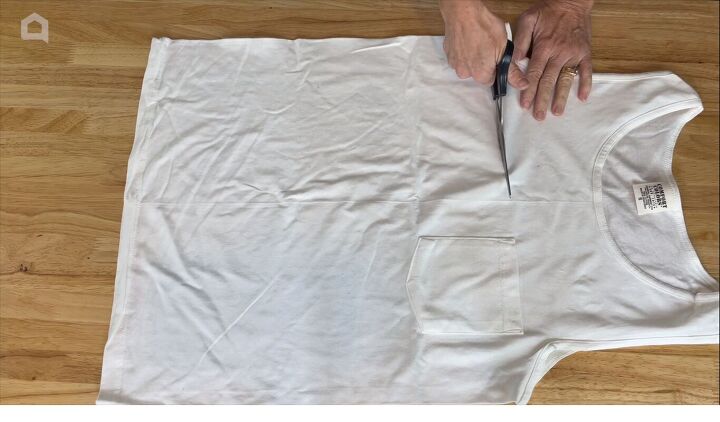
2. Cut fabric strips
I found this tank top at the Dollar Store, and all I'm going to do is go right under the armpit and cut straight across. I do not need to cut this perfectly by any means.
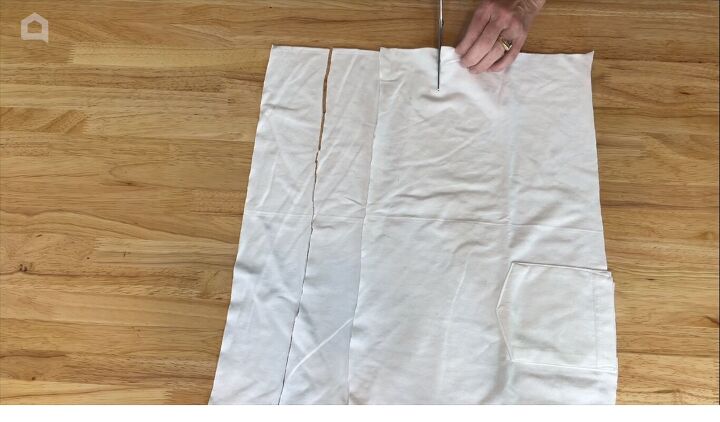
So I'll just go ahead and finish cutting all of these strips of fabric, and then I'll show you how we're going to incorporate them.
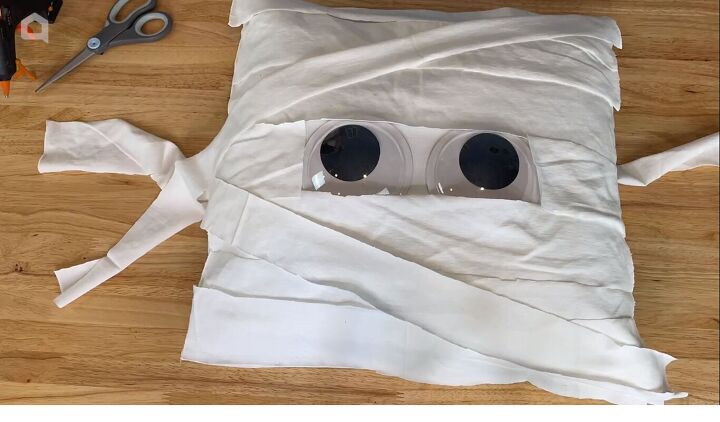
3. Glue the strips to the pillow
Now that I've got all my strips of fabric, it's time to map them out. I'm going to lay them across the pillow and overlap them just a little bit. Next, I'll trim up these extra scraps, then start hot gluing on the straps to the pillow.
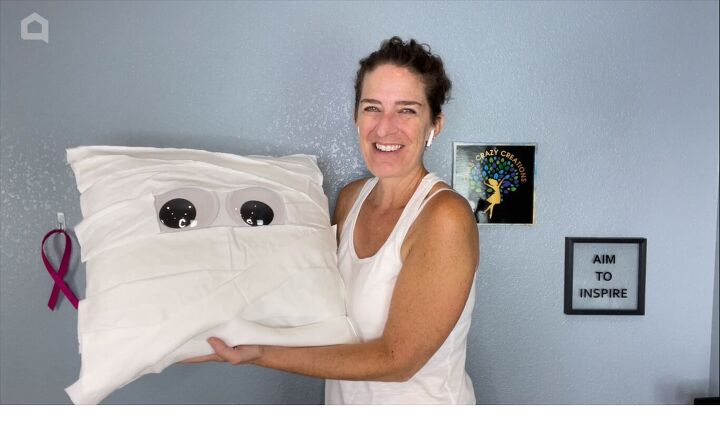
Here he is, all finished, and I'm so thrilled with how he turned out.
Pumpkin/Jack-o-lantern pillow
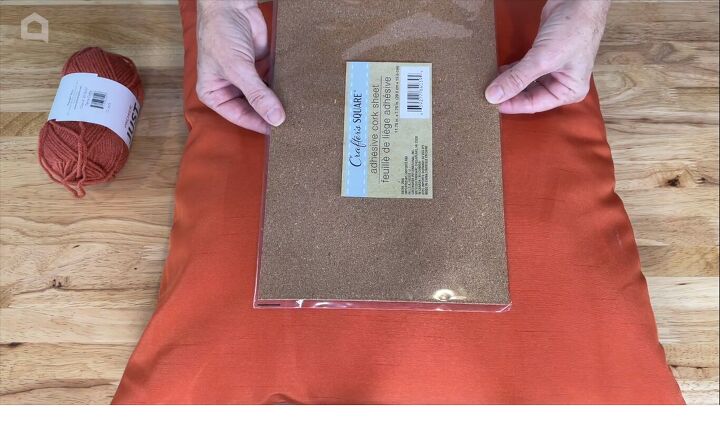
To start this project, you'll need an orange pillow or pillow cover, and I got mine from IKEA.
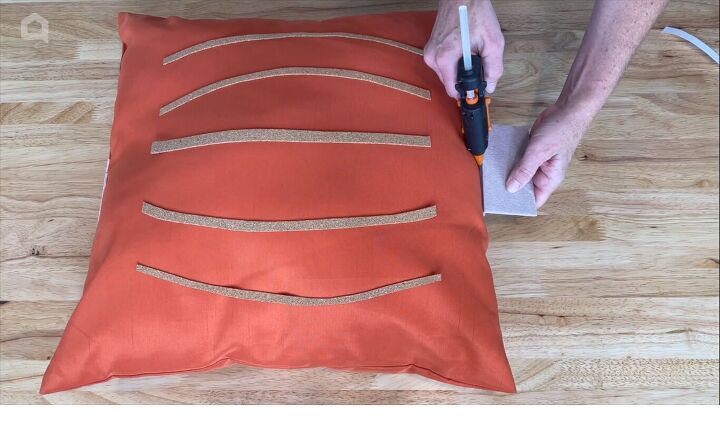
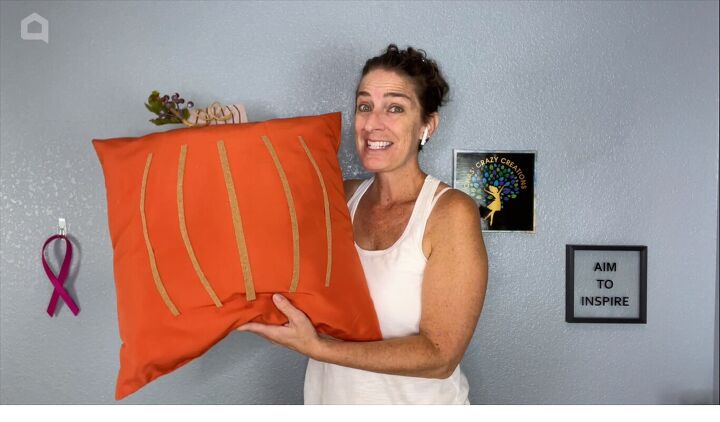
1. Create the textured pumpkin look
The first thing we're going to work on is the surface. You can use fabric markers to draw on or fabric paint. You can use something like yarn to create a textured look with what we're going to do. Or you could use something else like this adhesive cork or adhesive felt.
Since I like things that aren't permanent, I'm going to be using the adhesive cork. This way, if I ever want to change my mind about this pillow, I'll be able to remove the cork.
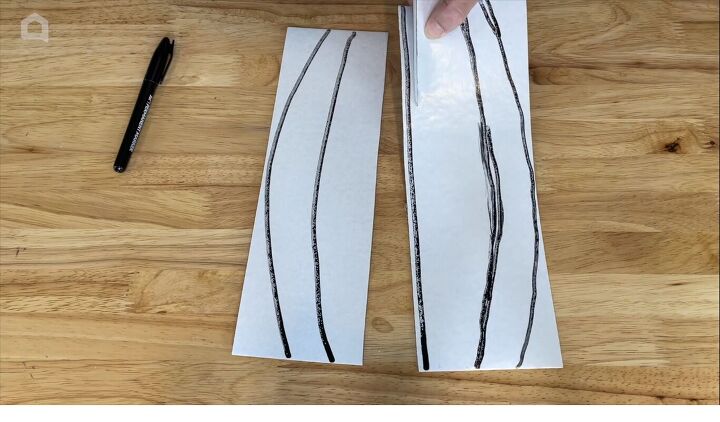
On the backside of my cork, I've drawn some lines, and now I'm going to use my scissors to cut them out.
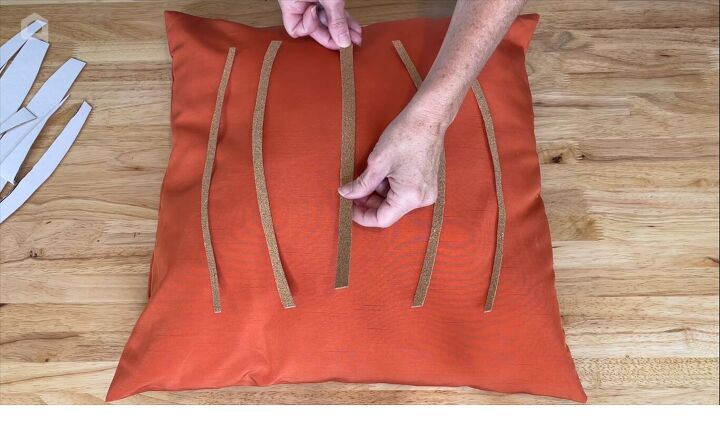
I'm going to map out where I want these little pieces of cork to go, peel them off, and stick them into place. We'll start with the center one because that's pretty easy to know exactly where you want that one to go. So we'll place that one right in the middle. Then, stick the others on either side.
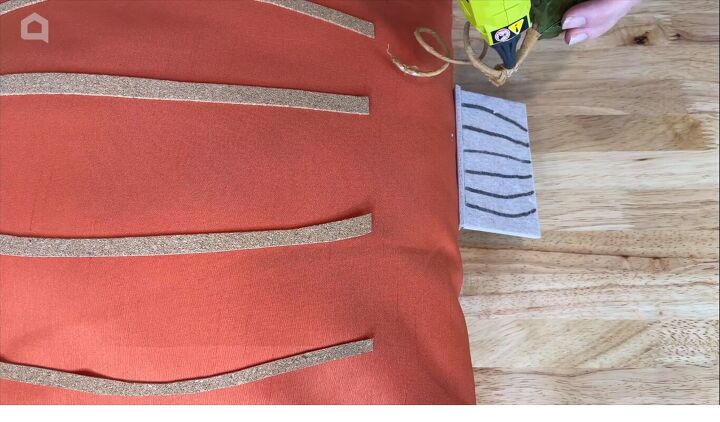
2. Add the pumpkin stem
So now I'm going to move on to the next step, which goes at the top. Again, in the spirit of using stuff that can be removed, I'm using double-sided foam felt. I'm going to hot glue this foam felt onto the pumpkin pillow.
Then, I'm going to take a permanent marker, and I'm just going to draw some lines on the stem to make it look a little more realistic.
I'm also going to hot glue on this little piece. It's actually a napkin ring that I found that I deconstructed. It'll be a nice little embellishment for our pumpkin.
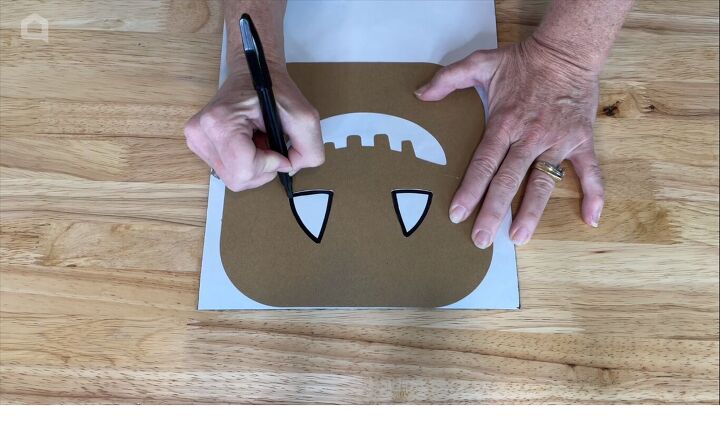
3. Draw the jack-o-lantern face
This is the other side of the pillow. Free-handing jack-o-lantern faces is something that I just don't always feel great about, so I'm using a stencil. I will be adding a nose, but I'm going to start by just using a sharpie, and I'm going to draw the inside of this face, then cut this out.
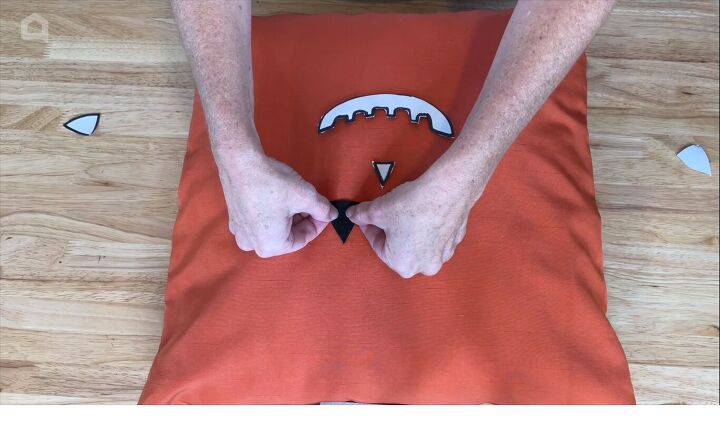
4. Stick the jack-o-lantern face to the pillow
This is adhesive felt. One side is black, and the other is the sticker side. The great thing about this is if you ever decide you want to just get your orange pillow back, you can easily just peel this off, and it's a temporary solution.
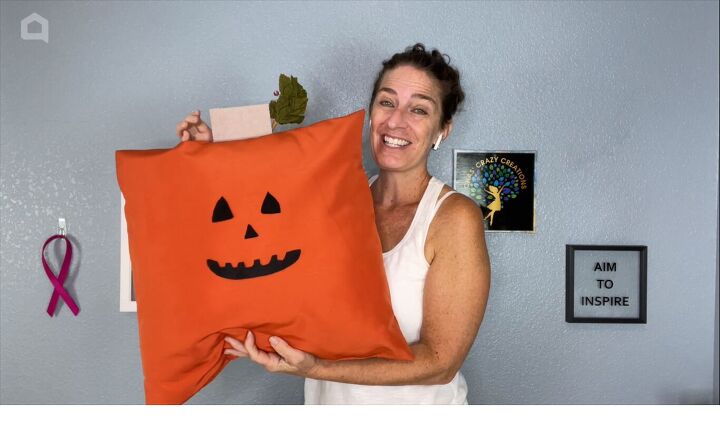
So you've got your pumpkin on one side, and you've got your jack-o-lantern on the other side!
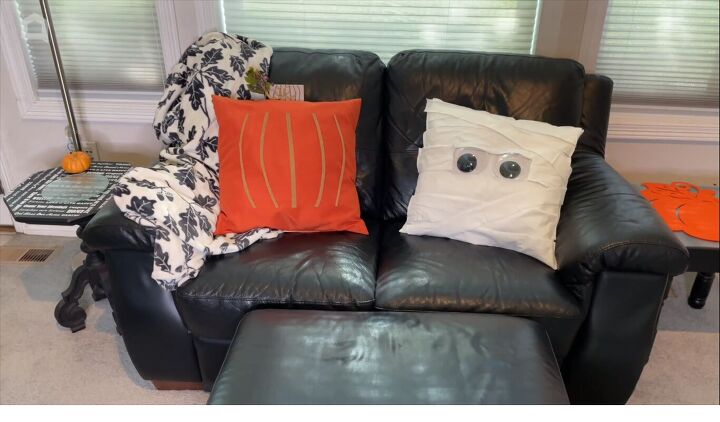
DIY fall & Halloween throw pillow ideas
This was a very simple and easy DIY project, plus you can reverse it at the end of the season. You can mix and match any of these fall and Halloween throw pillow ideas.
I would love to have you stop by my blog Chas' Crazy Creations for the full tutorial as well as sign up for my latest creations, posts, recipes, exclusives, and more...
I would love for you to subscribe to my YouTube channel to see more of my crazy creations - https://www.youtube.com/c/chascrazycreations
Which design did you like best? Let me know in the comments below.
DIY fall pillow covers
For more creative autumnal decor projects, discover Hometalk's best DIY fall pillow cover ideas here, budget fall DIYs here, and other fall crafts here.

Comments
Join the conversation
-
How cute are these?! I like how simple and inexpensive these pillows are
-
Thank youI'd love to invite you to join me...Chas' Blog - https://chascrazycreations.com/Chas' YouTube = https://www.youtube.com/@ChasCrazyCreations


Frequently asked questions
Have a question about this project?