


Our Experience With DIY Ardex Counter Tops
Our Experience with Ardex Concrete Counters
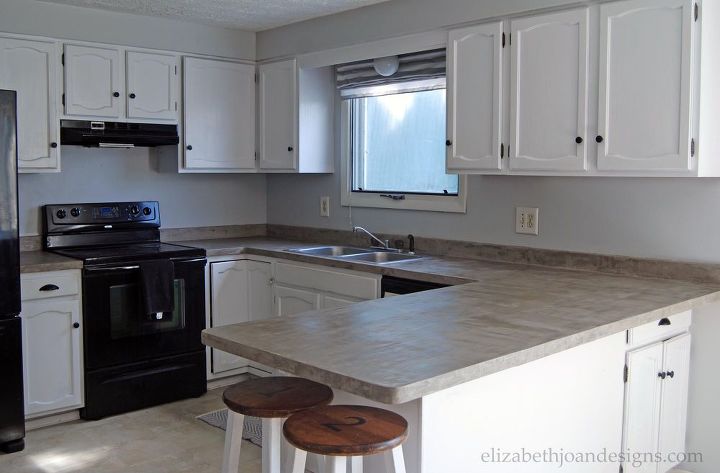
This post by Little Green Notebook on concrete counter tops was the first I had seen of its kind and I was immediately inspired. I knew right then and there that I had to do that! It’s been a little over a year since I originally saw that post and I have finally made over my kitchen counter tops. So today, I am sharing Our Experience with Ardex Concrete Counters.
Supplies
(2) Ardex Feather Finish Concrete Bags
(1) 1 Gallon Bucket
(2) 1 Quart Measuring Cups
Hand Sanding Block
Sand Paper of a Variety of Grits
(1) 4″ Putty Knife
(1) 10″ Trowel
Supplies not pictured
(1) 1″ Putty Knife
(1) 12″ Taping Knife
Plastic Drop Clothes
Painters Tape
Paint Stirrers
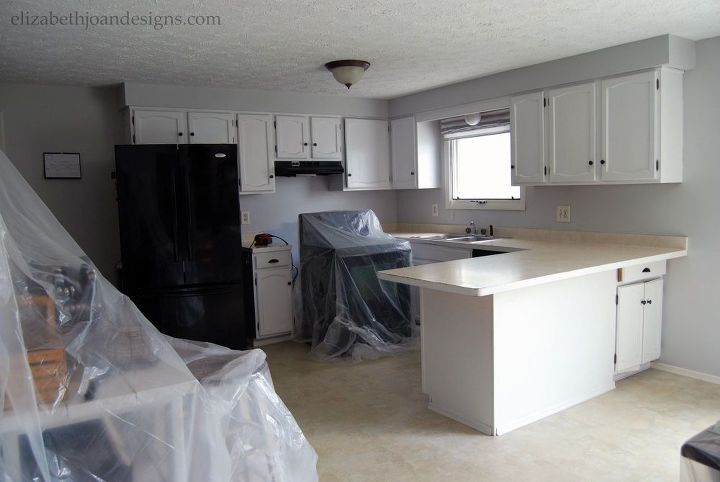
First, I prepped the work area by covering all surfaces except the floor with plastic drop cloths. Our house has such an open floor plan that I even walled off the kitchen with plastic in an attempt to contain the upcoming dust storm.
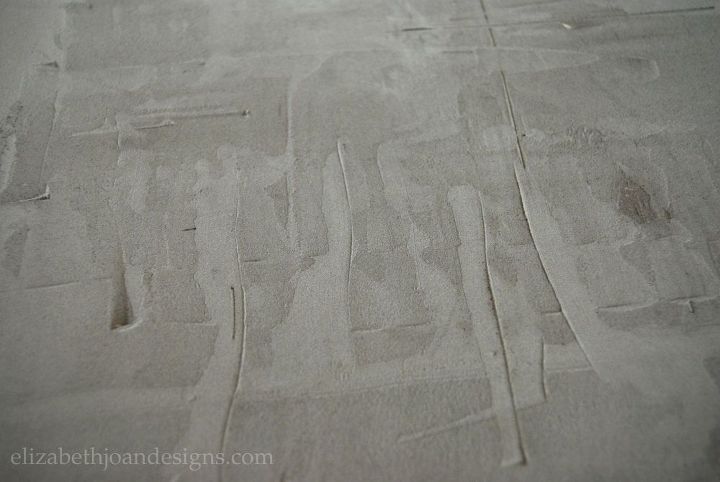
I let every coat completely dry (there were four coats total) then I hand sanded the dry concrete using 80 grit and 120 grit sand paper.
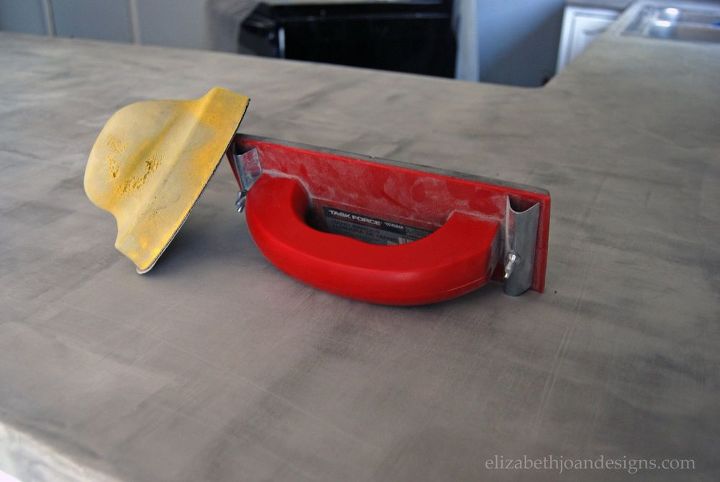
After that, I used a shop vac to clean up the big grubby mess. This took forever, but I am so glad to rid our floors of little grimy footprints.

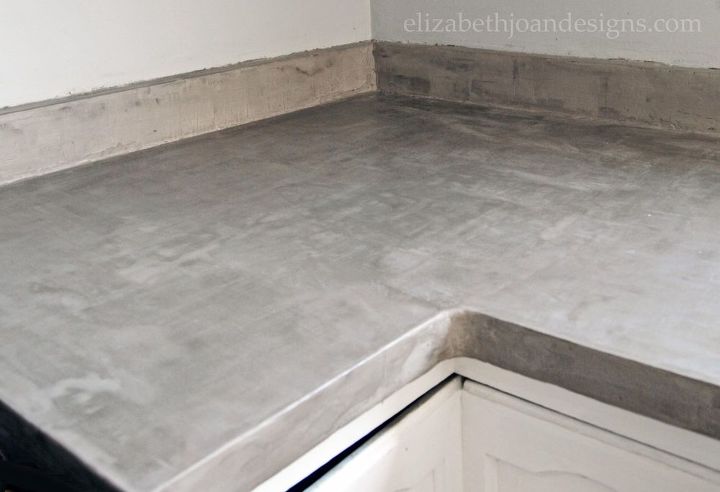
I am in love with how these counters turned out! They really are beautiful!
To get the full tutorial and more DIY projects check out Elizabeth Jaon Designs.

Want more details about this and other DIY projects? Check out my blog post!
Comments
Join the conversation
2 of 9 comments
-
So, did you create a frame around the edge of the counter-tops to contain the cement at the sides? I see that the concrete is adhered to the vertical edges. How did you do that?
-
I wonder if instead of a trowel you could use a long 2x4 so you could smooth it all at once


Frequently asked questions
Have a question about this project?
cool. i see alot of people using another coat after the sealer-do you think this is necessary? I didnt really want a glossy lacquer look but more soft concrete look, but need it protected from food and us protected the same... so not sure...how has it held up with JUST the 511 impregantor sealer?