


Let's Build a Snowman!
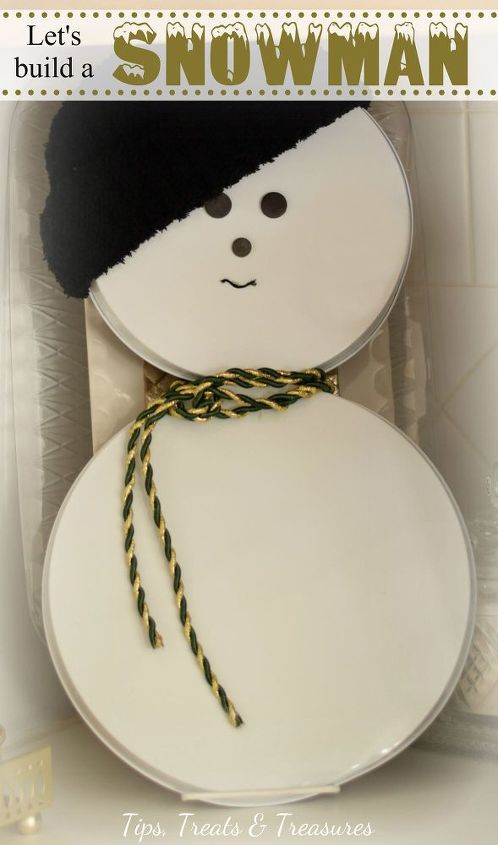
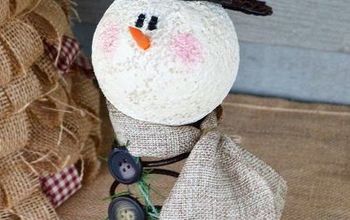
Not having any snow over the holidays didn't keep me from building a Snowman! I had lots of inquiries about how I made my little Snowman. Isn't he just the cutest?
I had an idea that turned out even better than planned. Don't you just love it when that happens? I sure do!

I shared this photo of my Snowman on dispaly in our kitchen in a post sharing our home's -Christmas Decor- this year. He was a fun and attractive addition that drew attention and smiles. And, curiosity of how and what he was made of.
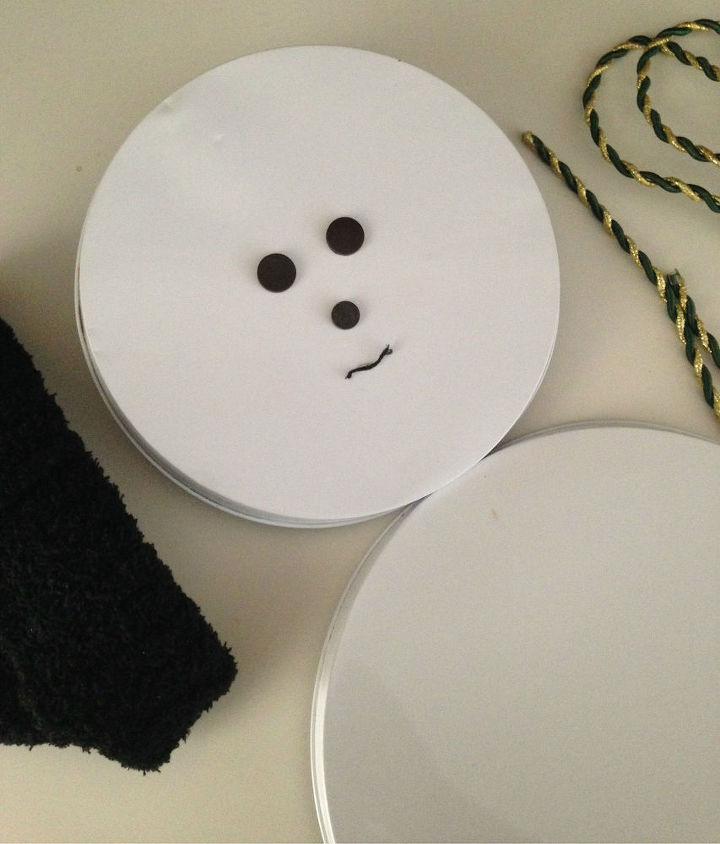
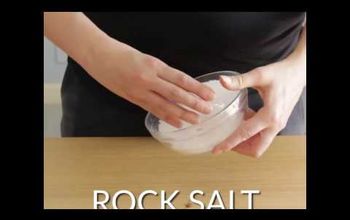
My Snowman only took just a few minutes to put together using just a few simple items. A couple of stove-burner covers for the body, a pretty green and gold holiday ribbon for the scarf, along with a knit hat I'd purchased from the dollar store.
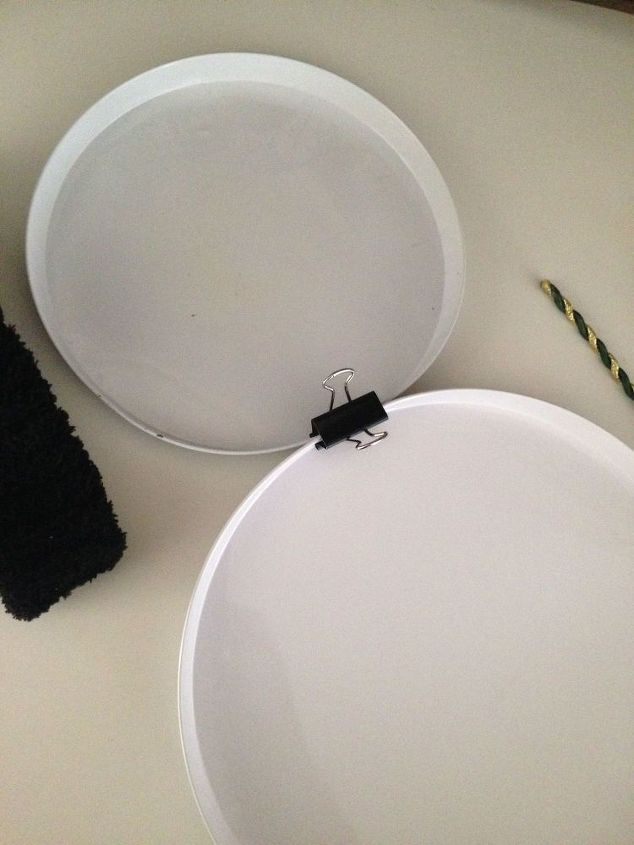
Some quick creative thinking and a bit of luck helped me with putting the snowman together, and with what to use to make the face. I used a binder clip to hold the two body pieces together,
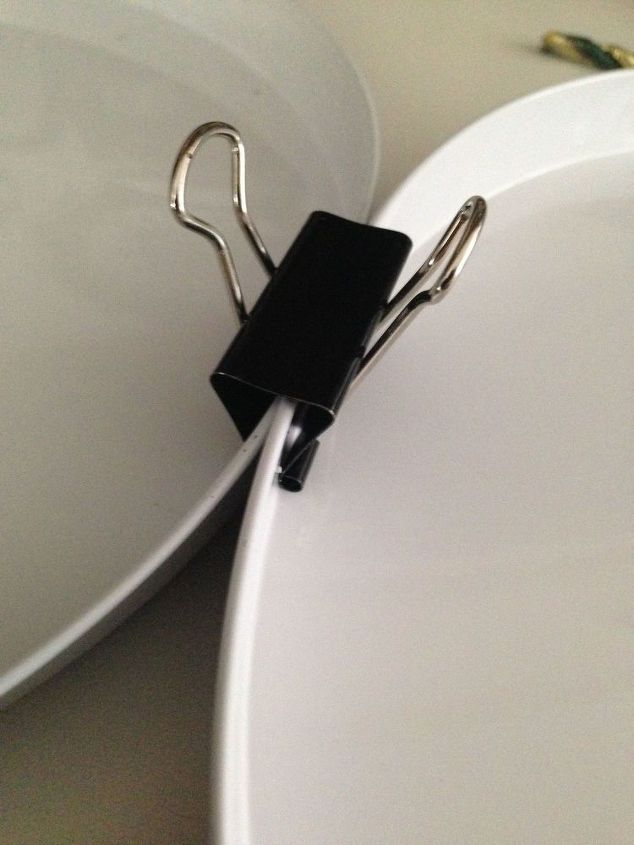
by simply clipping them together at the edges on the back side.
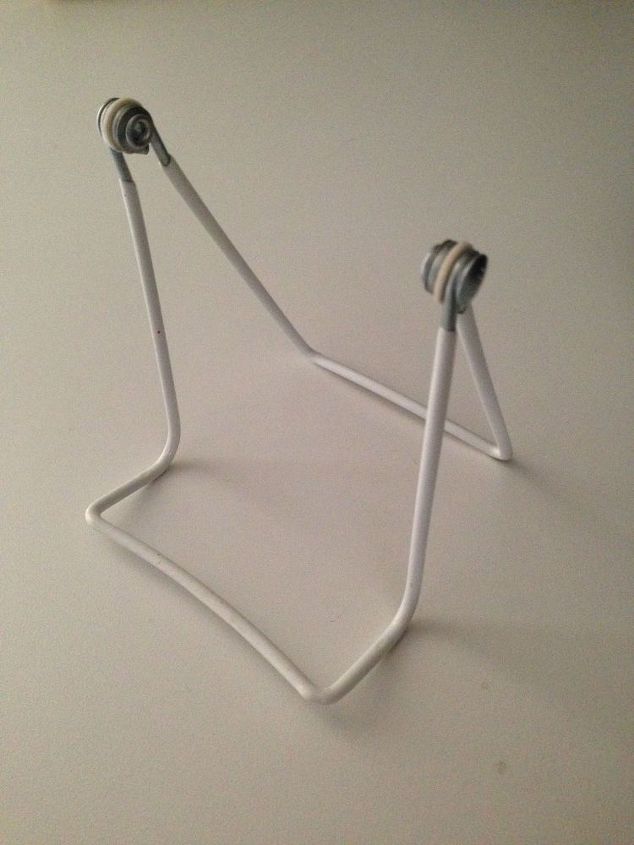
I used a mini plate holder to sit the snowman upright for displaying on my kitchen counter top.
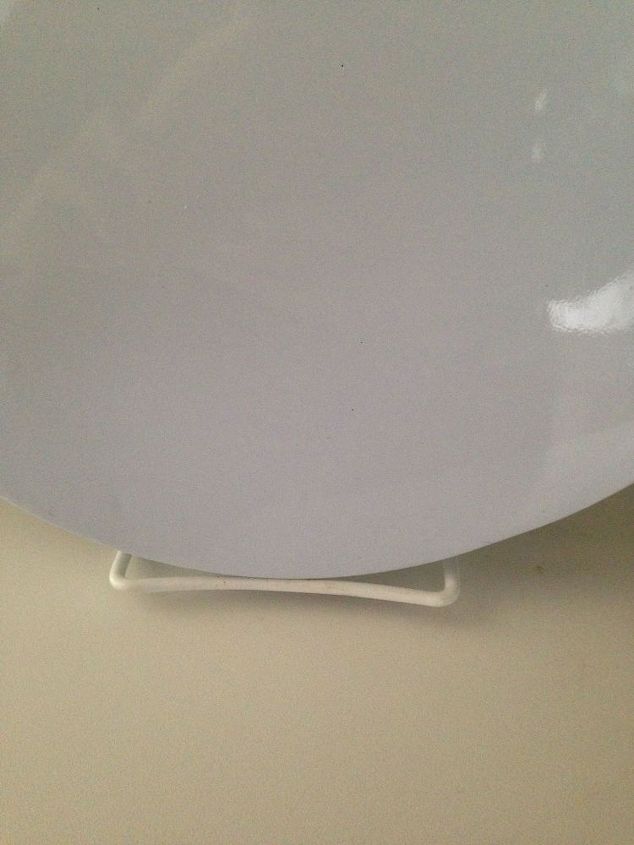
It worked perfectly!
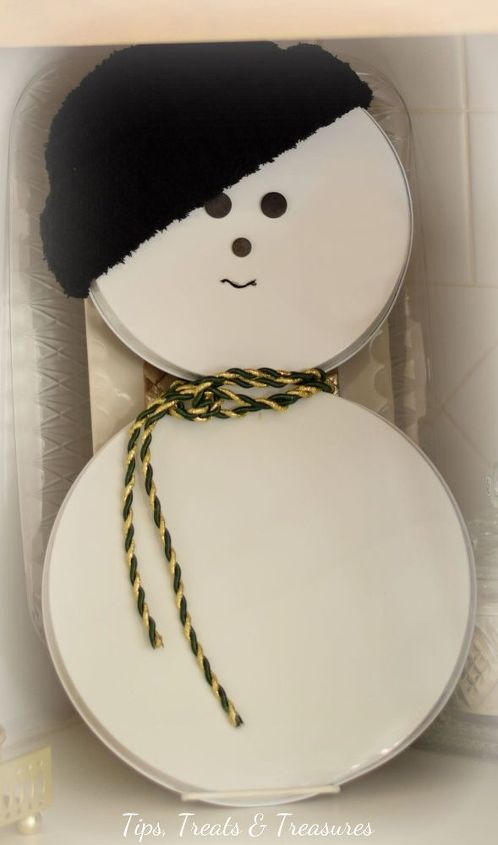
I couldn't help but smile back at my snowman when it was all finished, and each time thereafter when I looked at him! He soon attracted much attention and provoked many a smile.

Want more details about this and other DIY projects? Check out my blog post!
Comments
Join the conversation
4 of 58 comments
-
nice
-
Really cute. Some buttons added to the second cover would be nice too. Great idea.


Frequently asked questions
Have a question about this project?