


Installing a Wood Plank Ceiling
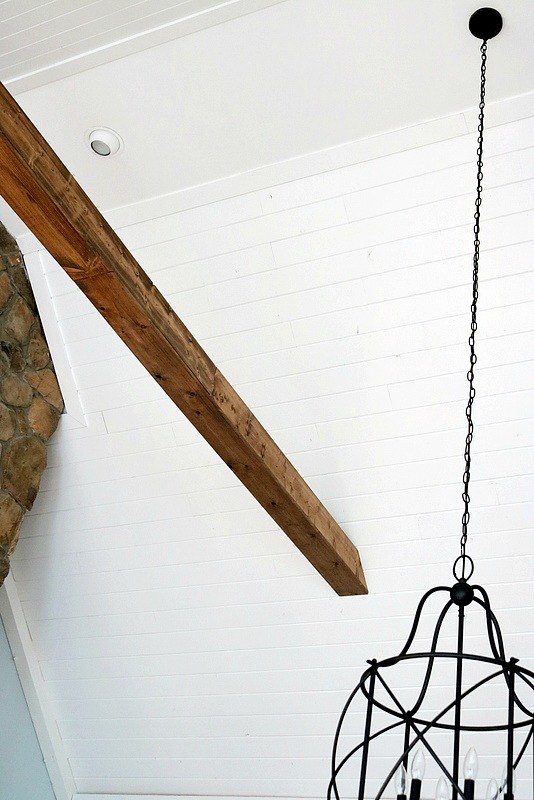
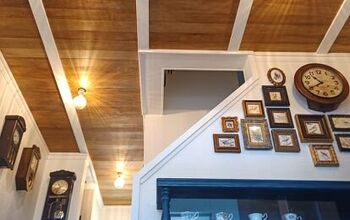
When we finished our first wood plank project on the ceiling in the family room, there was no doubt that we would be doing it again in our breakfast room. We just didn't think it would be the days before Thanksgiving! But despite the backdrop of big orange scaffolding in the room as we ate Thanksgiving dinner, we couldn't love the ceiling anymore then we do. The texture of the wood and the addition of the beams provides such interest and warmth to an otherwise vast white space.
Although installing the wood planks is not a difficult project, it can be time consuming. We opted to buy scaffolding this time around rather then renting. Believe it or not, it was cheaper to do it this way....and now I am the proud owner of some scaffolding.

The most important step in the whole project is even leveling of the first boards that go up. Use your level. If those boards are applied evenly, then the rest of the boards will be consistently applied. The thickness of the wood that you use is really up to.

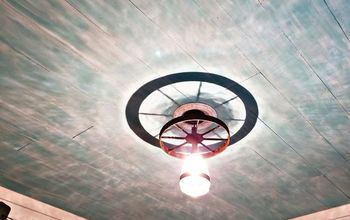
This is a before and after of the room, during installation and after the project was complete.

For more room pictures and installation tips, head over to Duke Manor Farm.

Want more details about this and other DIY projects? Check out my blog post!


Frequently asked questions
Have a question about this project?