


Sealing your wood deck for years of enjoyment

As a professional deck builder it is amazing looking back at how much things have changed & yet how many things are still the same. One of those items unfortunately revolves around longevity... Unlike traditional wood decks made 20+ years ago where one could allow them to weather naturally, you would be lucky to get a few year's worth out of a regular wood deck if you tried that now.
In order to enjoy a typical wood deck now it is important that you seal it. No matter if you are a pro or a DIYer, there are two simple rules that I have & hope you will keep in mind no matter what the project is; prepare it properly and follow the manufacturer's directions.
Choosing a sealer:
There are 4 main choices of sealers on the market, each with their own pros & cons. If you are tossing around two or more options, choose the lower tiered item as one can always move up the list but you can't move down it. For example if you are debating between paint & a stain – while you can paint over stain, you can't stain over a painted deck.
· Paint – while many people like the look of paint, this is one of the hardest items to maintain and can easily hide water damaged areas
· Solid Color Stain – while this can look like a paint,it is a stain that gets absorbed into the wood and is easier to maintain, depending on your application some wood grain maybe still visible and it is known to wear unevenly
· Semi-Transparent Stain – For a more natural look with some color, this is the most popular choice, it generally wears more even than solid color, but doesn't protect as well
· Waterproofing or transparent coatings – this will give you the most natural look, but do not hide stains or protect as well
For more on Oil vs. Water Based & other additives: http://bit.ly/DeckSealer
Prepare it properly:
If you ask any professional painter, they will say that on average 80% of their time is spent on properly preparing the surfaces, while only 20% is actually spent applying the product. While this number maybe inflated for decks, just remember that the amount of time spent getting it ready up front, is time well spent.
Getting Ready:
· Gather all the tools, safety equipment and materials that you will need. Take time to read the directions.
· Check the weather forecasts as most products are very specific on minimum temperatures & when it can be exposed to water
· Make sure the wood is dry enough to accept the stain, sealer, or paint of your choice
· Remove everything located not only on the deck, but around it like furniture, potted plants, wind chimes, etc...
· Cover any plants near the deck to protect them from the overspray & any chemicals you may use.
· Removing any large debris by hand and sweep the deck off, paying particular attention to the area's between the deck boards.
Applying your choice of Sealants:
Do you remember the second rule above? That's right; it's as simple as reading and following the manufacturer's directions. I will give you a few tips though that may or may not be located on the can.
· Apply plastic to any area's that you do not want stain or paint to get on, because once you get started, you do not want to stop to try to clean up an oopsie
· For all stains and sealers, do one complete board at a time – if the you only do half a board or work in sections, you will end up with obvious streaks where the two area's overlap
· Do not over apply the product – in most cases it will result in a flaky or splotchy finish
· Make sure the moisture level of the wood is low enough for work to commence – you do not want to trap all the moisture inside the wood
· Stain or seal all six sides if it is at all possible unless you live by the ocean. This will help prevent moisture from getting into the wood and accelerating the degradation of the finish.
· Let it rest – most paints, stains and sealers take at least a day or more to cure
For more Preparation Tips & other Decking Options; http://bit.ly/HTRC-Decks
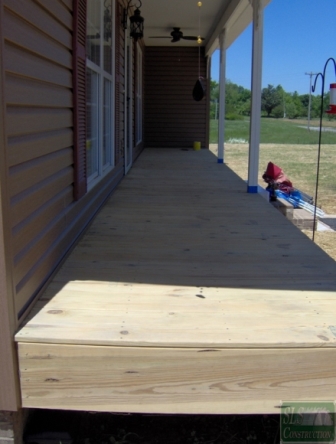
Make sure everything is off the deck & protect everything you don't want sealer on. We simply used painters tape around the post - for the vinyl we used a paper masker (not shown)
As a rule of thumb for our area - as the decking has to be butted together when installing it generally, when the gaps are like this we know it is dry enough & can be sealed - still best to check moisture content with a meter
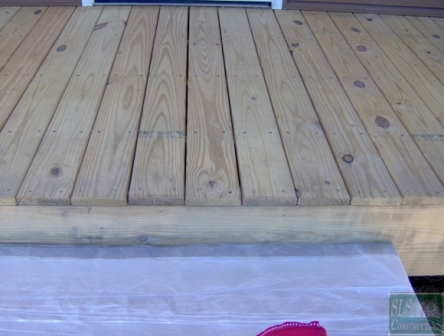
Got to love builders that leave those grade stamps facing up... we got a few tricks to help eliminate them linked above - in this case the homeowner decided to simply leave them
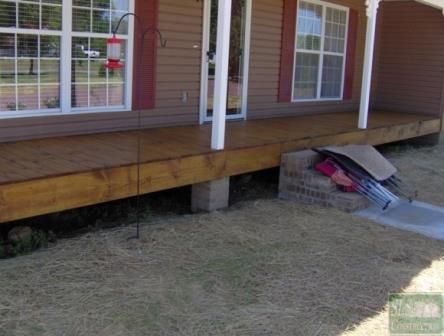
All finished & steps blocked off so pets & people wouldn't hop up there
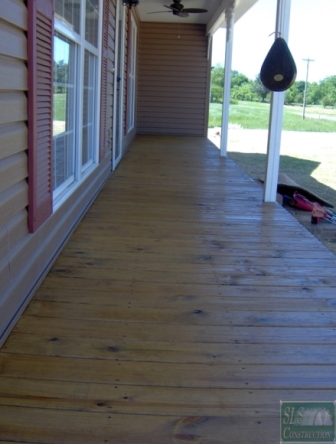
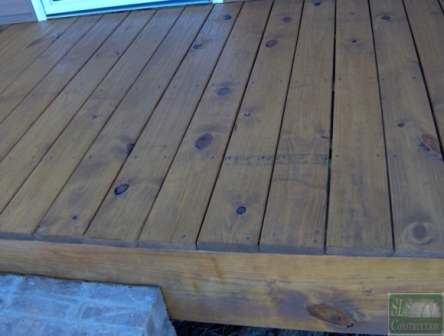
Just another finished shot
Comments
Join the conversation
2 of 49 comments
-
Sorry I have never heard of that product & without knowing what the exact issue is / type of wood you have it is nearly impossible to be able to help you out with a what next --- if you are not sure of species or even if you are pics do help also
-
I have cleaned and stained many decks, the three main points I would make about re-staining a dec are .... 1. Use wood cleaning chemicals, Allow to Dwell. 2. Pressure wash 3. Brush Application of semi-transparent oil, then wipe with rag. Wiping the boards with a rag after brush application can be key in some situations, always keep that tool in your mind.


Frequently asked questions
Have a question about this project?