


DIY Faux Printers/Map Cabinet

by
Jen Burns
5 Materials
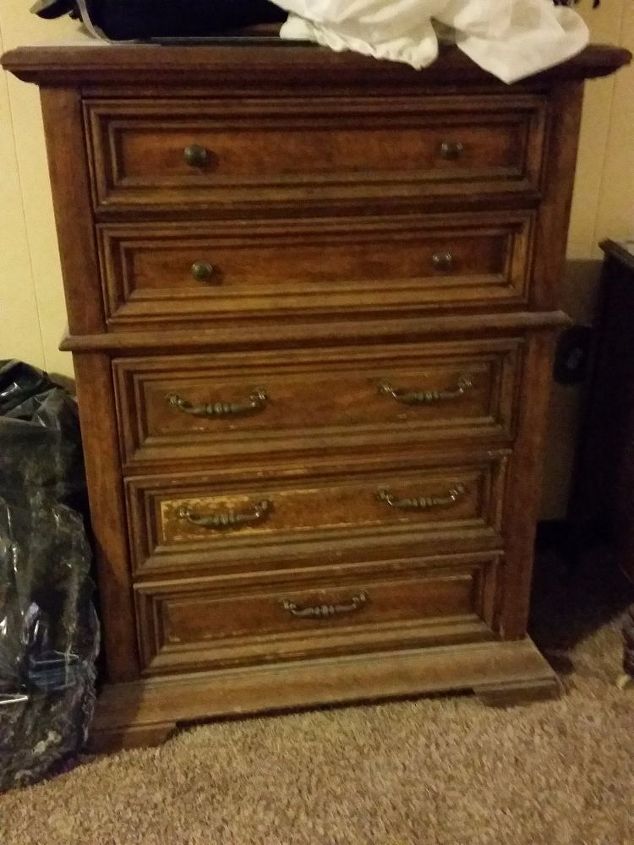
I started with this dresser. It was solid but in very rough shape.
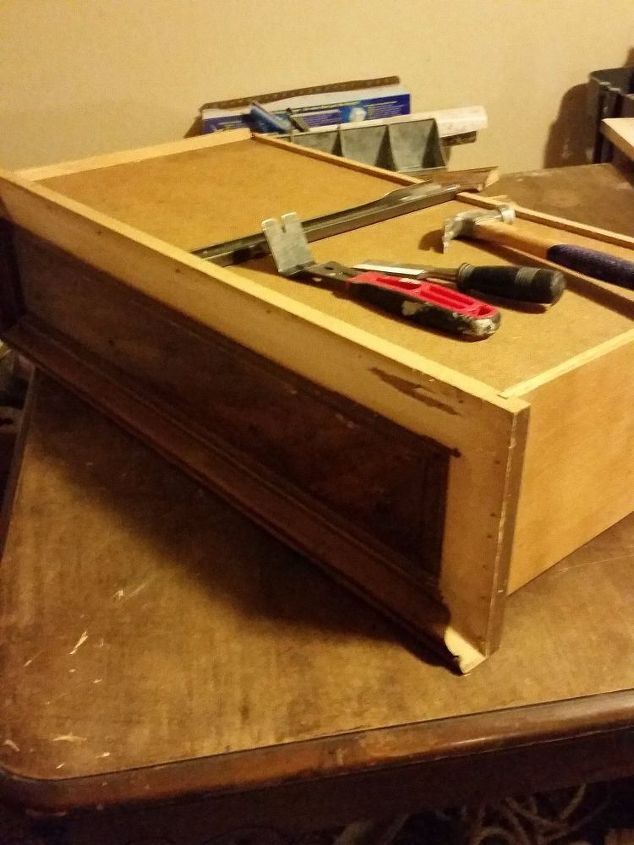
I began by removing all the trim from the drawers.
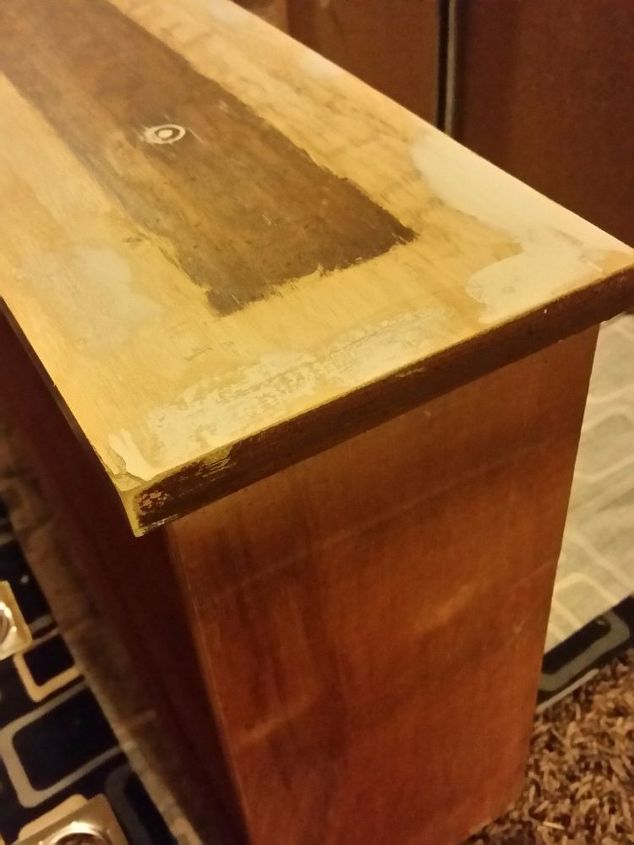
Filling and sanding a level surfae
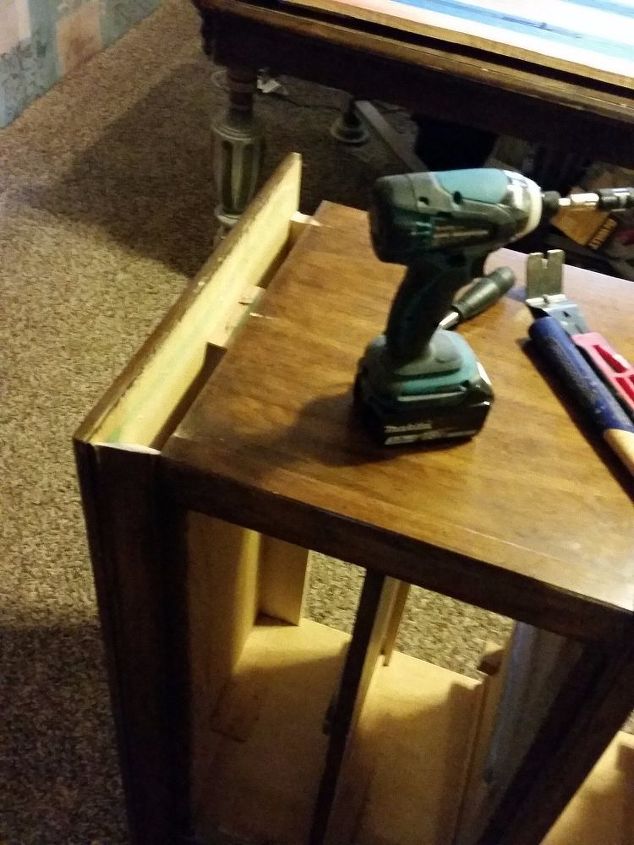
I also pulled a part the frame of the dresser, removing the trim and reframing the top.
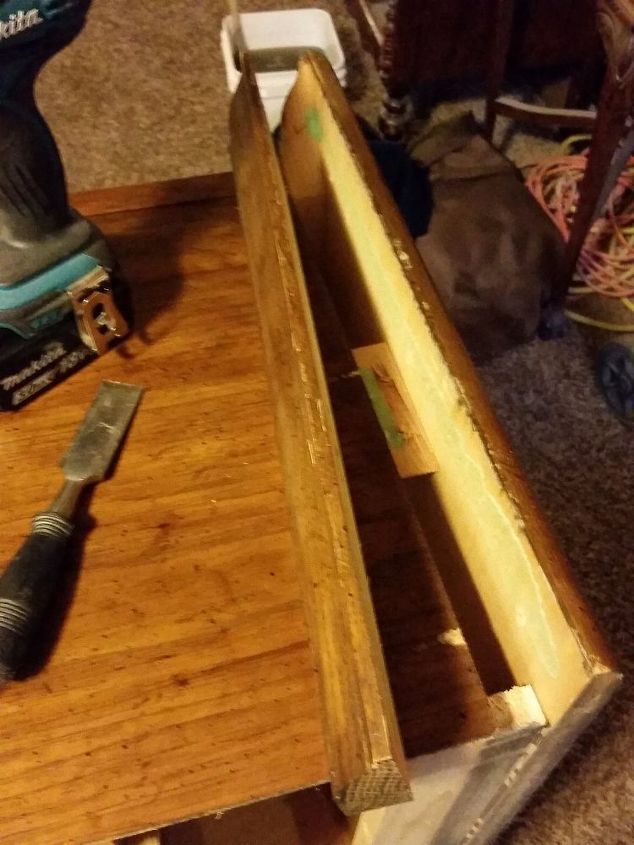
Removing frame trim
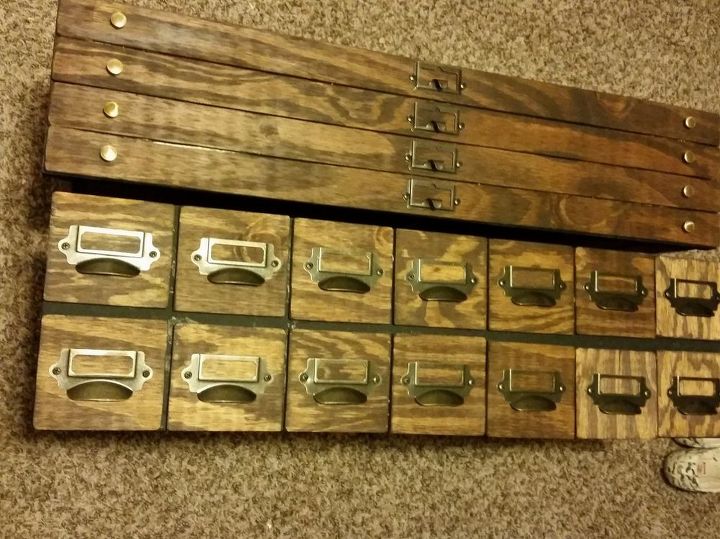
I then began cutting the strips and squares for the drawer faces. I used a track saw just to make it easier on me.
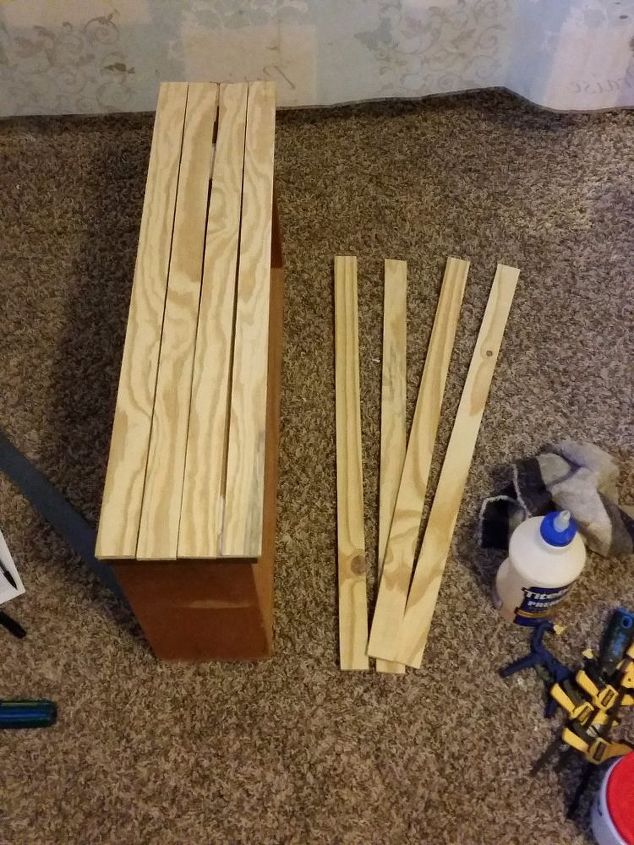
48 squares
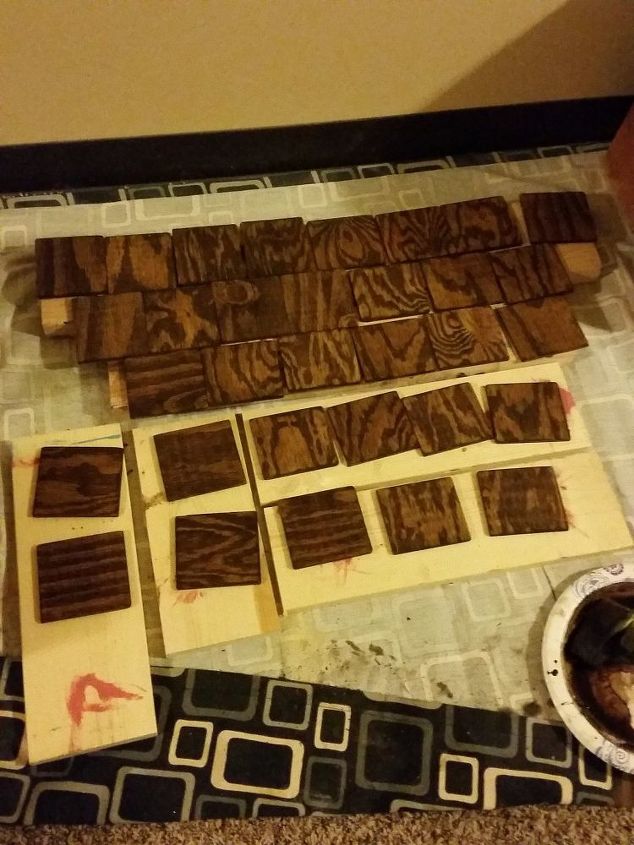
Then using the track saw again framed out the sides with a shaker style detail.
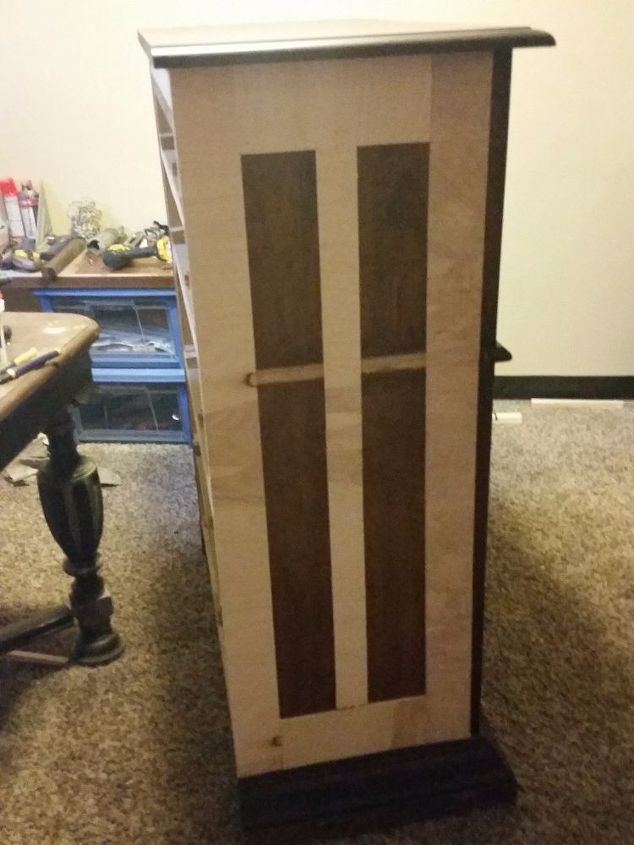
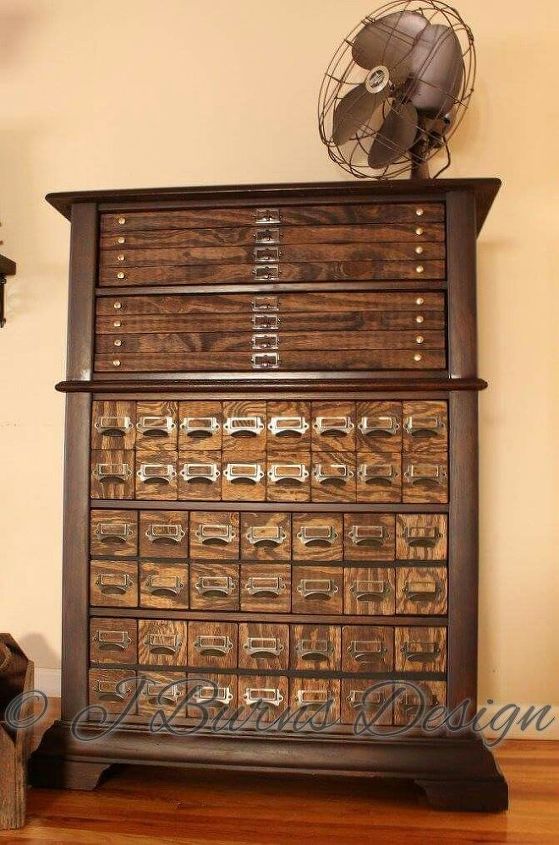
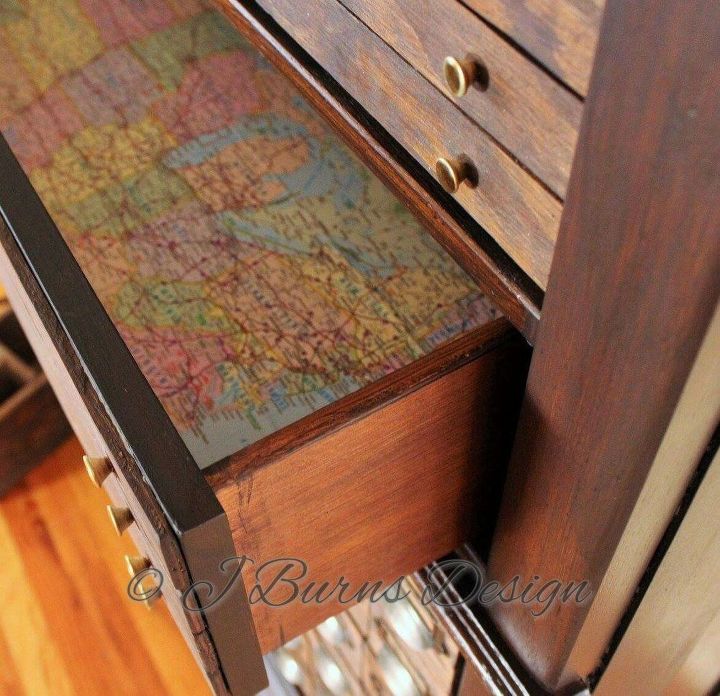
I then stained and added hardware.
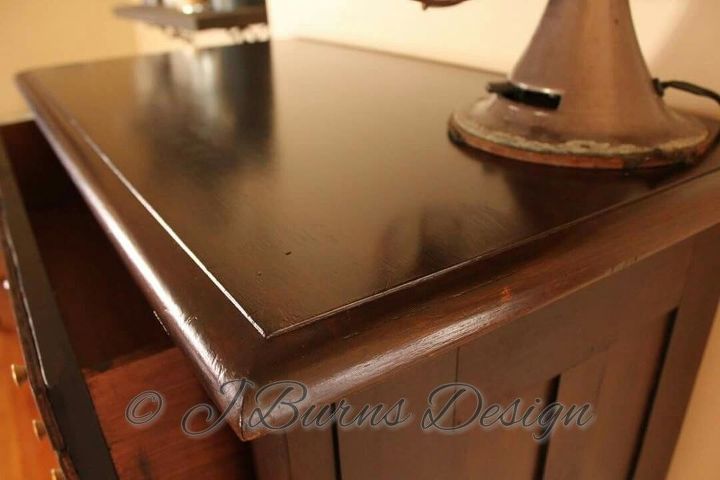
Now all it needed was finish and it's ready. All the hardware for this project was provided by D. Lawless Hardware. You can find them online and on Facebook.
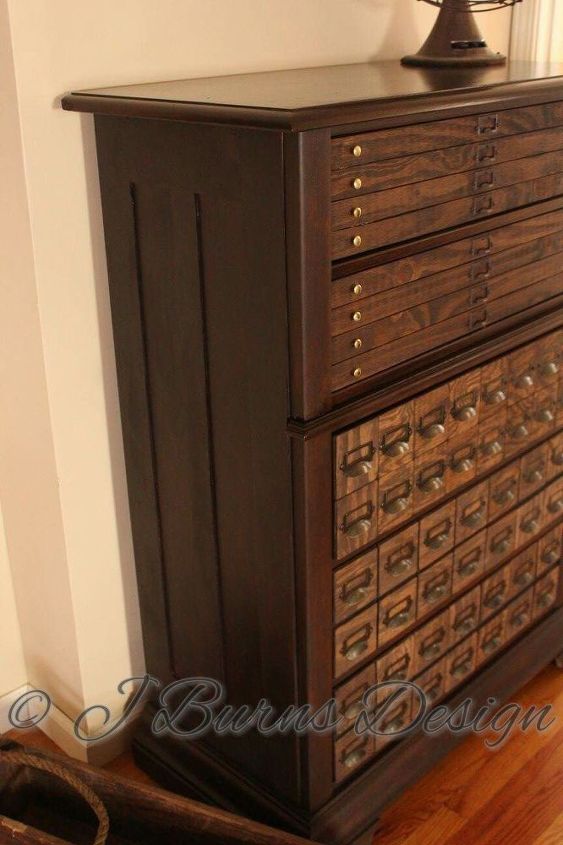
Love how it turned out.

Feel free to follow me on FB, Instagram and here! Thanks for looking.
Want more details about this and other DIY projects? Check out my blog post!
Comments
Join the conversation
2 of 191 comments
-
I love these old map drawers, pharmaceutical types, library chests..you get the idea! But the price tag!!! What an excellent project and one I have to try. Thanks for sharing!
-
This is so imaginative, ❤️ I use Lawless hardware and I know the cost was nominal compared to the look you achieved. A real thumbs up on this one, my sister👍🏼👍🏼👍🏼


Frequently asked questions
Have a question about this project?
Great job but how much did all that hardware cost?
The original dresser looks very much like mine. Is the manufacturer Unagusta?
Hi Jen, I am getting ready to do this project. I was wondering if you sanded the cabinet at all before staining it? And did you use different stains, or did the difference in wood (also, some with stain already, some directly onto fresh wood), change the hues? Thanks!