


Create Cement Lace Using Doilies and Other Crochet Items

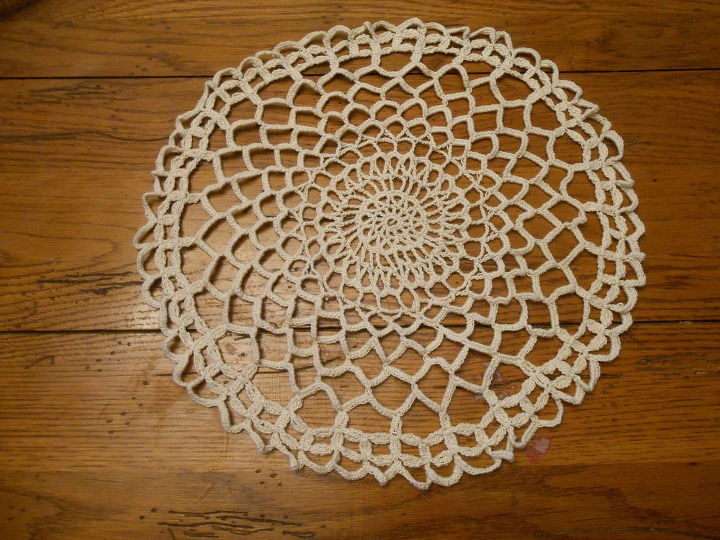
Are you looking for a new and different way to reuse or re-purpose those crochet doilies or other crochet items you have laying around the house? How about giving them new life my soaking them in a cement slurry creating yourself a unique and personal piece of home or garden decor? With this project you can take any crochet item you have and you can turn them into cement lace bowls, planters, candle holders, Christmas ornaments, wall hangings-the list is endless! You can go from from this lovely crochet doily:
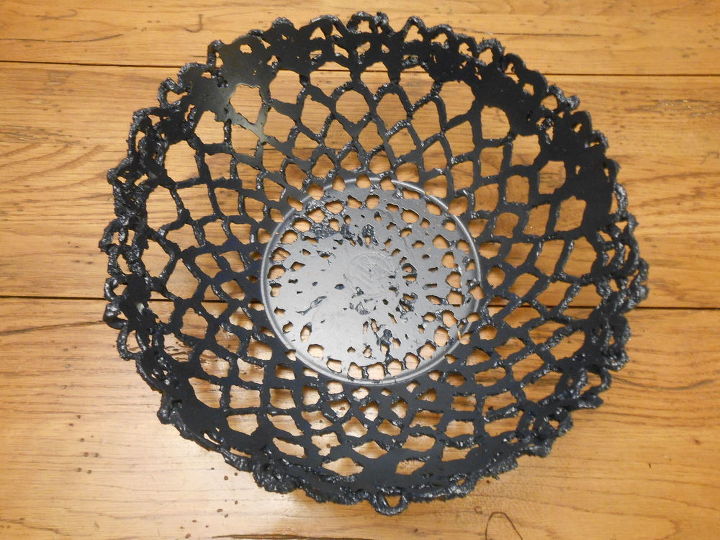
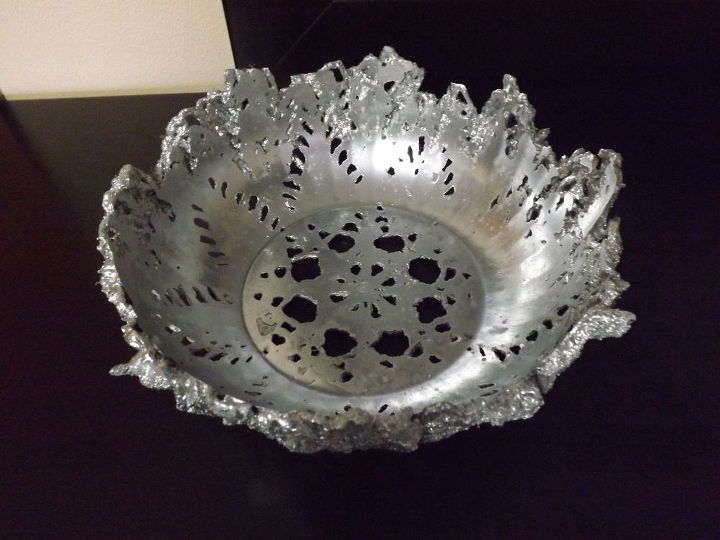
To this cement crochet bowl:
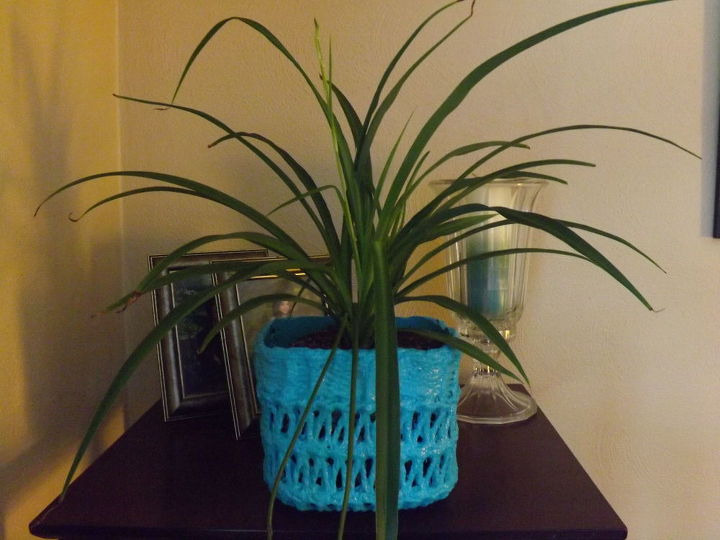
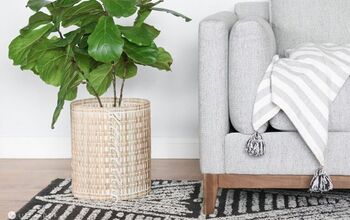
You can even make a planter with an old crochet hat:
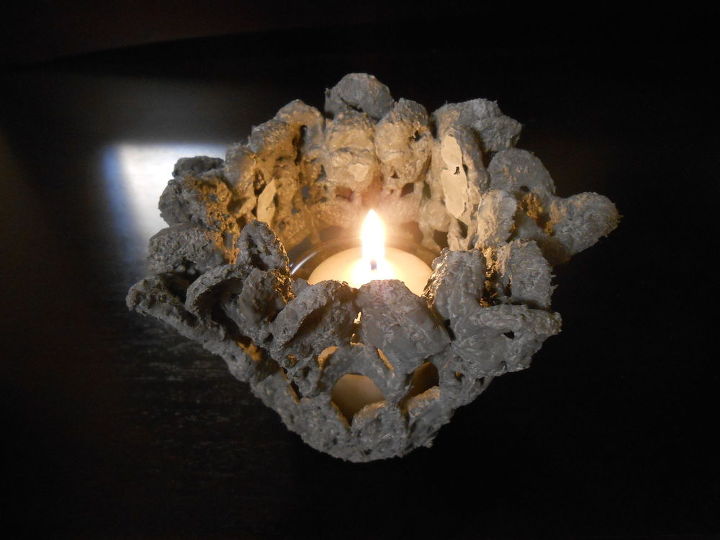
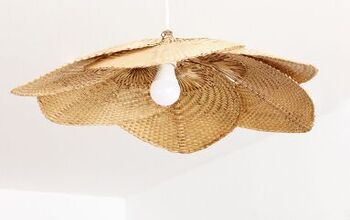
Or how about a candle holder:
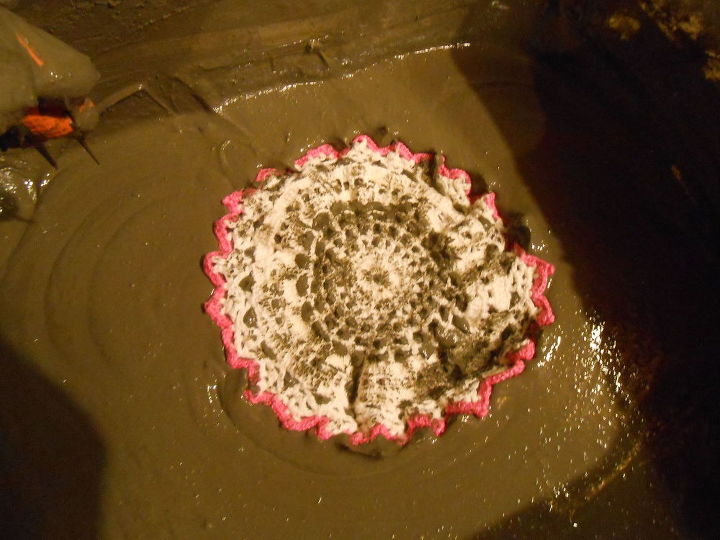
What you need for this project: 1. Crochet doilies or other items. They need to be made of an absorbent material such as yarn or cotton-paper, plastic or other non-absorbent material will not work. Wash and dry them before you start this project-you want your doilies to be free of starches or other stiffeners. 2. Concrete bonding additive-this is an important ingredient 3. Portland cement-NOT concrete or mortar. 4. Water-the amount is variable and depends on humidity and other factors. Other items you will need: 1. Dust mask (Always wear your dust mask when using cement products!) 2. Fine sieve 3. Measuring tool-I used a small plastic container 4. Long gloves (This mixture is strong and will burn your arms if splashed on them-trust me!) 5. Cooking spray or some other mold release 6. Safety glasses (Always wear your safety glasses!) 7. A sheet of plastic 8. A paint brush 9. Molds-plastic is my mold of choice since it is the easiest to work with. Wood works well. Glass and metal are just too difficult (sometimes impossible) to remove your cement piece from. The recipe for creating cement lace is: 5 parts sifted portland cement. 1 part concrete bonding additive. enough water to make a pudding consistency. Make sure that the area where you are working in is above 50 degrees but below 90 for both mixing and curing times. The first step for creating your cement lace is to pick and prepare your containers (I prefer plastic and wood) Note: if you are concerned about the cement releasing then cover your molds with some type of plastic like shopping bags or saran wrap. You can make any shape you want like bowls, or you can lay them flat to make ornaments or you can make planter shapes. It is all up to you:-)) Lay them out on a sheet of plastic like this (it can get messy). The second step is to grab your measuring container and sift your 5 parts portland cement into your mixing tub with your sieve-you don't want any lumps. Third, add your 1 part (1 measuring container) concrete bonding additive. You are creating a cement slurry. Mix-at this point it will be very dry. The fourth step is to add some water-not very much-about a half a part to begin with and mix. If it is still dry add a little water at a time until you have the consistency of pudding. After you have reached a pudding consistency you can drop your doily in and coat it-push it in, flip it over, swish it around until it is completely soaked into the fabric:
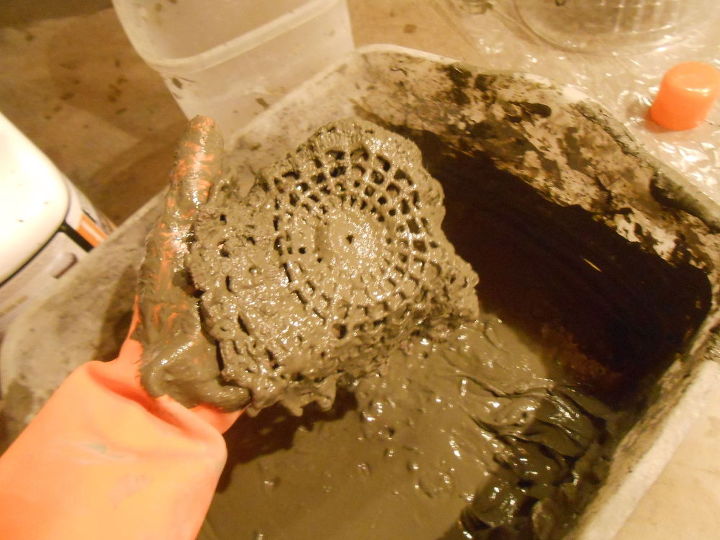
When it is completely soaked with the cement mixture pick it up and squeeze, wipe and shake off the excess. Here is a short video on how to do it: https://www.youtube.com/watch?v=dj9lbjza3Is Lay it on the "mold". Adjust the doily until you have it in the position you want. Try to center it as much as possible then take an old paint brush and wipe off the excess cement if there is any. Repeat with any doilies you have. If the cement mixture begins to look and feel dry mix a splash or two of concrete bonding additive in to bring it back to pudding consistency. When you are done with all of your doilies they are now ready to cure:
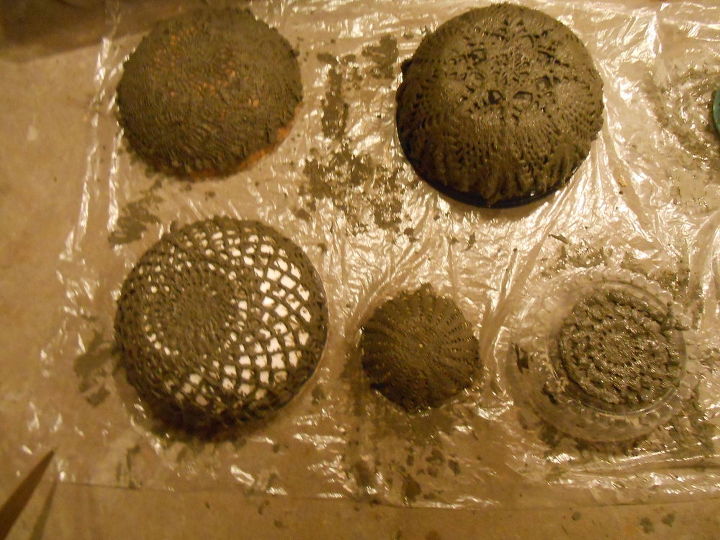
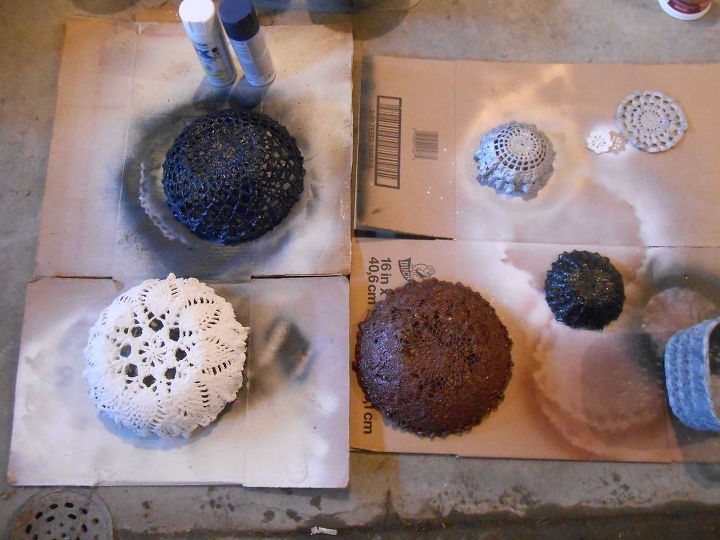
Let them sit until hardened. This usually only takes about 12 hours (sometimes less). After they have hardened they need to be misted then covered with plastic bags or a sheet of plastic for a minimum of one week. Even though it is tempting-do not unmold them yet. They are not completely set and may crack if you unmold them too early. They need to cure and the cure is necessary to create strength and to ensure there is no cracking of the lace. Make sure they stay damp under the plastic-mist daily if necessary to keep them damp. After at least a week you can uncover them and unmold them. If you use plastic they should release fairly easily. Do not force it from the mold-just work it off gently or tap it gently. The more flexible the plastic the easier it is to release. When they are unmolded allow the cement lace to "dry" for a couple more weeks. This will allow the moisture to evaporate so that the sealant or paint that is applied bonds to the cement. If the cement is not allowed to dry thoroughly the sealant and/or paint will not adhere and will peel off prematurely. If you have a few rough spots on your cement lace gently sand with a sanding block-do not sand too much or you will remove the cement. After a few weeks you can now paint your cement lace. A quality spray paint such as Rustoleum Universal or Rustoleum 2 in 1 with primer work great and they are what I use but there are concrete paints out there that will work. Quality craft paints will also work. Just remember to seal your cement lace after painting or if you wish to use your cement lace for food purposes make sure to seal with a food safe sealer. Here are a few I painted:
Here is one that is finished-I used a chrome spray paint:
I hope my post has inspired you to re-purpose those doilies into an original and beautiful piece of home or garden decor that will last. Just remember that there are so many possibilities to what you can make using this idea so get out there and create something for yourself (or someone else)! If you want more information on this project or any of my other projects stop by and check out my blog using the link below.
DIY home decor using vintage fabric
Comments
Join the conversation
-
What a great idea to keep those memories from family handed-down doilies! My aunt used to crochet them and I never knew what to do with them. Now I do, thanks!
-
Really pretty idea. I've made some bird baths from leaves


Frequently asked questions
Have a question about this project?
Good I.like what you made but wonder how you came up with this great idea
after YOUR ITEM IIS PAINTED; IF YOU PLAN TO PLACE FOOD ITEMS IN IT, DOES IT REQUIRE ANOTHER PRODUCT TO MAKE IT FOOD SAFE.??
There are square doilies too. I imagine you could use a $ store plastic basin as a square mold.
but what would you use to mold a table runner into a rectangular window box?
But you’ve gotten my creative streak shifted into high gear and I really look forward to trying to make these. Thanks for a really good idea and tutorial.