


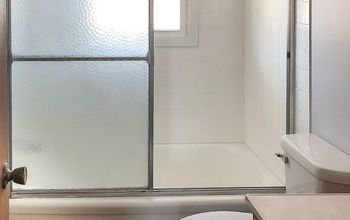
Fix Your Shower and Tub Caulking

What to do about that leaky shower and tub caulking, once and for all!
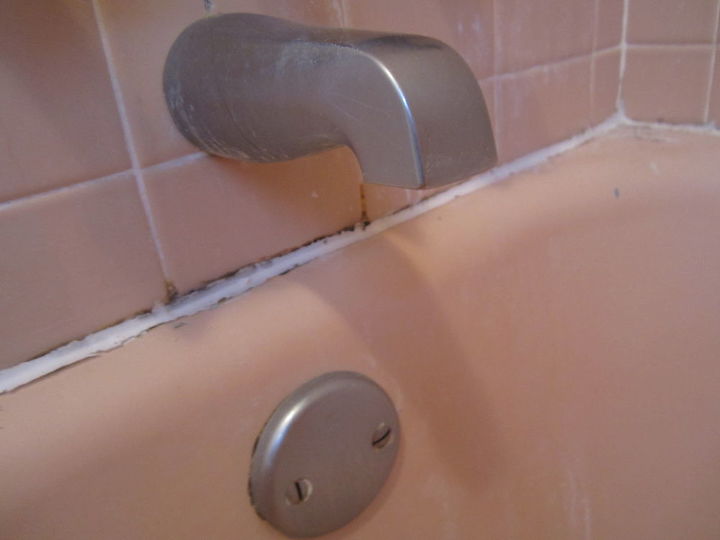
This common bathroom problem affects almost every home after a while. Bathrooms tend to collect moisture, which can break down your caulking over time. Don't worry though, the fix is simple.
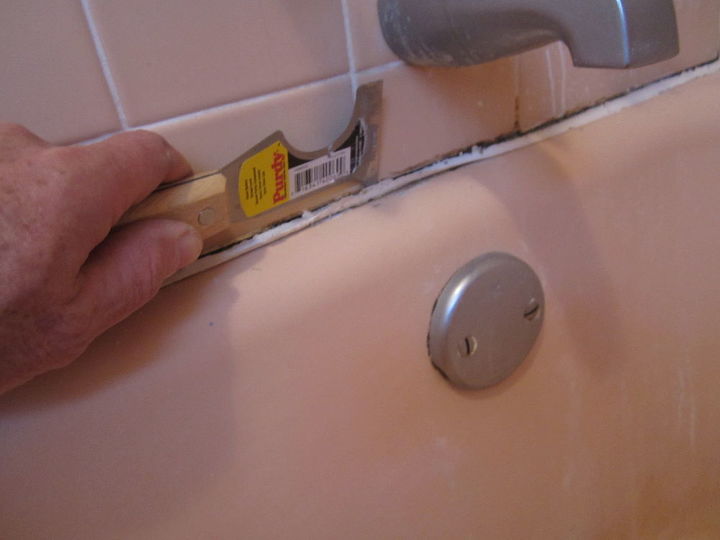
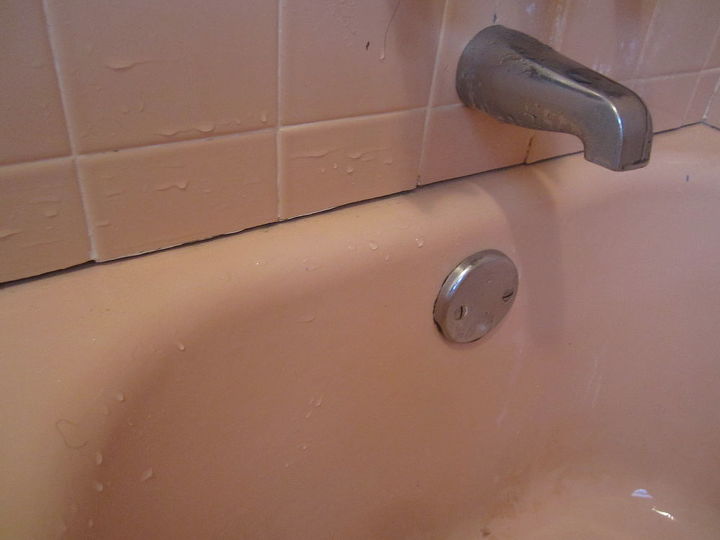
With the point of your 5-in-1 tool, remove the old caulking.
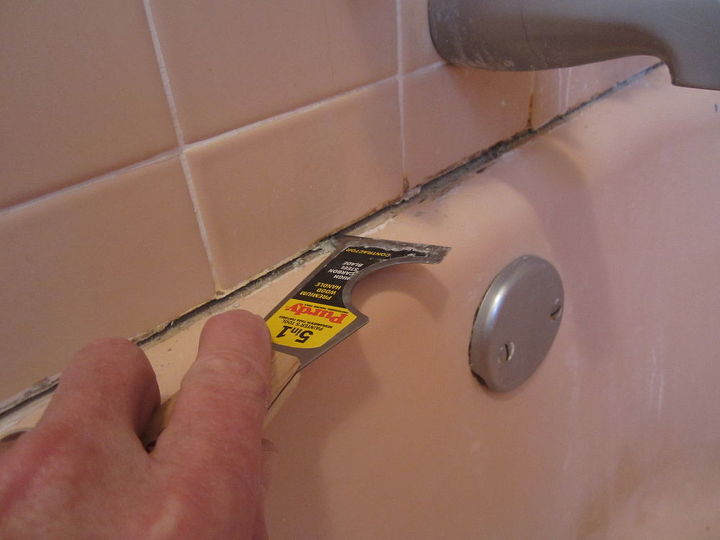
The inside of the gap needs to be free of obstruction so the new caulk can fill the inside. Remove what you can of the old grout off of the inside edges.
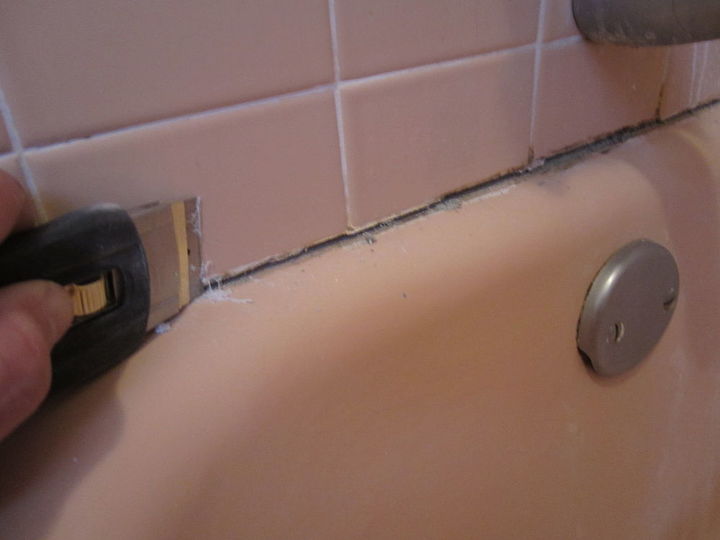
With a razor blade holder, clean the remaining caulk off of the surface of the tile and tub.
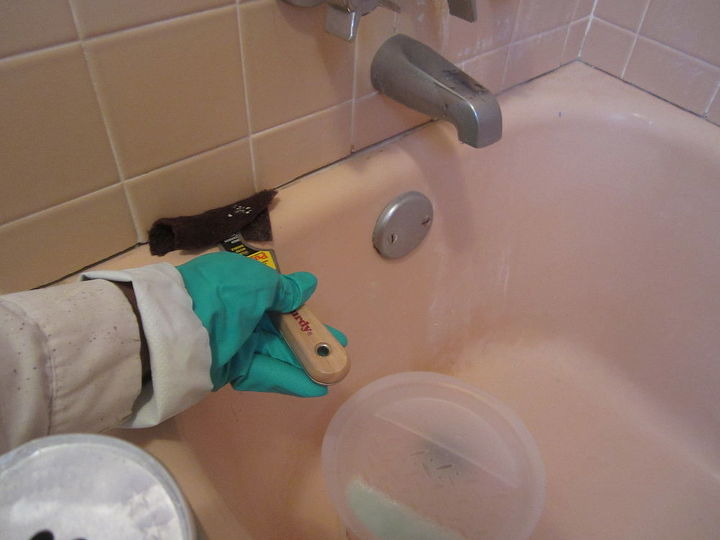
Using a Scotch-brite pad soaked in Ajax and water, clean outside and inside the crack. All soap scum should be removed around the crack.
Flush the area to remove the dirt and soap.
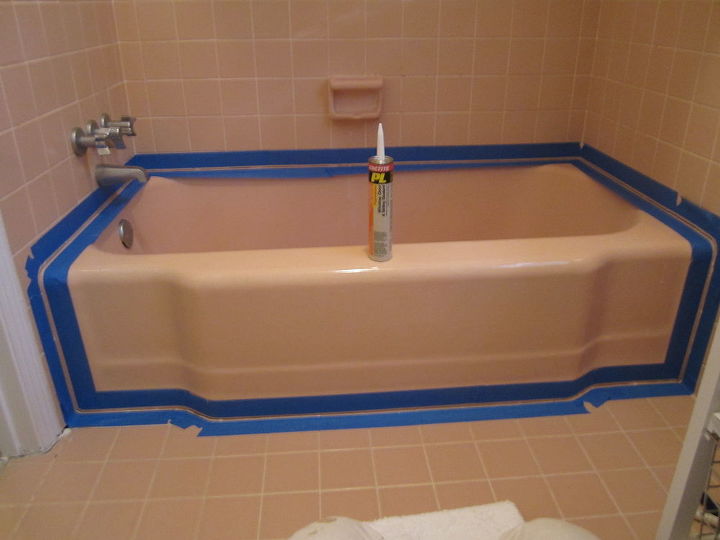
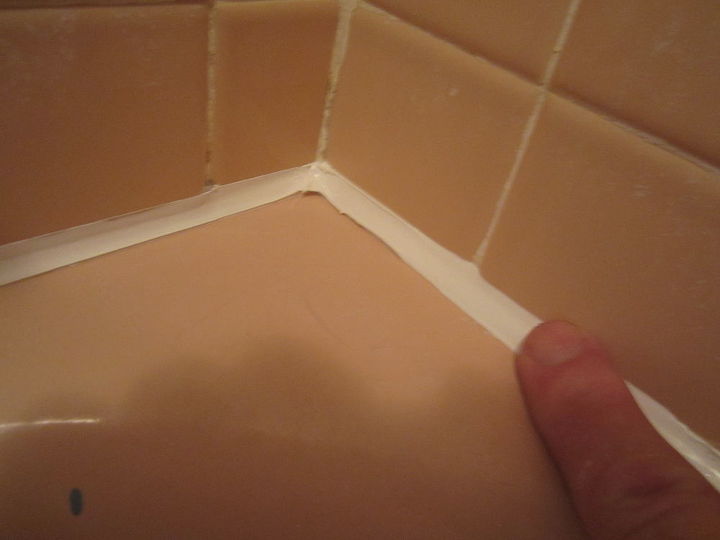
Precisely apply tape to follow the profile of the crack making the outline of the finished caulk line. Leave about 3/16 of tile exposed on each side of the crack, enough surface for the caulking to get a good grip.
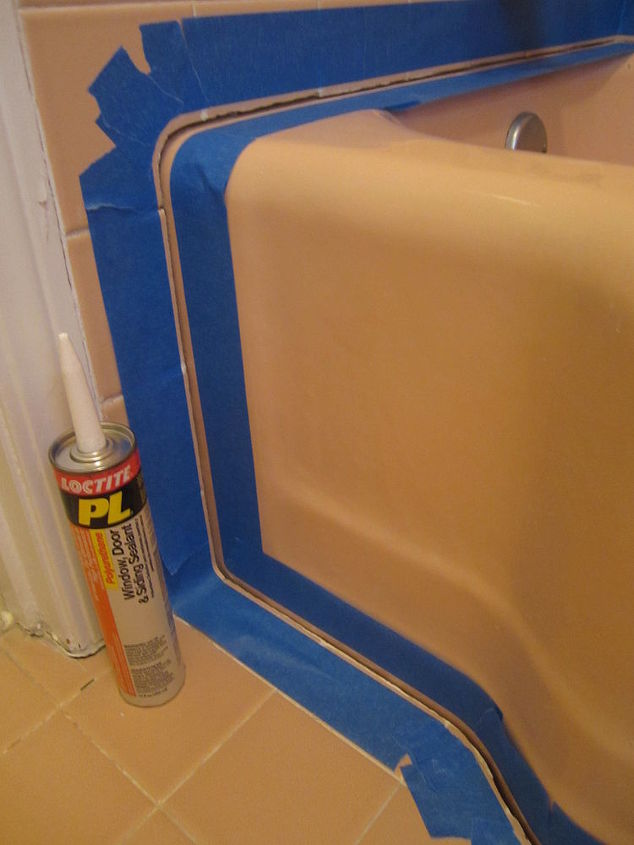
Polyurethane caulk works best. This PL brand is available at The Depot.
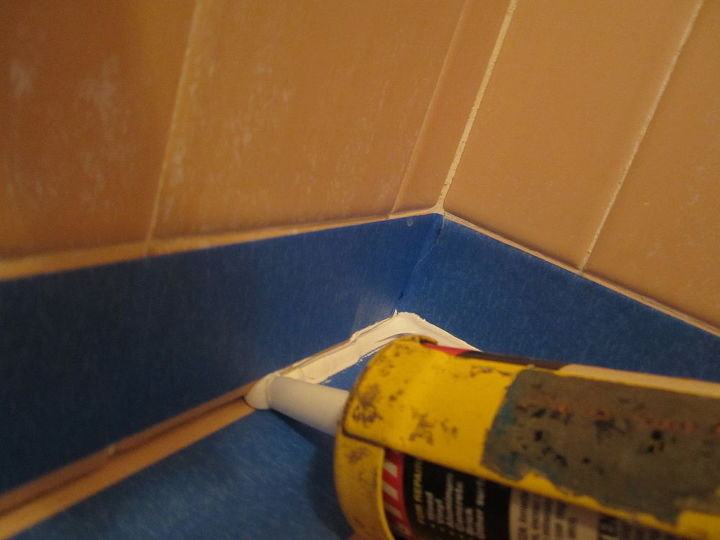
Fill the gap with sealant, pushing sealant ahead of the nozzle. The little bulge of sealant in front of the nozzle is the only way you will know that the gap is filled.
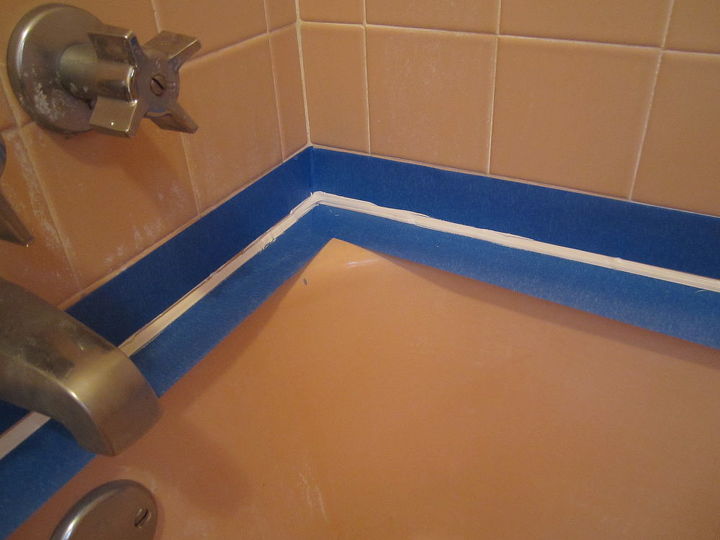
Making progress; caulk is evenly in place
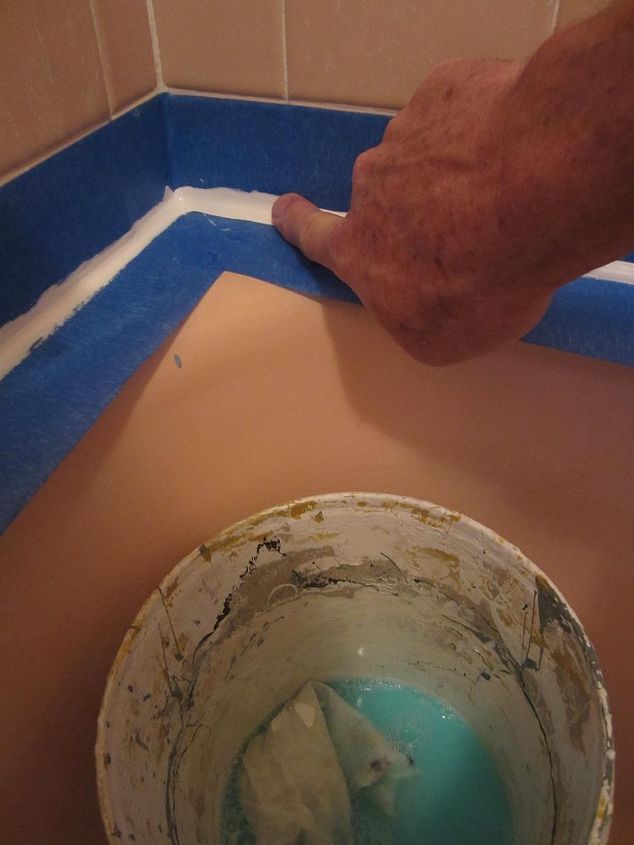
Put a big squirt of dish washing liquid in a quart of water and throw in a small rag. Keeping your fingers wet in the super saturated soap solution, finger the caulking smooth.
Almost there.
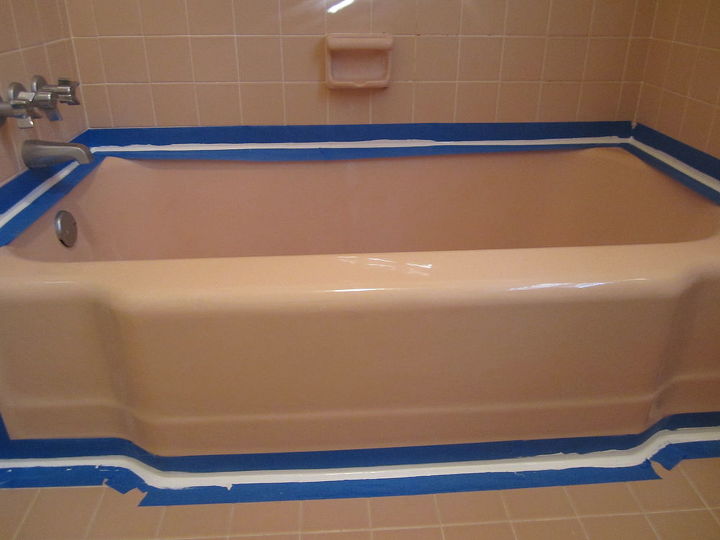
After removing the tape, there will be little bit of a heavy edge which you can easily smooth down with a last light pass of your soapy finger.
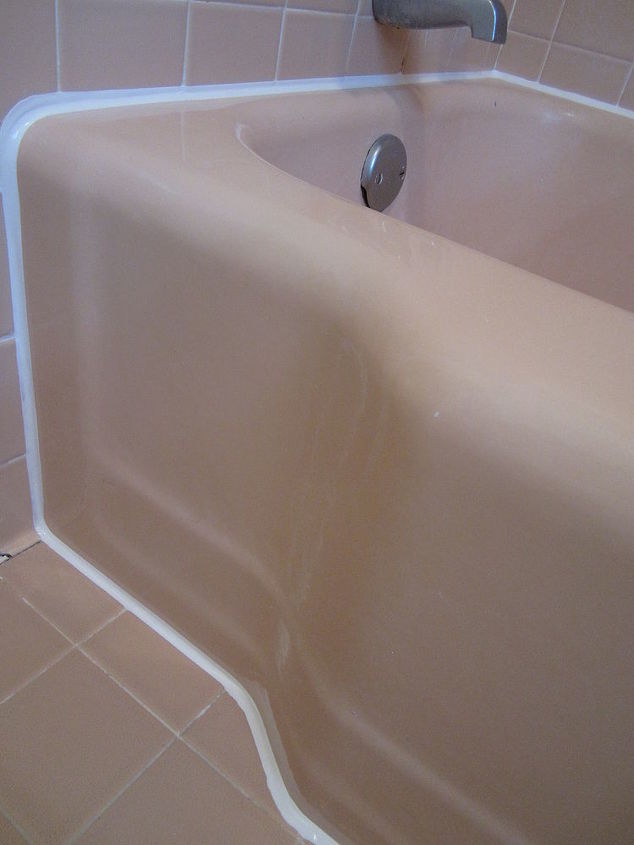
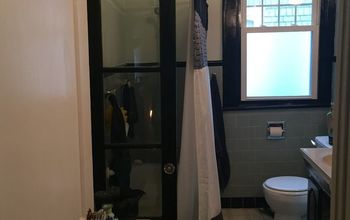
Like a factory finish!

The only thing that could have made this gasket turn out better would have been some band-aid colored caulk to blend in, but then you could not see how nice the caulk looks.
Comments
Join the conversation
-
Thank you! Just the instruction I needed to fix my mum's shower!
-
Awesome


Frequently asked questions
Have a question about this project?
how do i can a shower head
Is there a certain blue tape to use. I tried with blue painters tape and it also took some of the caulking off. Did I wait too long to remove tape