


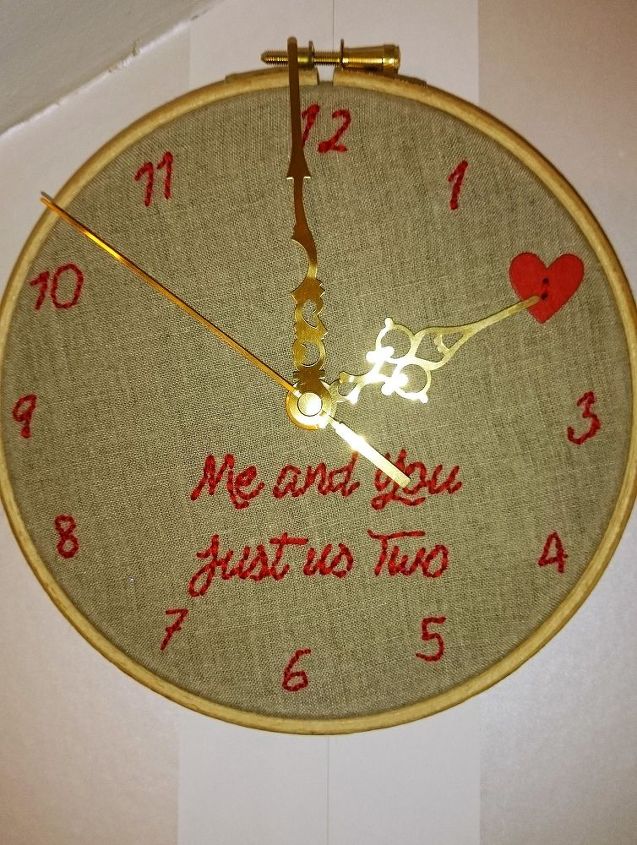
DIY Valentine's Embroidery Hoop Clock!

by
Hellofifi
$10
1 Hour
Medium
Valentine's Day, another holiday that makes it totally acceptable to eat chocolate for breakfast, lunch and dinner. As most of us are on the healthy eating wagon after the Christmas frivolities (I'm still searching for said wagon...), why not replace the traditional gift of chocolate with this crafty clock!
You'll need:

This is the first time I have EVER embroidered ANYTHING. I am by no means an expert, i just found this method the easiest!
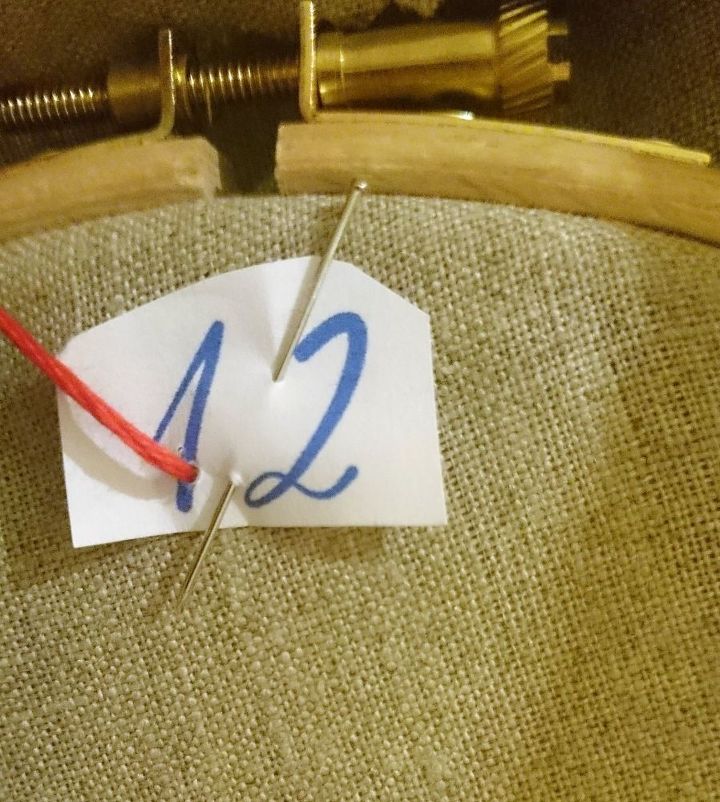
Knot one end of the thread and thread your needle. Don't make your thread too long otherwise it will tangle. There's nothing I hate more than threading needles so I tried to be savvy and thread an extra long piece of thread which tangled after my third stitch. After trying to fix it and continuing on I eventually had to pick my stitches it out! It's true what they say about trying to cut corners!
Then thread the needle back through the very bottom of the number.
Your first stitch should look like this!
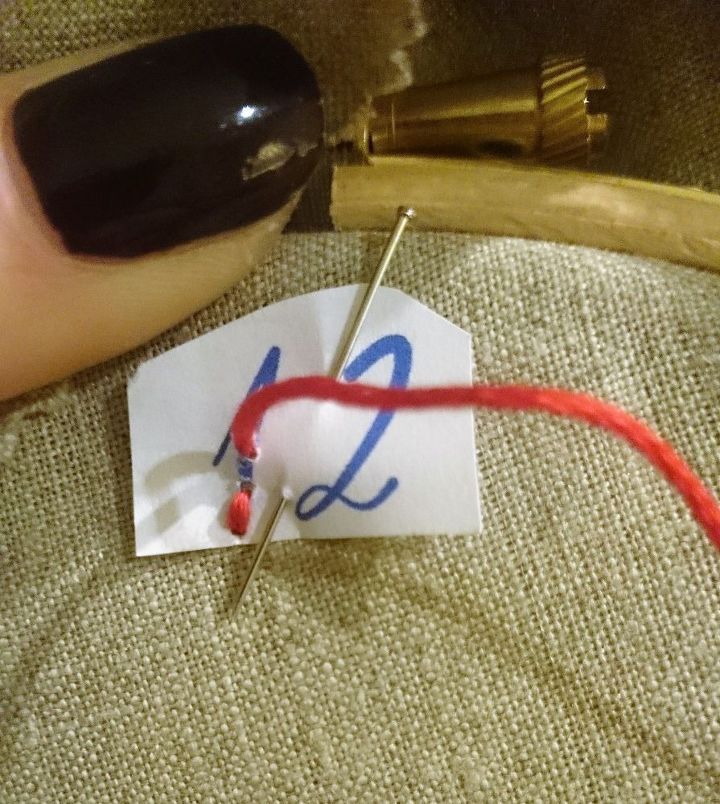
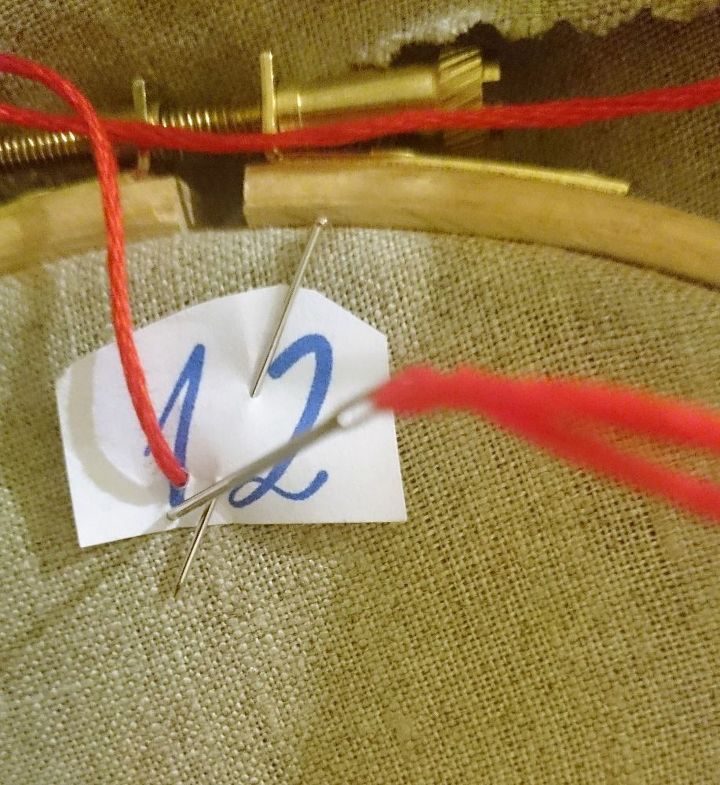
For the second stitch start a few millimeters away from the first stitch, pull through then thread the needle back through the top of the first stitch (the first point of entry). Going back through the first stitch will prevent any gaps between your stitches. Keep doing this until you finish the number. Try to keep your stitches no bigger than a grain of rice and when you get to a curve keep your stitches small. I had a mini panic attack when I got to number 8, but small stitches are the secret here!
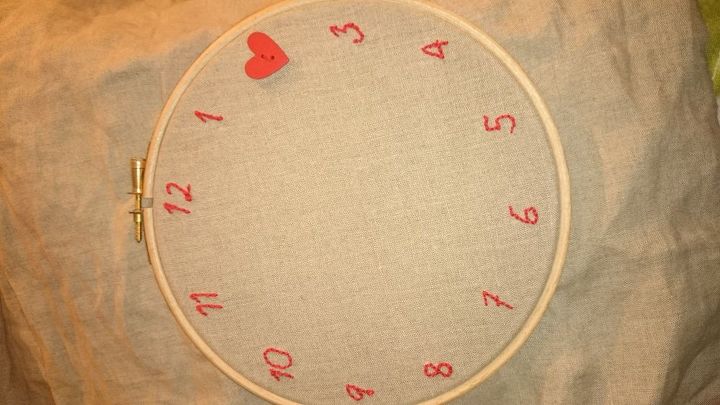
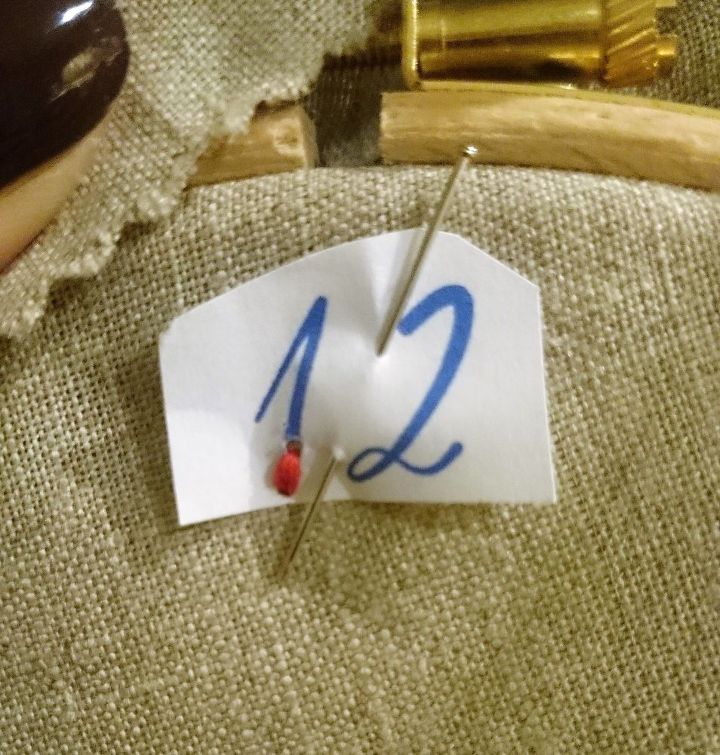
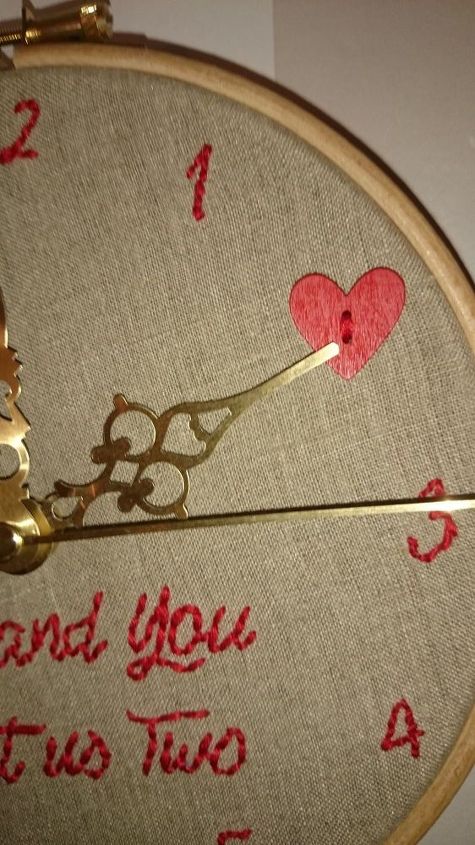
The first number is the trickiest, but it gets easier as you go along. Once you've finished stitching a number gently pull away the paper. Tighten any stitches that loosen up by pulling the thread from the back. If you have enough thread left carry on to the next number. If your fabric is fine/pale, you'll probably see the lines of thread running from one number to the next so you'll have to knot off the thread and start afresh for every number.
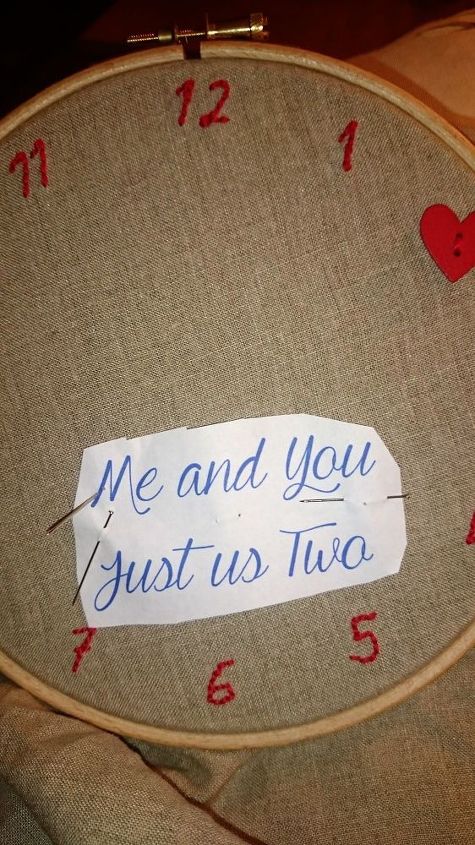
Next, pin your quote template to the fabric. Make sure you don't pin it too close to the centre of the clock as this is where the clock hands will be. Use the same stitching method as the numbers.

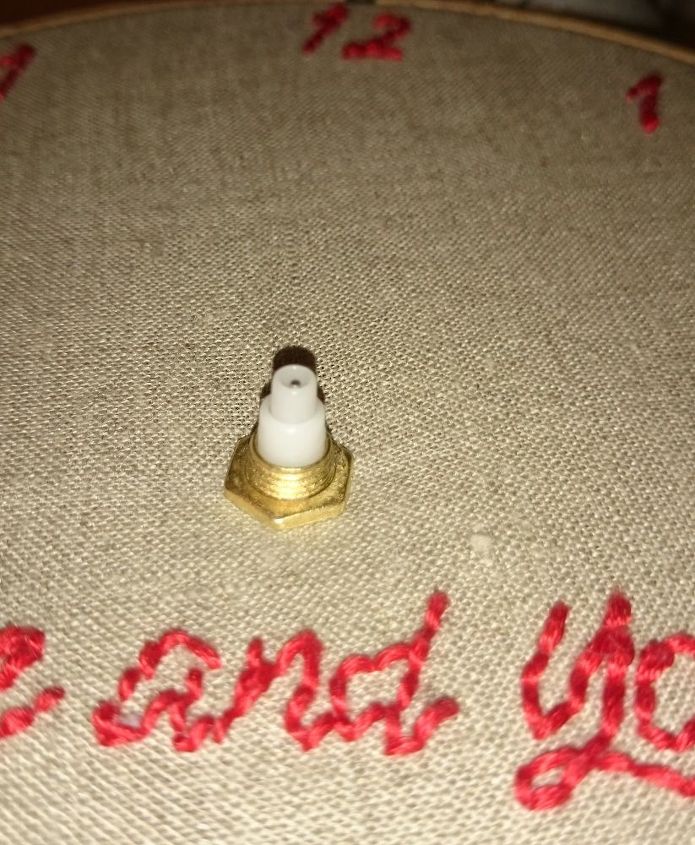
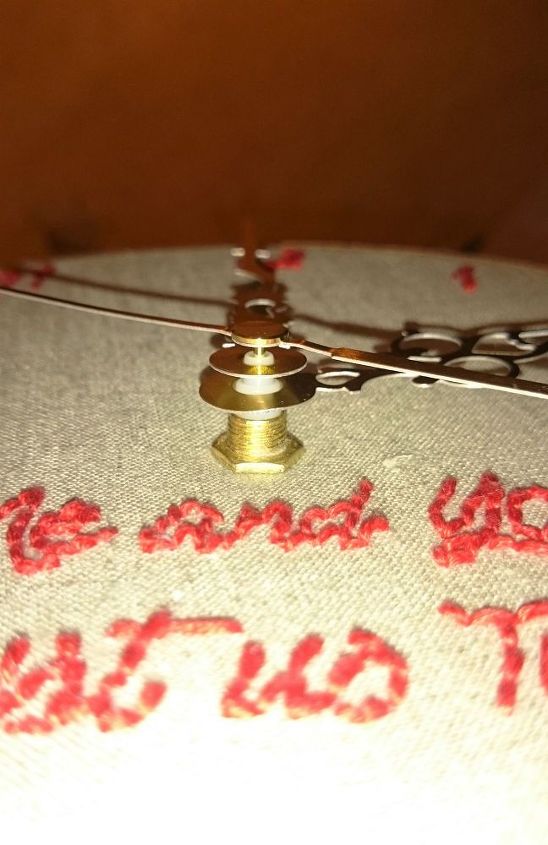
Mark where the centre of the clock is and make a hole big enough for the spindle to poke through (the spindle is the pointy bit the hands attach to). Most clock mechanisms will come with a nut to screw onto the spindle to hold it in place. If yours didn't come with a nut, use a bit of double sided tape and tape the battery pack to the back of the fabric.
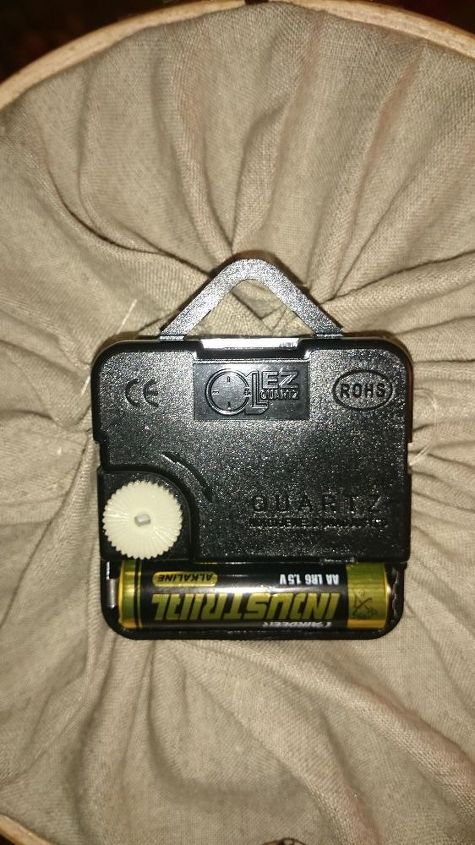
To close the fabric at the back, sew a light running stitch around the edge of the fabric and pull tightly around the battery pack to create a little gathered parcel. Tuck the edge of the fabric behind the battery pack.

For more crafty DIY's check out my blog!
Want more details about this and other DIY projects? Check out my blog post!
Comments
Join the conversation
3 of 9 comments
-
That's the cutest thing I've seen in a long time!!!
-
Well done! I love the way you pinned the numbers on. I tend to wing it and sometimes end up ripping thread out.


Frequently asked questions
Have a question about this project?