


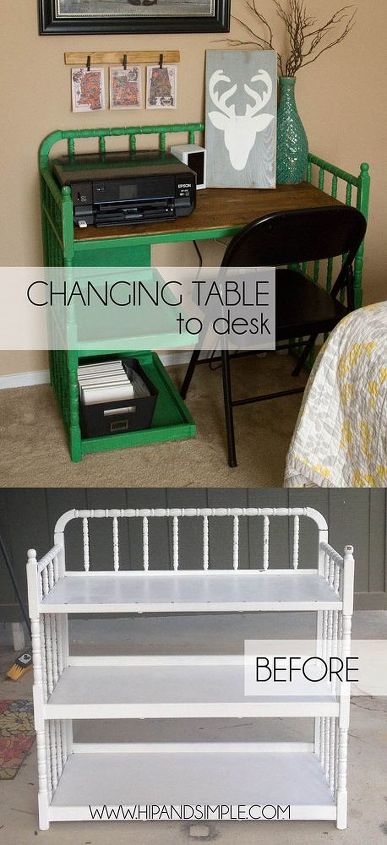
Changing Table Converted to Desk

by
Jessika Reed
Medium
The sad time has come for us to retire our changing table. I couldn’t bear to get rid of it, it holds such a special place in my heart as we have used it for both of my babies, now toddlers too big for it. I decided to make it a project and now have a changing table converted to desk, and can keep this sentimental piece going strong with us.
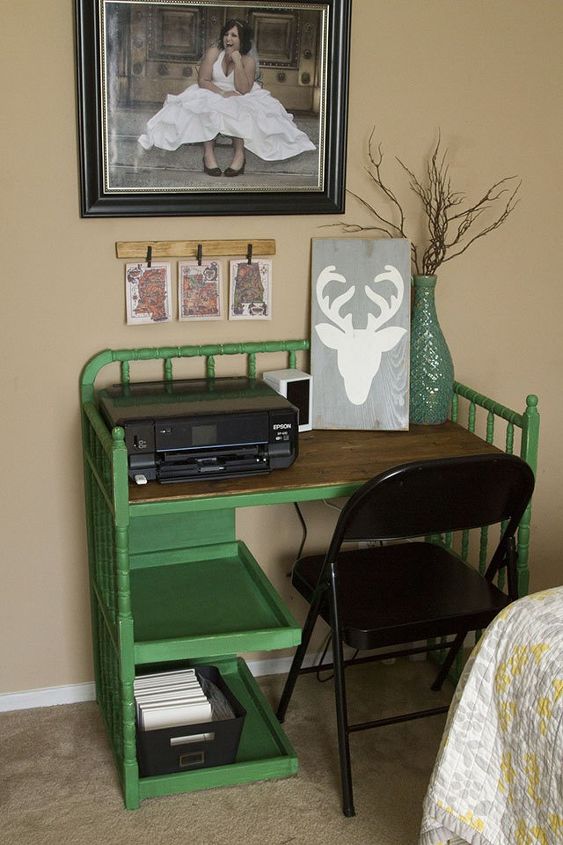
I've seen some fun ideas where people convert their changing tables into drink carts or plant tables for the garden but those aren't really anything we'd actually use so I decided to make it into a desk for our bedroom.
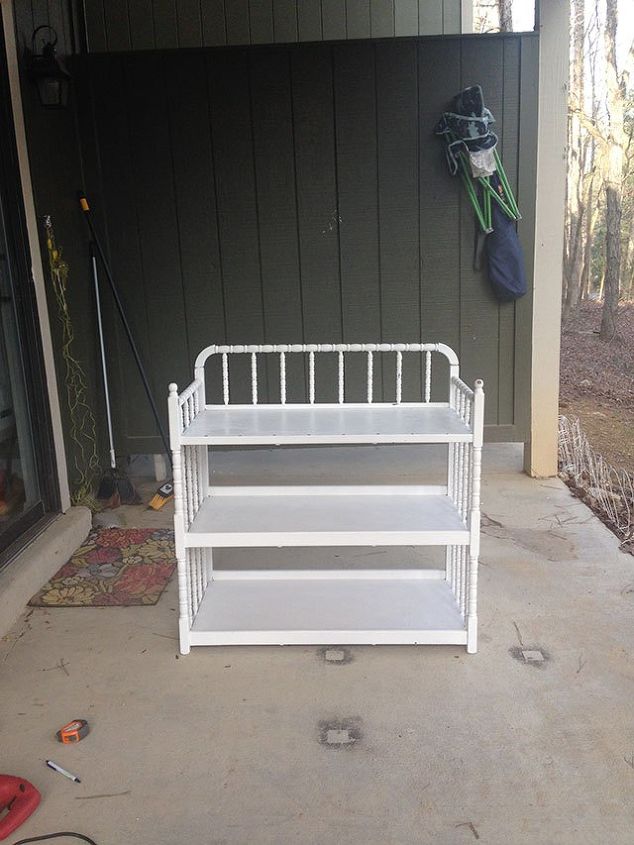
We picked up this generic changing table off of a local yard sale site when we were expecting our first baby. It was in rough shape and stained wood. I sanded it down and painted it white and it has served us well. The front railing isn't shown but I removed it to open up it up and make it more like a desk.
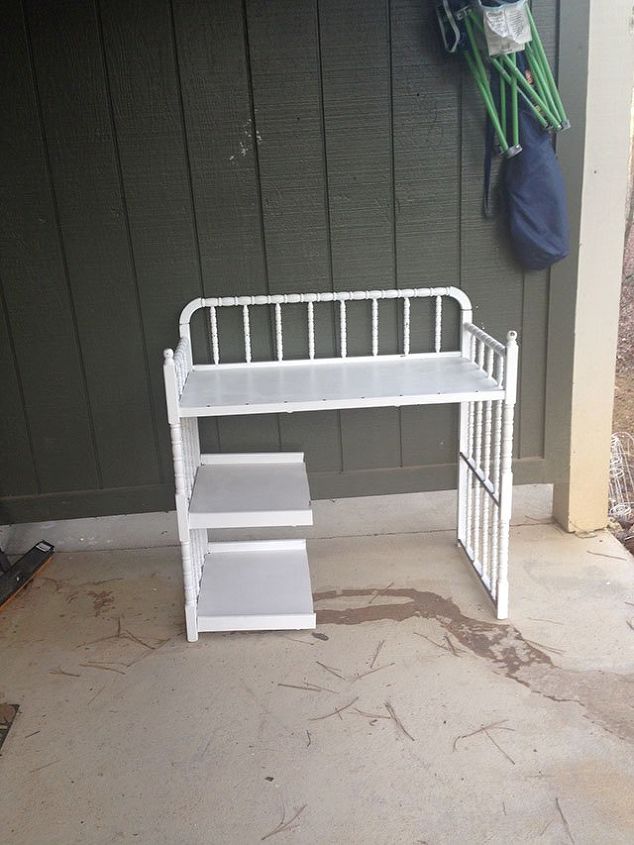
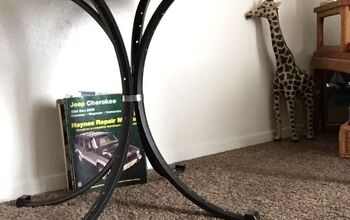
I cut off about 4" on each leg to make it the height I wanted. I also cut down the shelves to be the length I wanted to open it up for a chair to slide in. You'll notice the shelves were not stable at this point, I'll address that later.
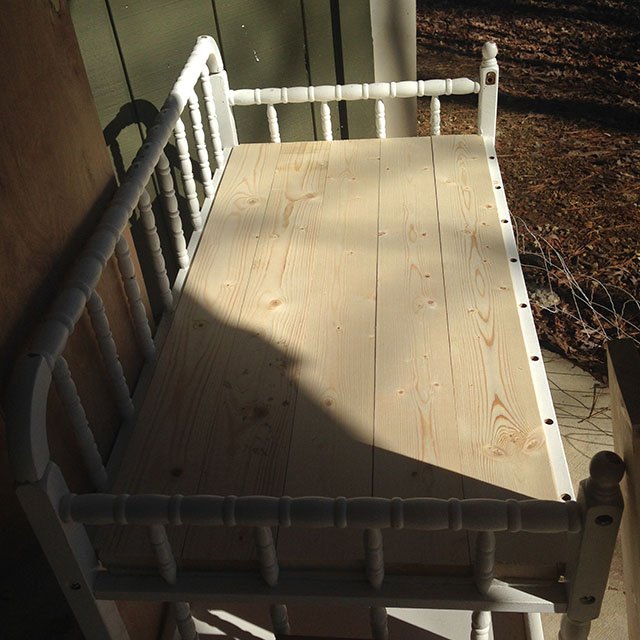
I cut down some 1x3 pine boards to fit on the top and raise it up above the front lip. Once they were cut, I set them aside so they wouldn't get paint on them. I tightened all the screws in the legs and filled everything in with wood filler, including the holes from the front railing. Once everything was dry, I sanded it really smooth.
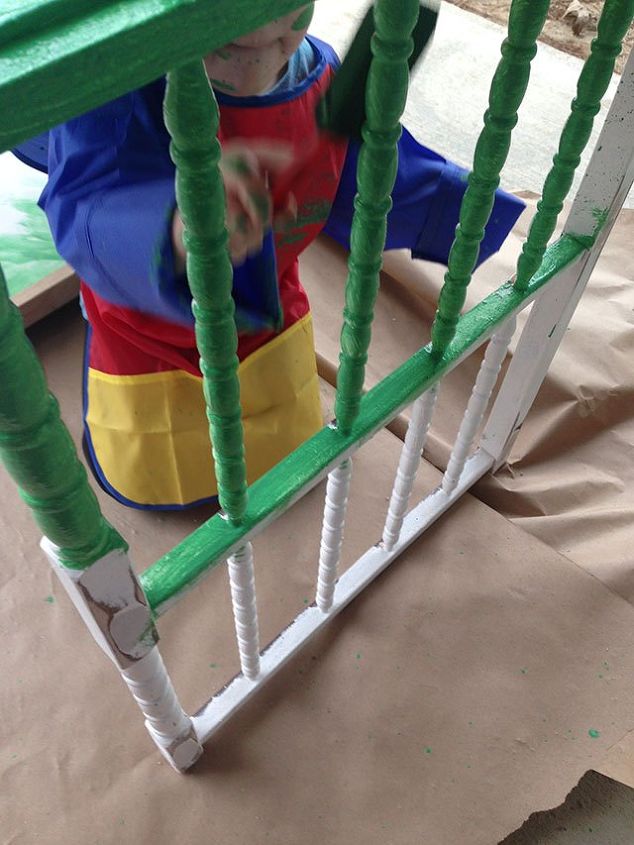
I whipped up some chalk paint using a Valspar paint sample container. You can get the full details over on my blog. My 3 year old son and I painted it together.
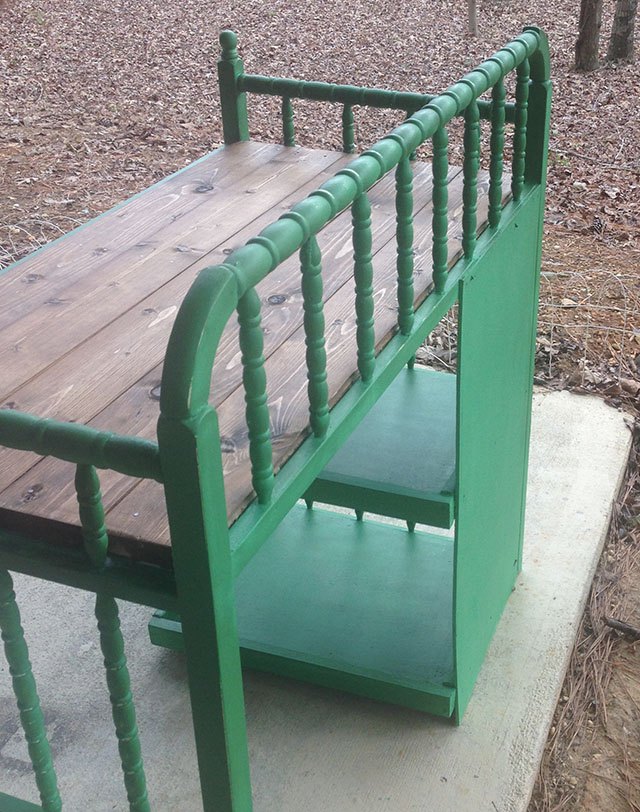
I cut 1/4" plywood to make a backing for the shelves to stabilize them. I added some scrap 1x2 pine pieces on the inside of the shelves to help with that as well. I stained the pine boards and then hammered them in with large head nails for a more industrial look. I sanded the edges and roughed everything up. Then I wiped a little stain all over to give it an antique look.
I finished everything off with a clear wax.
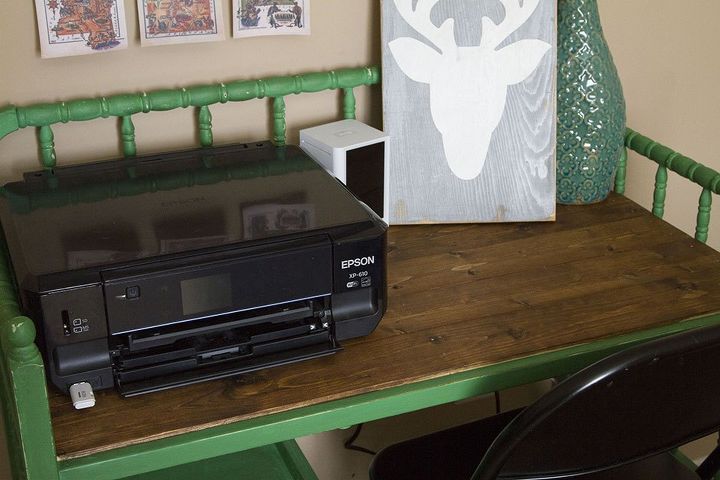
The desk top perfectly fits my laptop and printer and is a nice workspace. Plus it makes me smile every time I see it and reminds me of my sweet little babies that are growing way too fast! If you want more details on how I did any of this, pop on over to my blog.
Want more details about this and other DIY projects? Check out my blog post!
Comments
Join the conversation
2 of 43 comments
-
Great for small places ..... 👍
-
So many elements to admire in this project: purchasing a used changing table; prettying it up for 'your' child; and repurposing it into a new and enduring life as a desk!! The color is a sophisticated one that compliments the current style of your desk. I'm quite taken by it, and by your work to save it...twice! Very Well Done, Jessika! : )


Frequently asked questions
Have a question about this project?