


Potted Mini Rose Bush Series Part One: How to Pot a Mini Rose Bush
If you have followed me for some time, you probably remember last spring/summer I started a potted plant series for anyone to enjoy, even if you only have a patio! I had so much feedback from readers thanking me for my easy, non-technical translations for all to understand. I was so happy to hear that!
I am starting that up again this spring! First up is my guide to potted mini roses. This is part one of the series which includes how to pot them for optimum growth. A few of these are little chemist tips and others are trial and error for what works best for me! Stop back by next week for Part two where I will share my easy care tips for potted mini roses!
Roses are one of my favorite plants to grow, and they have the prettiest blooms. The very first thing I did in my house was plant four roses bushes. Two climbing roses in the backyard complete with DIY trellis, and also two hybrid tea roses in the front.
I decided it was time to add some to my patio garden this year too!
Potting mini roses contains five basic steps that will help your plant get off on the right foot. I was amazed when I studied horticulture in college how much of a difference the actual potting of the plant makes!
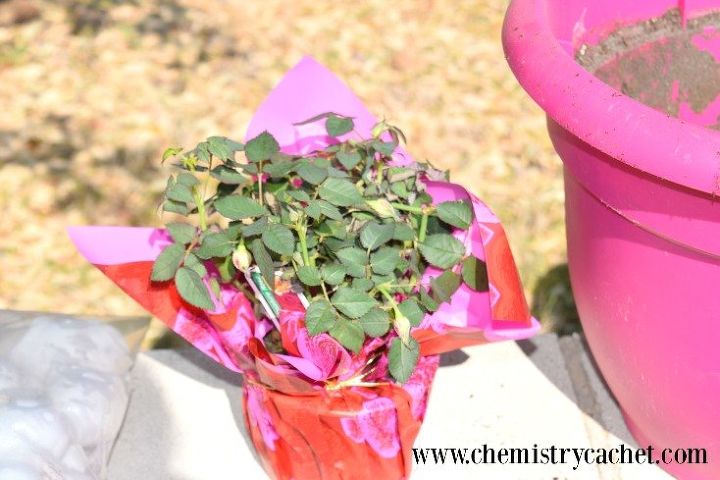
Step one: First, make sure to use a pot that is at least double the size of the one you bought it in. This will allow the roots to really take off and prevent rot (mini roses do NOT do well with wet roots).

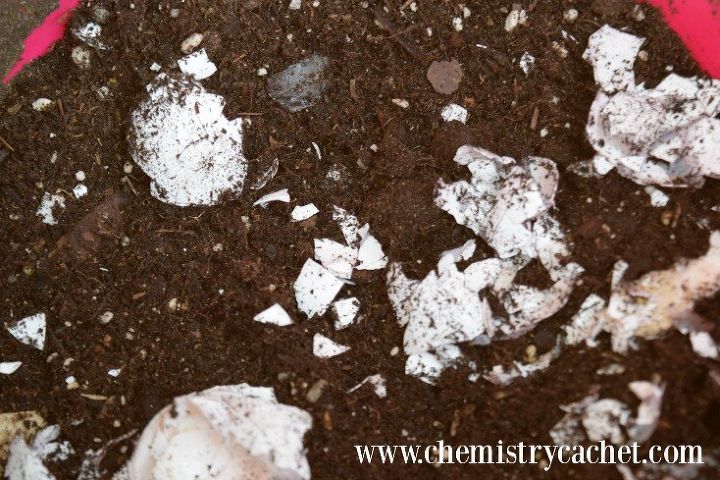
Step Two. Add some airy, drainage options to the pot. I always go with a biodegradable mixture of wood chips and/or pebbles or rocks. I try to keep the first 3 inches like this to really allow for good drainage.
Step Three. Now place your mini rose bush on the soil and make sure that the top of the plant is down far enough to add soil all around it. At this point, I like to dampen the soil that is in the pot to get rid of any air bubbles.

Want more details about this and other DIY projects? Check out my blog post!
Comments
Join the conversation
1 comment
-
Yes, we moved into a new house and I have a beautiful spot at my front door where I would like to plant some roses. Thank you for the info that you shared and I'm looking forward for part two


Frequently asked questions
Have a question about this project?