


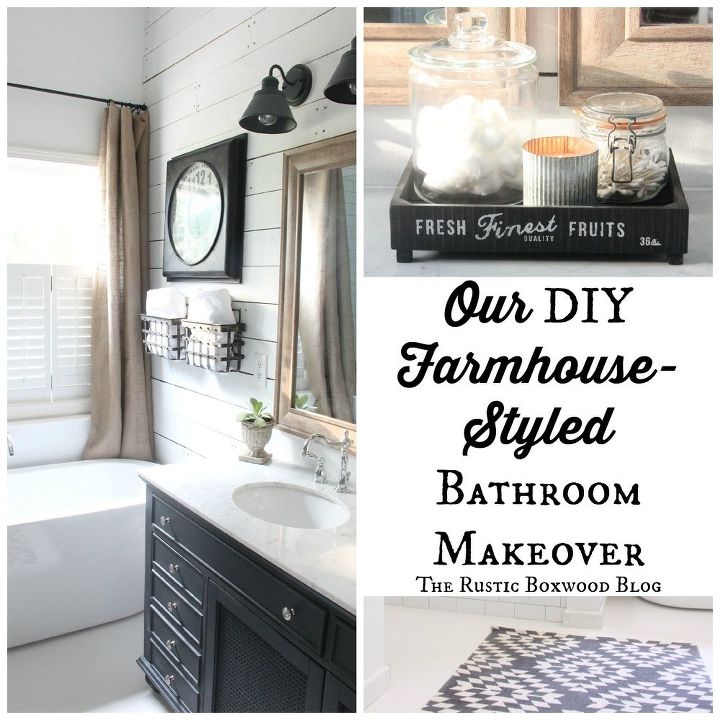
Our DIY, Farmhouse-Styled Master Bathroom Renovation
13 Materials
Hey friends! Today, I want to share with you all about our bathroom makeover! This particular space has needed a total overhaul since the time we moved into our home, which was a very long time ago! :)

But first, I need to show you these "before" photos. I cringe to even post them, but RELUCTANTLY I must, in order to show you how far we've come!
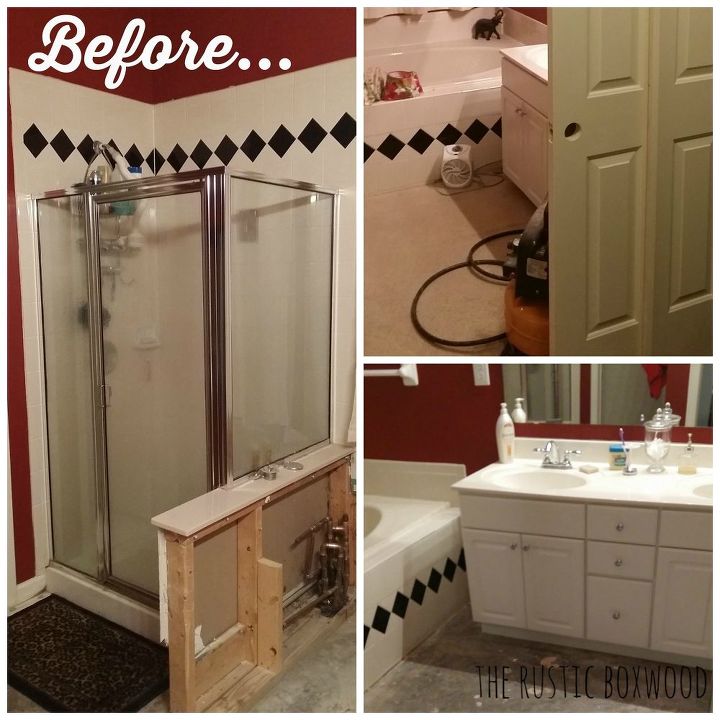
But, alas! Because of our hard work and frugal efforts, we have finally given ourselves the bathroom of our dreams! And due to our small bathroom, every decision we made was centered around how to maximize our space.
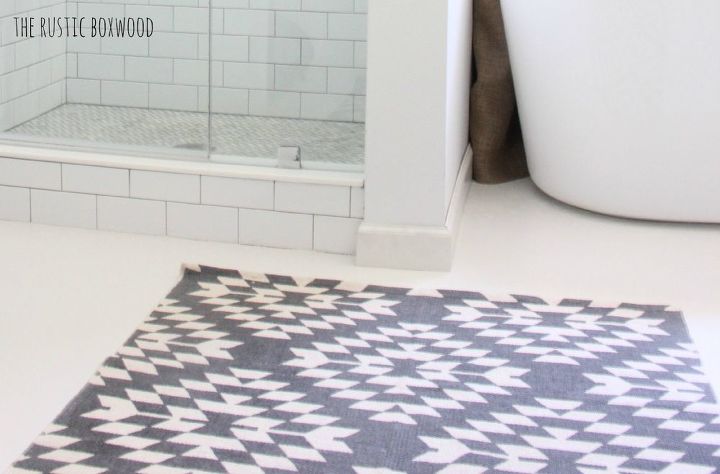
1. We pulled up the carpet. To save money, my honey painted our concrete floors with a gorgeous white paint. It's wonderful, and it brightens up our room like you wouldn't believe! The paint is called Snowbound, by HGTV Home. It's a paint and primer in one, and it's AWESOME!
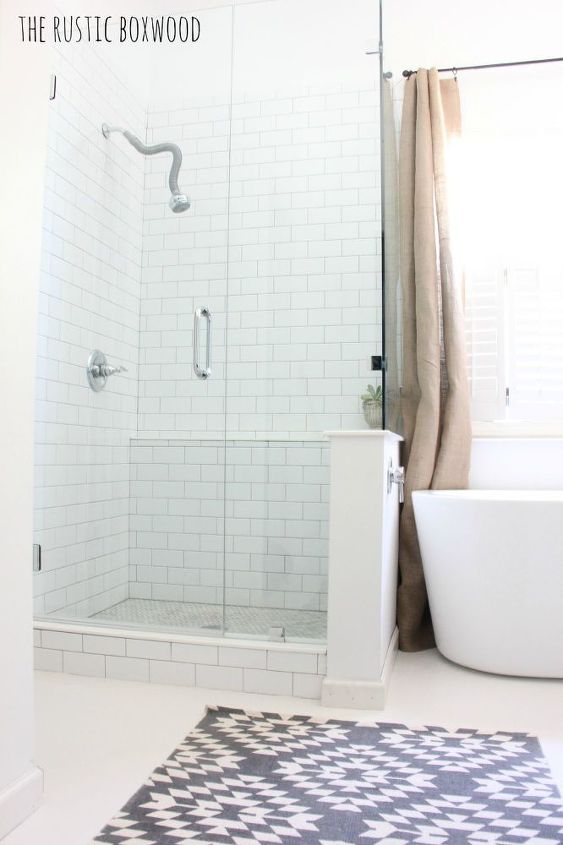
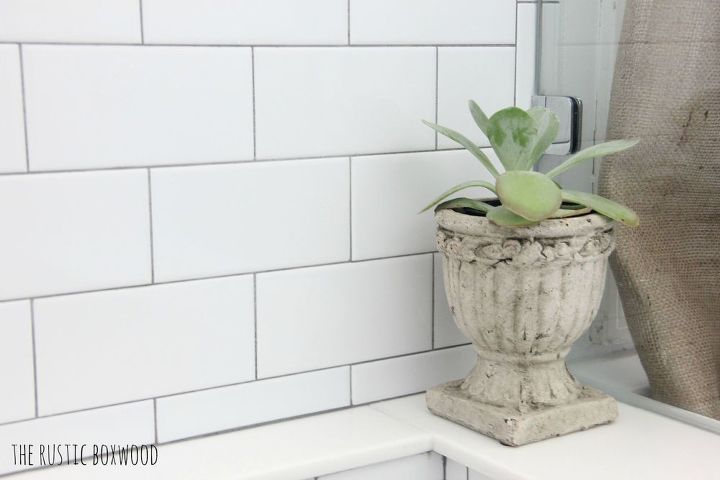
3. Professionals were hired to install the subway tile and seamless shower glass. For the tile, we chose white subway tile and a dark-gray grout, and the shower floor is a herringbone tile with the same dark grout. All of these items were purchased at a discount tile and flooring warehouse. The shelf is a man-made material called Staron. (We love this "counter" in our shower, and it cleans very easily. So far, I've had no problems with staining.) To save money, we ordered a remnant piece of the Staron, instead of ordering a complete slab! Our showerhead is awesome! I especially love the "snake" neck, so that I can easily move the showerhead around when I'm cleaning! This showerhead also has several massage settings. And don't you just love this seamless shower enclosure?! It's fabulous!
This fun, antique pot came from an awesome antique warehouse in Atlanta, and I found this succulent at my local grocery store for half-off!
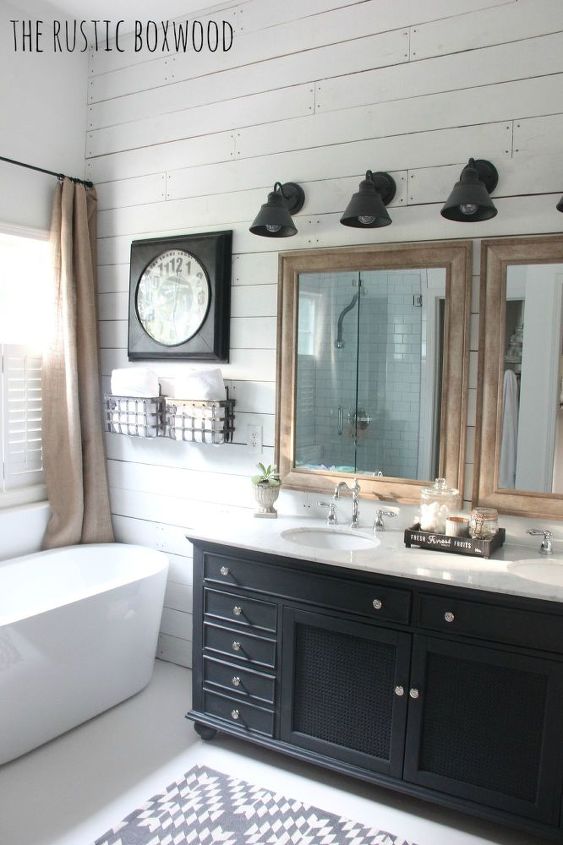
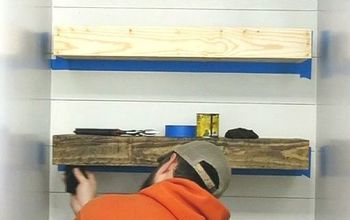
4. To add some fun rustic, farmhouse vibes, we chose to install some shiplap. I absolutely LOVE how this planked wall turned out!!
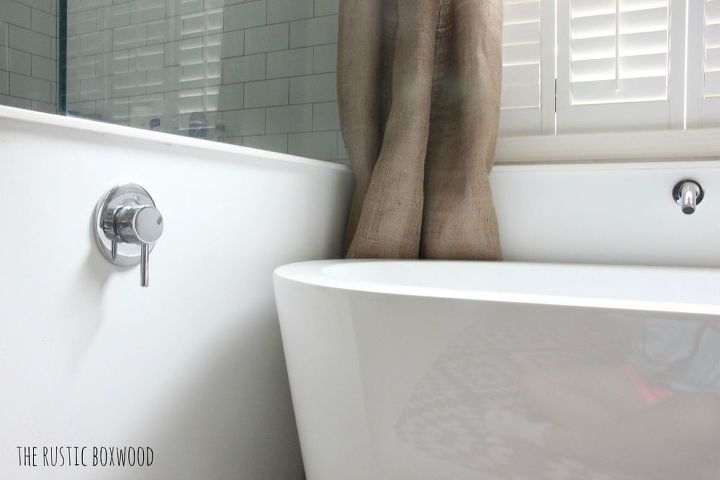
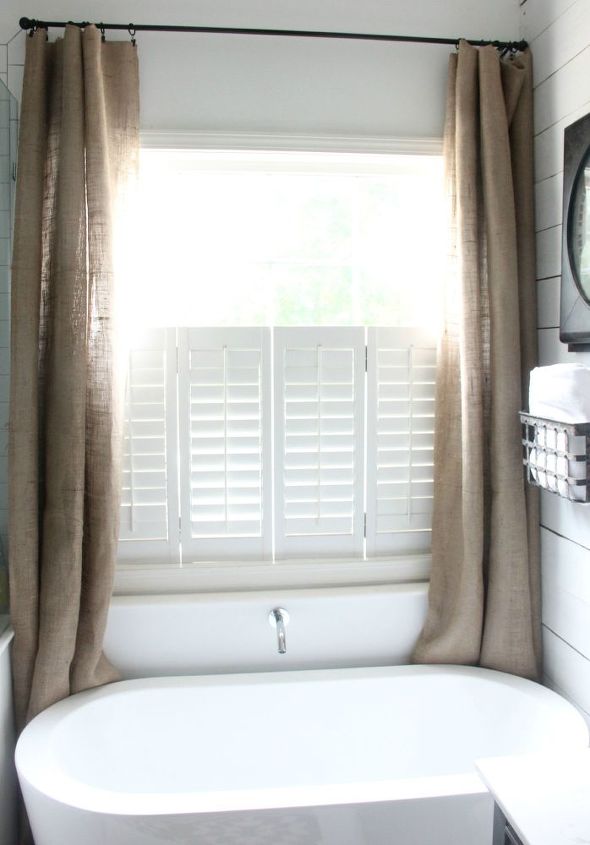
5. This burlap fabric for our draperies is beautiful, super inexpensive, and gives the perfect textural element! To cut costs, I used my 50% off coupon at a fabric and crafts store and bought 6 yards of burlap. Once I got home, I cut it in half (you only get one "fabric cut" with the coupon). Next, I folded over the top edges about 1/4 and then used drapery clips to keep the edges in place. To line these rustic curtains, I grabbed two white, twin-sized flat sheets from a retail store, folded the extra fabric in and clipped it with the burlap. Easy peasy! And it looks amazing! Instead of spending big bucks on finished draperies, I handled it my way and only spent a fraction of the cost. At $12 total, you can't beat that price!
6. We really wanted Carrara marble and a 70 vanity, but we also wanted the best bargain we could find. After searching Amazon, eBay and local sites, we finally found THE one on Craigslist! She just needed a little chalk paint, and then, she was golden! (You can find out how I transformed this beautiful vanity on my blog.)

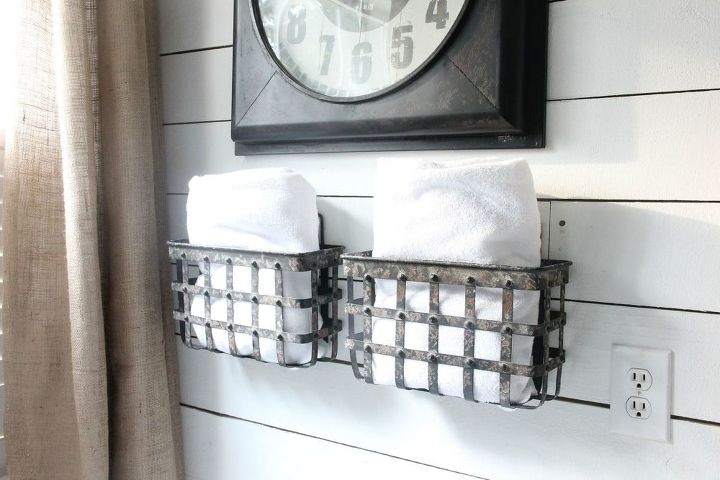
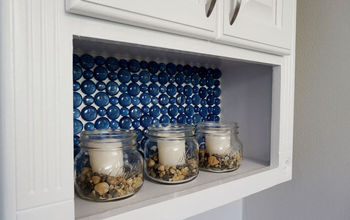
7. Lastly, once we were finished with the bones of the room, it was time for the fun part: the accessorizing. Heh-heh-heh. :) I really love to accessorize! Picking out items that "make" the room are so exciting to me! From the black faux "fruit" crate to the galvanized candle to the metal wall baskets to the vintage clasp jar....I just love the hunt for beautiful decor on the cheap!
So, there you have it - our complete reno. Head on over to the blog for more photos and a few of our sources! Overall, we spent about $6,000 for the total makeover. Our initial budget was $5,000, but once we decided to hire out professional help for the shower glass and tile, the budget was increased slightly.

Want more details about this and other DIY projects? Check out my blog post!
Comments
Join the conversation
2 of 111 comments
-
Best job in a long time of bathrooms.
-
Love everything!!!


Frequently asked questions
Have a question about this project?
Truly an amazing project! How much was the shower surround and where did you buy it?
Amazing job. Love it!
Where did you get the clock from. Love it.