


Pallet Wood Signs

by
Lisa Cain
$10.00
1 Hour
Easy
You can do SOOO many things with Pallet Wood, and all it takes to get started is a little time to disable a pallet. So roll up your sleeves, and lets get creative!
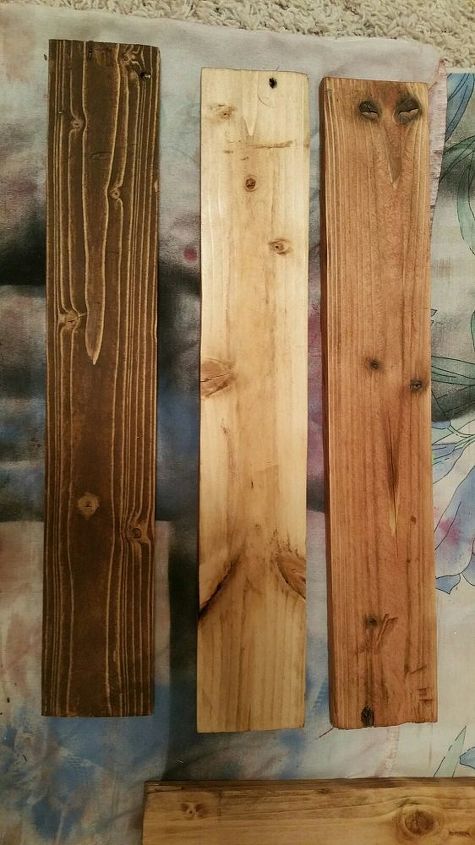
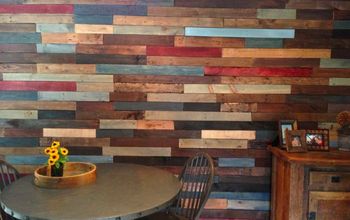
After taking a pallet board apart, I sanded down each piece, and then stained them. Sometimes I also just sand, and paint them instead of staining. Let your creativity flow, or find other people's ideas, and put your own twist on them.
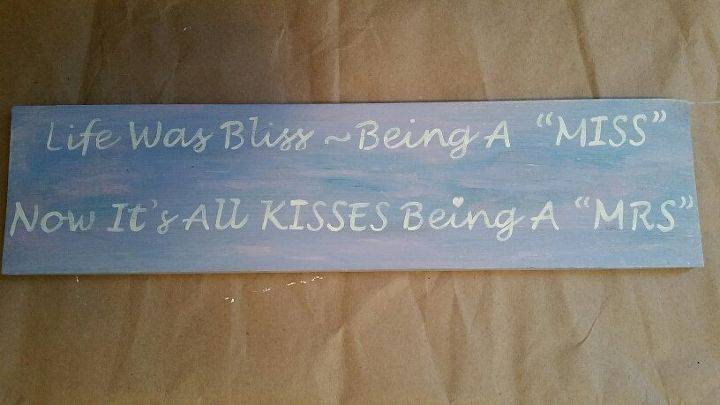
This piece of wood was painted with blue and pink acrylic paint by pouring both colors in a swirl all over the board, and then taking my hand and smudging it all around. Makes for an interesting background and brings the "KID" back out in you, like finger painting. Then I did the words on my computer, made them into a stencil using card stock, taped them to the board and painted over the stencil. "MY" made up saying also...love to get creative.
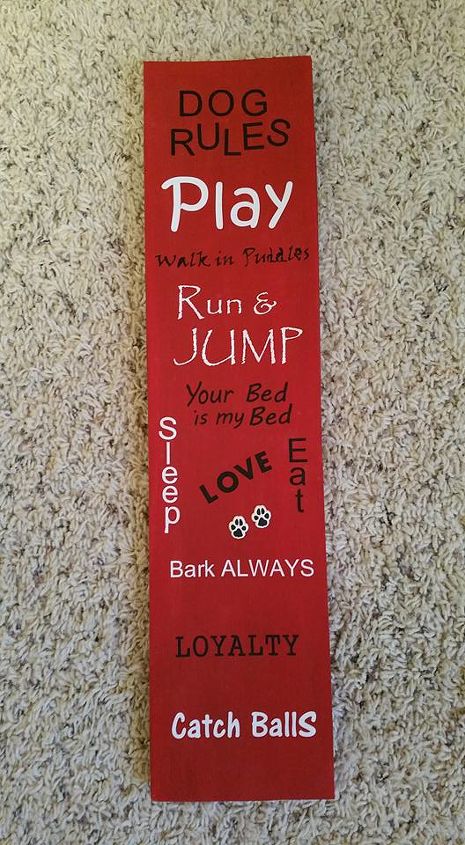
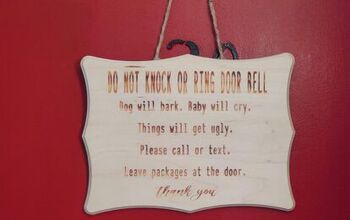
This was a board I painted red background, then used my Silhouette machine to make the words with vinyl and applied them to the board. The little paw prints are puffy stickers. After it was all said and done, I sealed it with Mod Podge to hold everything on extra good, and have a sleek look to it.
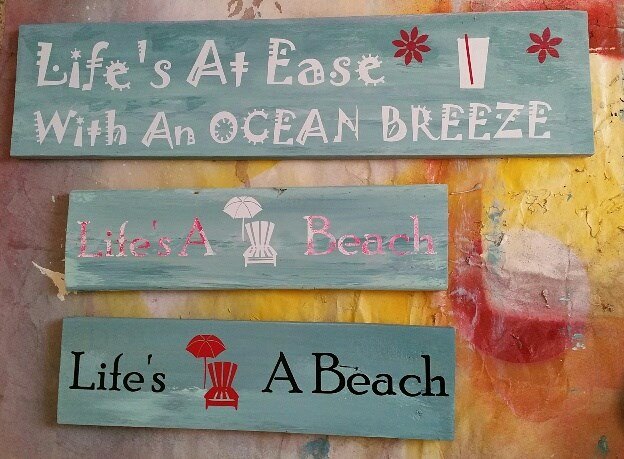
Three more signs I made. I LOVE painting oceans, and have been using chalk paint colors for this. Basically, just paint one background color, and then use lighter ones, to create the waves. It's easy to get the hang of it once you start playing around. I used a foam brush to make the waves also, just kind of tipping it upward to make the peaks. Then vinyl the words. Actually the middle one is a vinyl stencil, that I painted red, and then white (Blotting the paint, not strokes) to get the pink two toned look. So paint, apply stencil, paint over the stencil, and pull off stencil. Mod Podged all after everything was dry.
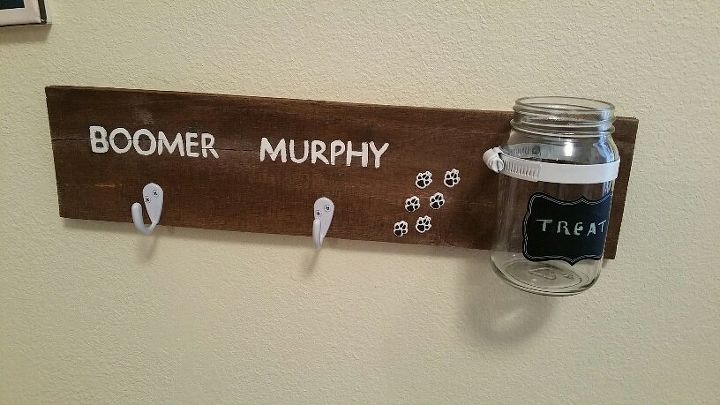
This was a stained piece of wood. Used card stock for stencil of names, taped onto wood and painted over. Then added hooks. The jar was a $1 find at target, just hooked it on and wrote "treats" on the chalky area, added puffy stickers. See how many things you can DO with pallet boards!!
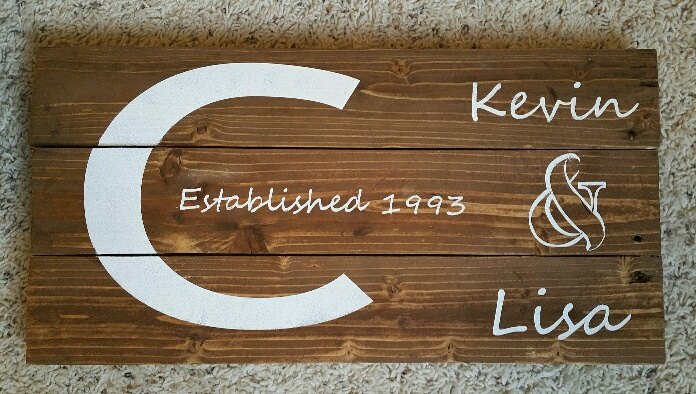
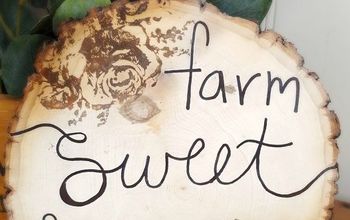
This was using a Dark WAXING antique stain on the pallet boards. I got it near the chalk paint section and just LOVE LOVE LOVE the way it highlighted the wood. So beautiful. Attached 3 boards together by putting smaller pieces of wood on the back. Then used my trusty Silhouette Cameo machine to make the stencils of the wording, and painted over them in white. Turned out great.
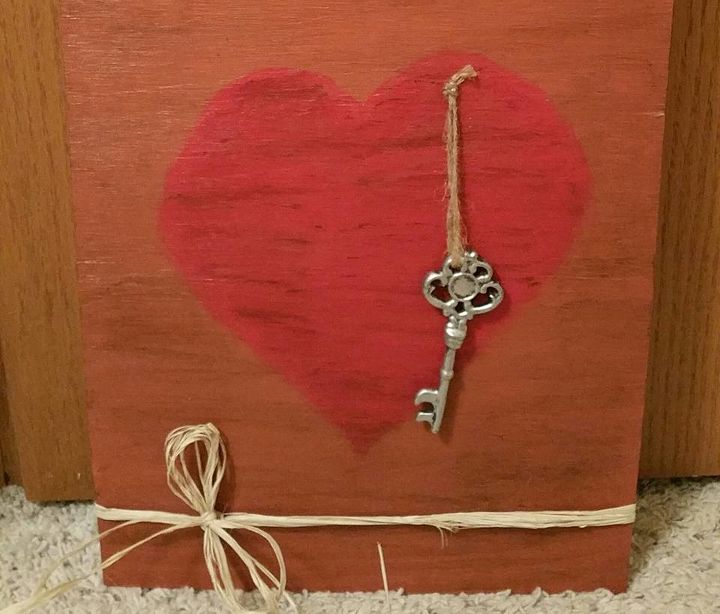
My last piece is actually NOT pallet wood, but cheap old pine wood that I found at Lowe's. It was bigger, so I cut it in half. Painted the wood with a brown "sample" I bought at Lowe's for $ .99. Then painted the heart red (freehand) with another sample. Took some dark antiquing wax and went over the entire piece to make it look antiqued. Then nailed on the key I already had, and tied the straw ribbon on the bottom. CHEAP, easy, and the beauty is simple! Love it! So get going, put on your creative caps, and make something beautiful today!
Comments
Join the conversation
6 comments
-
These are fantastic Lisa! I loveee the Boomer and Murphy one with the treats jar! I need to do this for my fur babies Binx & Cosmo!
- See 2 previous
-
Love your ideas....million one thing I could do my self!


Frequently asked questions
Have a question about this project?