


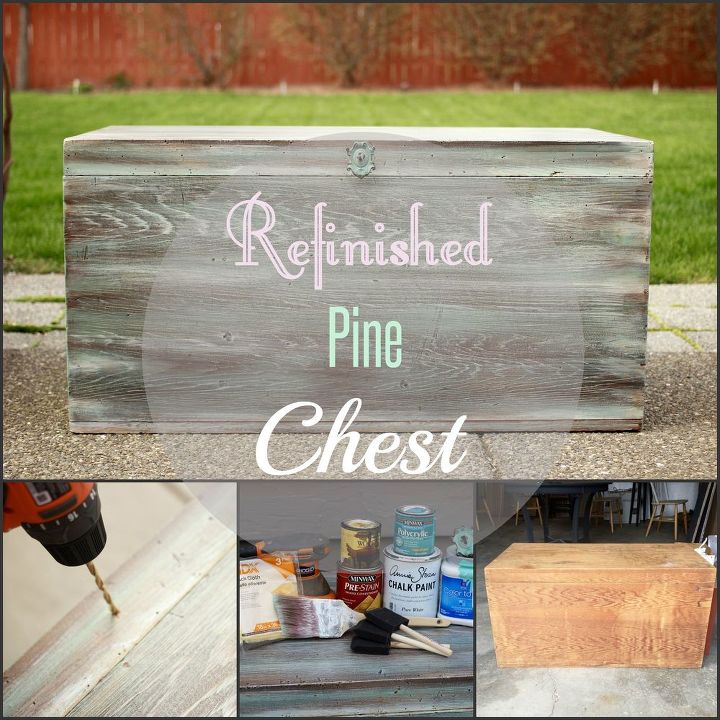
Pine Chest Makeover Tutorial
4 Materials
Complete Tutorial with supply list on how this Solid Pine Chest was reborn! Click the link for more details.
Click the link to see the complete tutorial and other furniture flips!
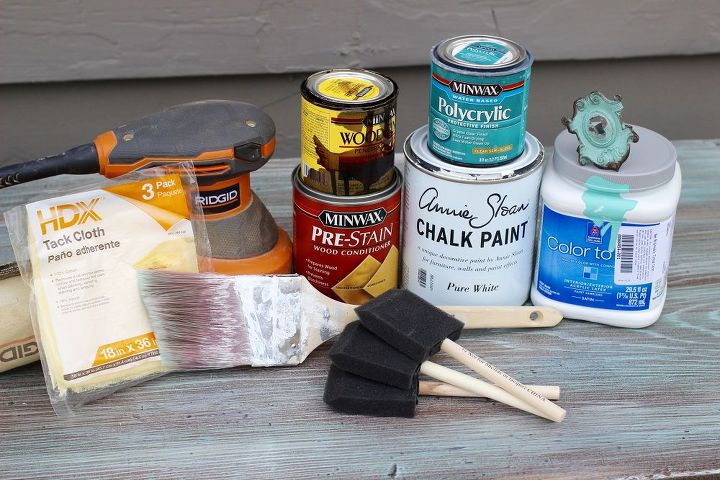
Supplies
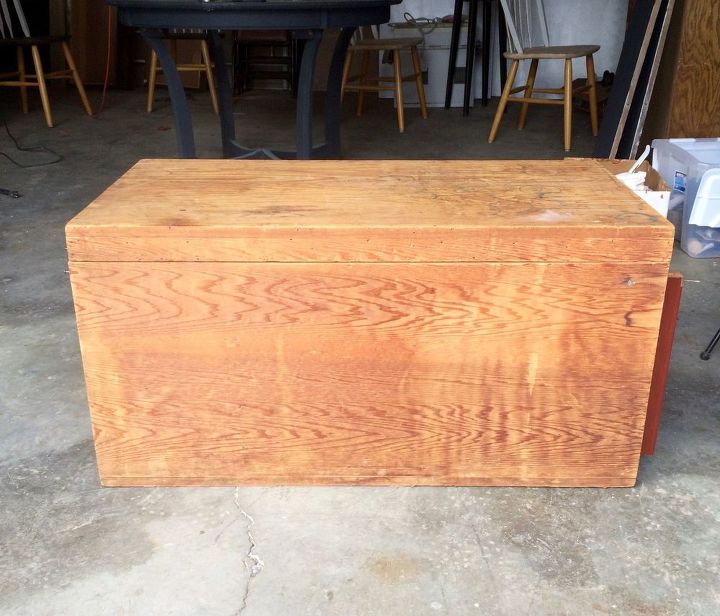
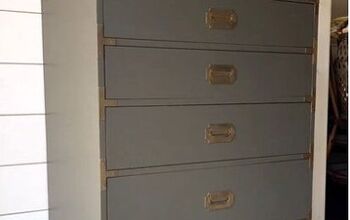
The before picture!
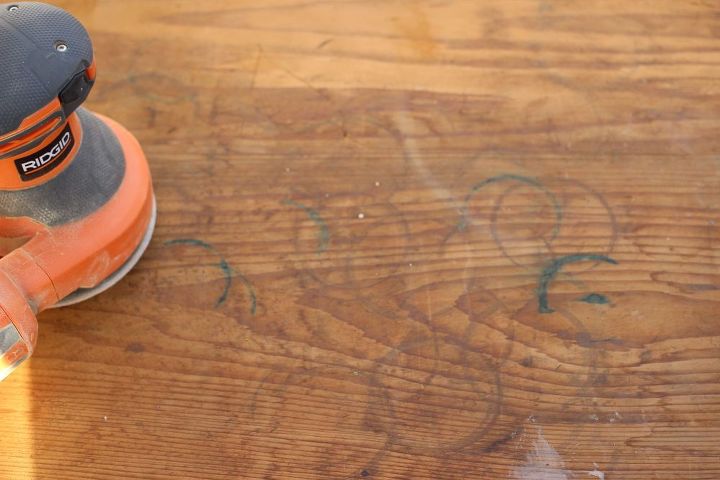
Step 1- Sanding!
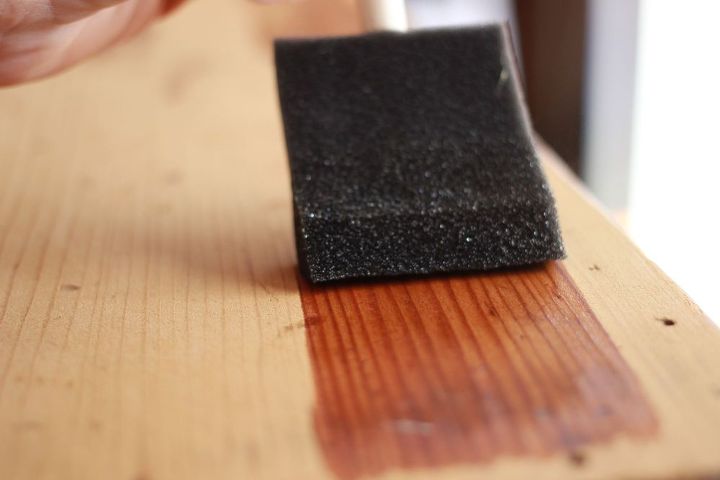
Step 2: Conditioning with a wood conditioner and then applying stain.
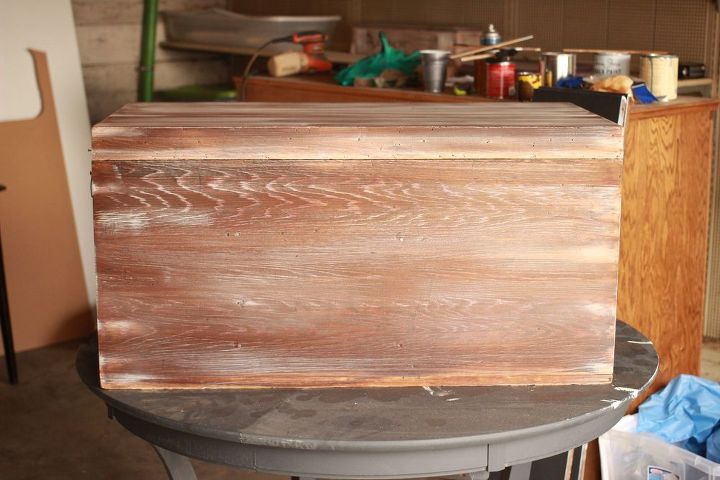
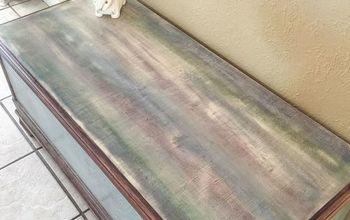
White Washing. Mixing 1 part white paint with 1 part water.
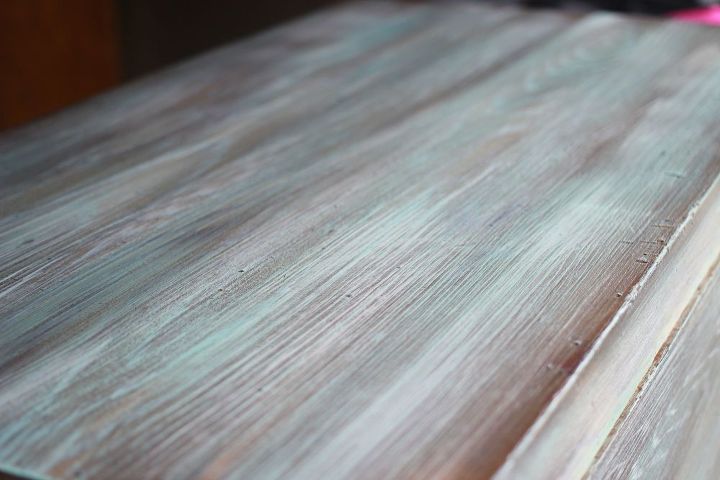
Add in a pop of color!
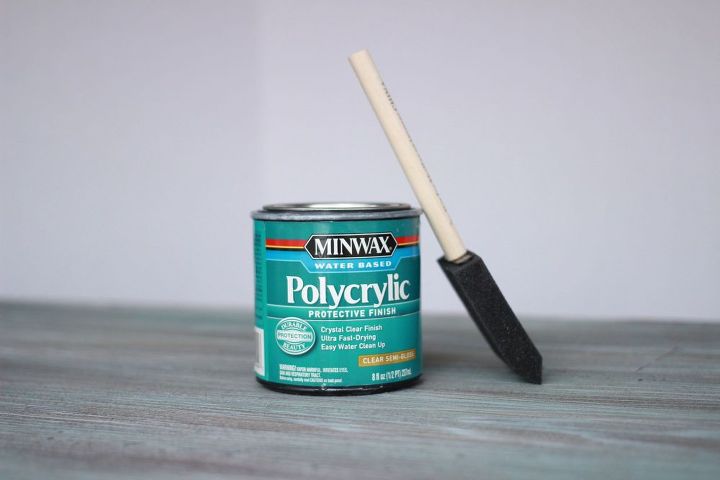
Apply a polyurethane protective finish.
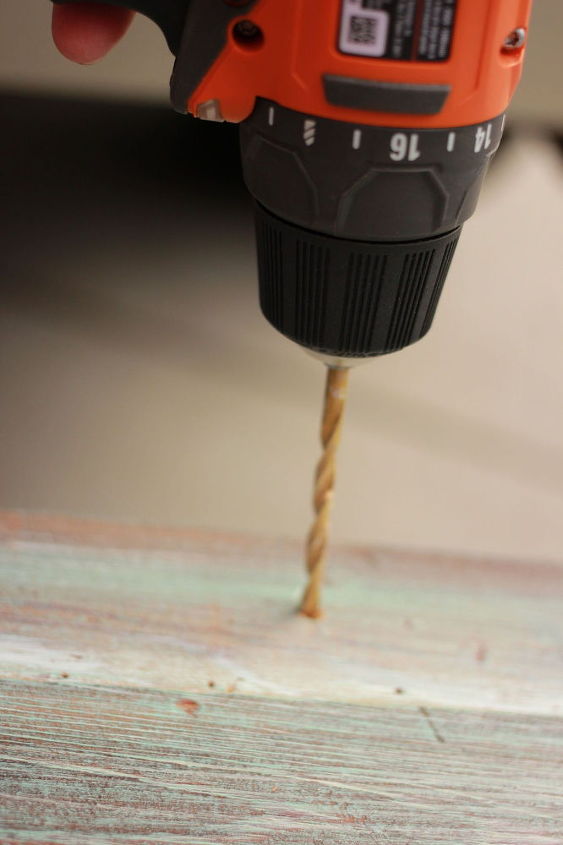
Drill your hole for your new knob or pull.
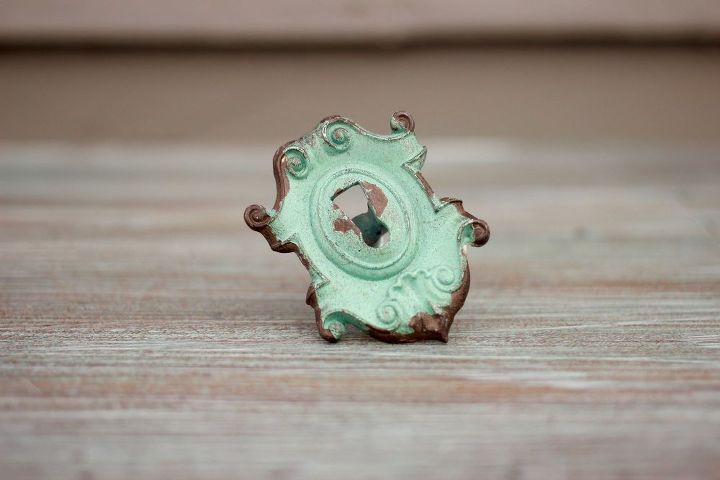
Attach your knob.
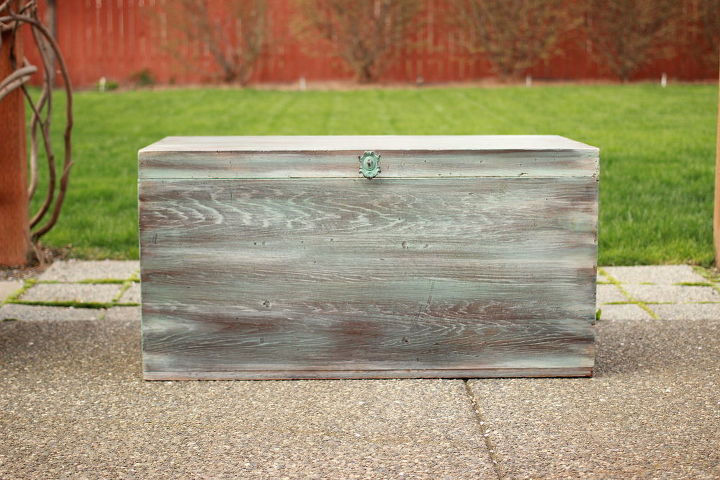
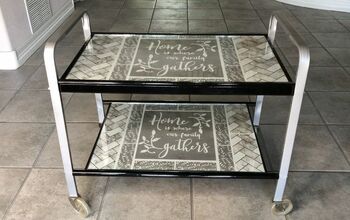
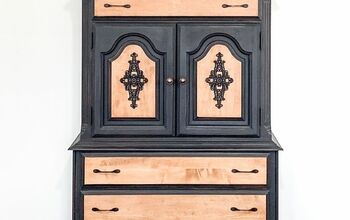
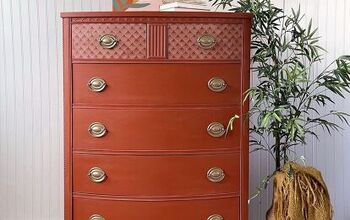
The finished product. I love how this Trunk can be displayed inside as a coffee table or outside on a porch or patio!

Want more details about this and other DIY projects? Check out my blog post!
Comments
Join the conversation
2 of 4 comments
-
I love how this turned out - absolutely lovely!
-
This would also be fun to do with a handmade crate out of pine! Thanks for the tute!


Frequently asked questions
Have a question about this project?