


Kitchen Backsplash DIY Tutorial

by
Alchemy Home
6 Materials
$300
2 Days
Medium
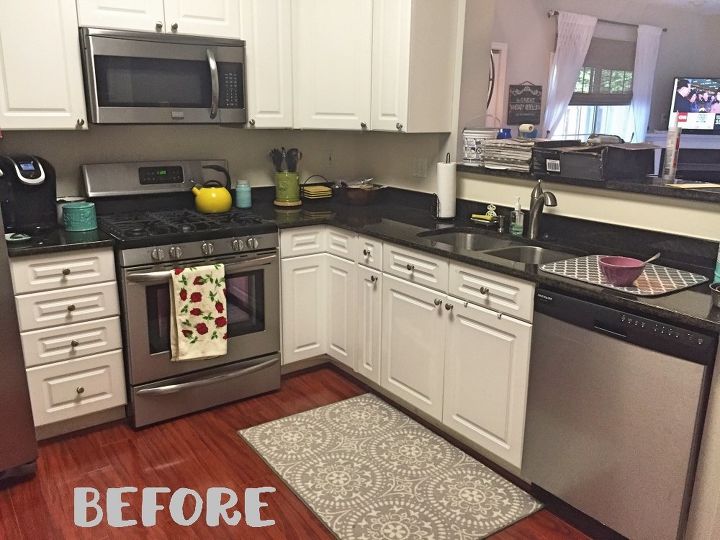
The minute I stepped foot in the kitchen of our new house, I started envisioning it with a backsplash; and before we'd even closed on our house, I had a Pinterest board full of inspiration pictures and ideas.
Hiring a professional to do our backsplash was definitely way out of our budget range. We ended up spending only around $300 on all of our materials to DIY it, instead of paying thousands of dollars to hire someone!
Hiring a professional to do our backsplash was definitely way out of our budget range. We ended up spending only around $300 on all of our materials to DIY it, instead of paying thousands of dollars to hire someone!
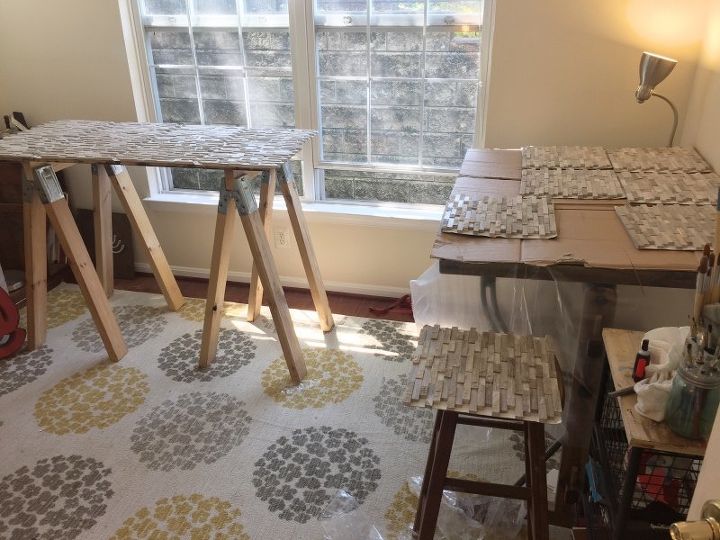
We started off by just laying out all of our tile, cleaning off the stone dust with a paintbrush and wiping clothes, then following the directions to brush on (and make sure to wipe off the excess) the first coat of porous stone sealant.
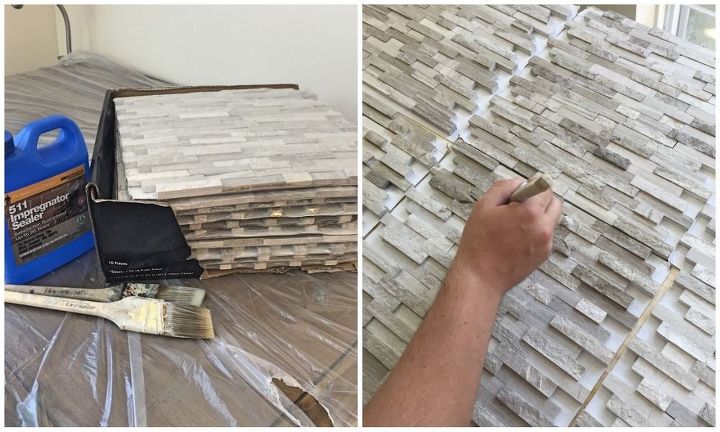
The sealant WILL darken your tile quite a bit when you apply it; which believe me, made me extremely nervous. Have no fear, once dry, it pretty much goes back to the original color, maybe only a hair darker than it was.
Once you're ready to start laying the tile, make sure that the adhesive is evenly spread with your trowel, and just stick the tile on! Press the tile down to make sure that it is adhered well and there are no air bubbles or gapes behind the tile.
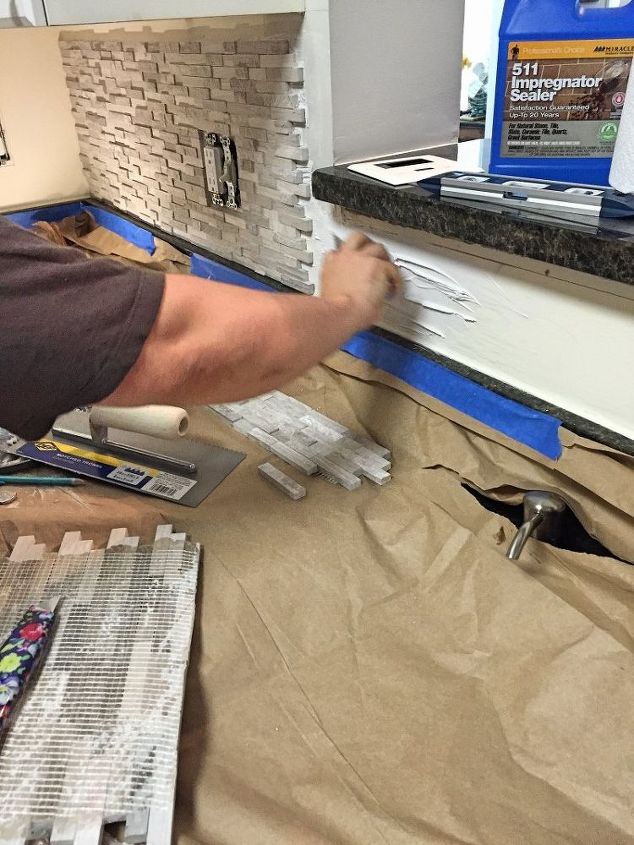
As you are laying the tile, leave yourself some room and stop before you get to an outlet. Since our tile was interlocking (meaning that each 1 sq/ft piece was designed to interlock with the next piece), we got as close as we could to the outlet, then basically just measured and cut the pieces out to fit around the outlet with the Dremel, and kept on moving.
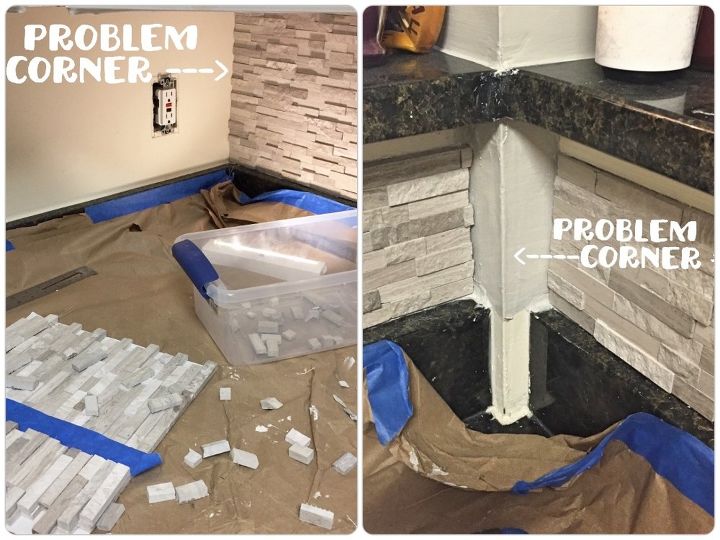
Here's where things got a little tricky....In problem corner #1 (the large inside L corner of the kitchen), we realized that because we'd cut the right side flush to the wall, if we simply cut the left side flush as well, that the stones wouldn't properly fit and it was all "gap-y" (that's a technical term) because of the variations in stone height. The weird, small problem corner #2 (an outside corner where the support beam for the bar top comes down) was a different story. It just looked odd to leave it without tile, not to mention whoever installed the granite counters before we bought the house, hadn't done a stellar job with it, hence all of the splattered, and uneven, white caulking around the edges.
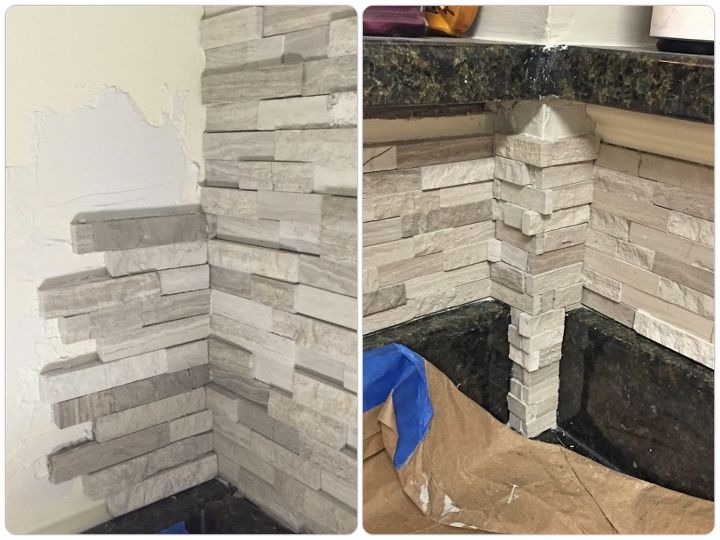
Success! It took me way longer than it probably should have, but it was kind of like putting together a giant puzzle, which I think I enjoyed a little too much.....

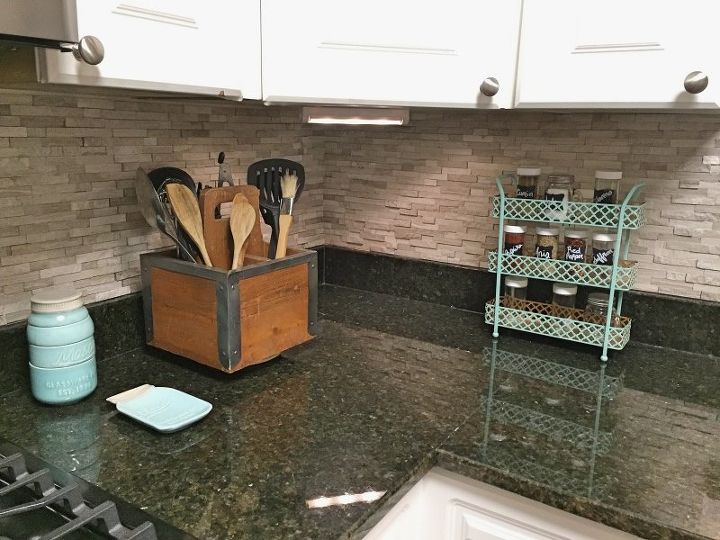
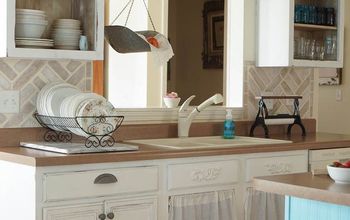
Pre-backsplash, I really wan't crazy about the black granite counters (don't get me wrong, they are really nice and I'm happy to have them, but I'm more of a gray marble or quartz kind of gal); however, with the backsplash I've actually decided that I like them now! The stone really adds a lot of visual interest to the space and ties together the SW Agreeable Gray paint color on the walls with the counters and cabinets for a way more cohesive look.
That's it folks! You can check head over to my blog to see the full tutorial and a lot more detail on my website: http://www.alchemy-home.net
Want more details about this and other DIY projects? Check out my blog post!
Comments
Join the conversation
2 of 63 comments
-
Good job on that outside corner! What a pain!
-
Incredible dirt-catcher and almost impossible to clean!!


Frequently asked questions
Have a question about this project?
Is there any update on how it cleans up from the original poster? Love this look, but i'm hesitant due to the cleaning question. thanks for posting!
Where did you purchase the stone tiles?
Looks great! I also love your little spice rack.. where did you get it? 🙂