


How to Dry Brush Furniture | Furniture Painting Techniques

Do you want to find out how to add texture and dimension to your piece, or give your furniture a worn, beachy look? Come see this brand new tutorial all about the dry brushing technique!
{
"id": "3007869",
"alt": "https:\/\/youtu.be\/mUVLhCVWsb4",
"title": "https:\/\/youtu.be\/mUVLhCVWsb4",
"video_link": "https://www.youtube.com/embed/mUVLhCVWsb4",
"youtube_video_id": "mUVLhCVWsb4"
}
{
"width": 634,
"height": 357,
"showRelated": true
}
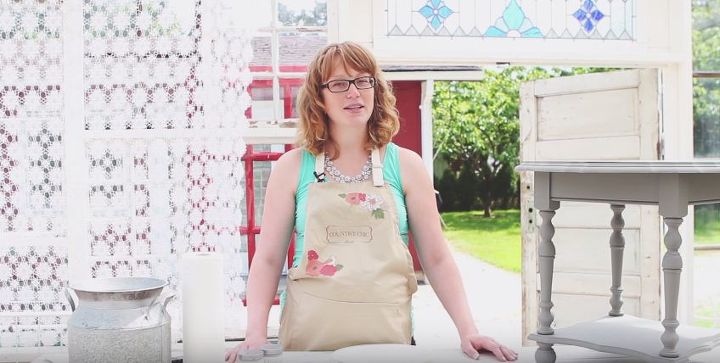
In this brand new video tutorial company co-founder, Rosanne will show you her tips on how to get the best results out of the dry brushing technique on a cute little side table.
Step 1) Pre-paint your piece
This technique works best with a piece that has already been given a solid coat of paint; in this case, the table was pre-painted in Cobblestone. If you're unsure of how to prepare your surface before painting, go to http://www.countrychicpaint.com/tutorials/surfaceprep to see our surface prep tutorial, and if you'd like to see some tips on how to achieve a smooth finish, go to https://youtu.be/kS1wT-yApXA. It's best to wait at least an hour before you move on to the next step. Your piece should be fully dry before dry brushing.
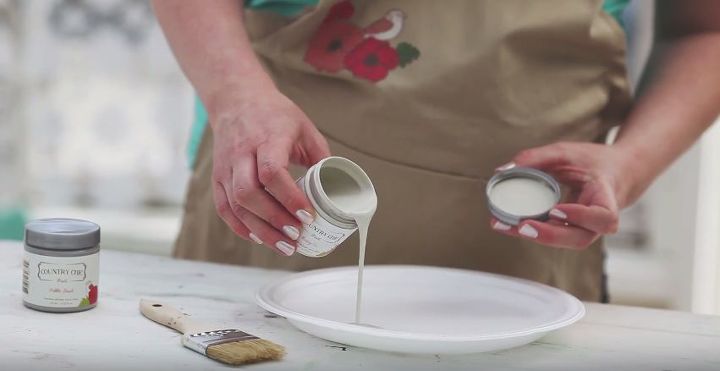
Step 2) Pour your paint and prep your brush
Step 2) Pour your paint and prep your brush
Step 2) Pour your paint and prep your brush
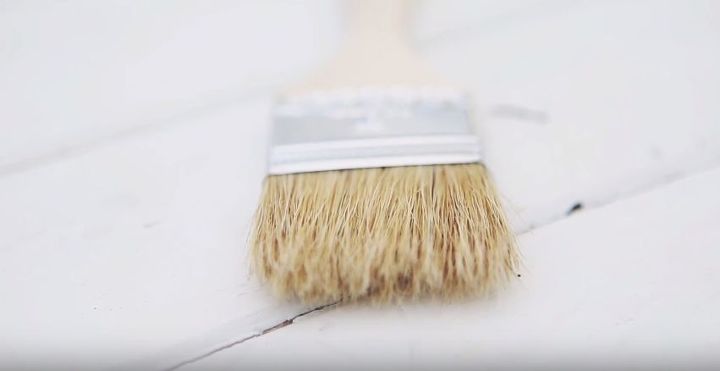
We recommend pouring a small amount of paint out onto a paper plate before beginning. You can choose any color that you think will compliment your base coat; in this case we chose Sunday Tea and Pebble Beach. We also like to use a chip brush to apply the paint as it will help give you more texture with a naturally worn look to it.

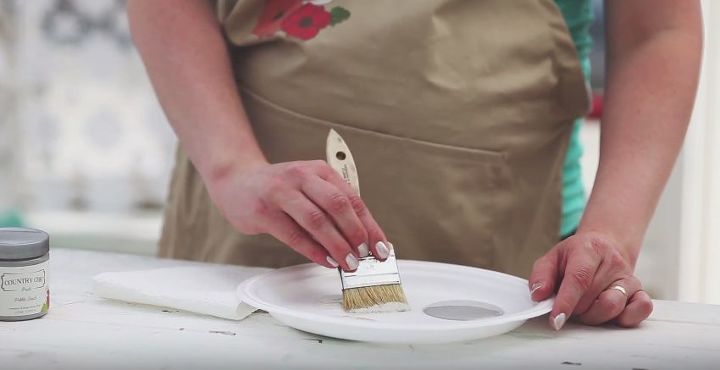
Step 3) Dry brush your piece
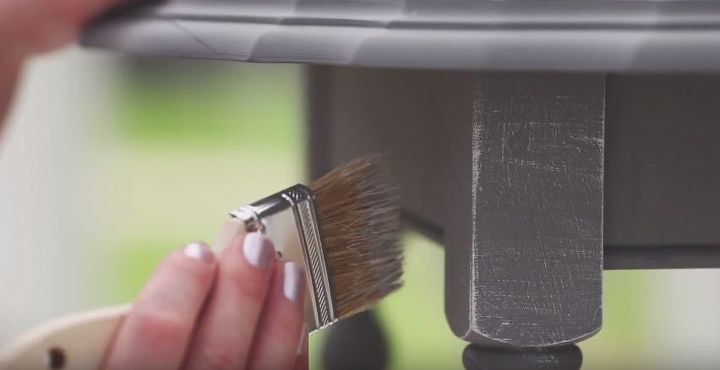
Step 3) Dry brush your piece
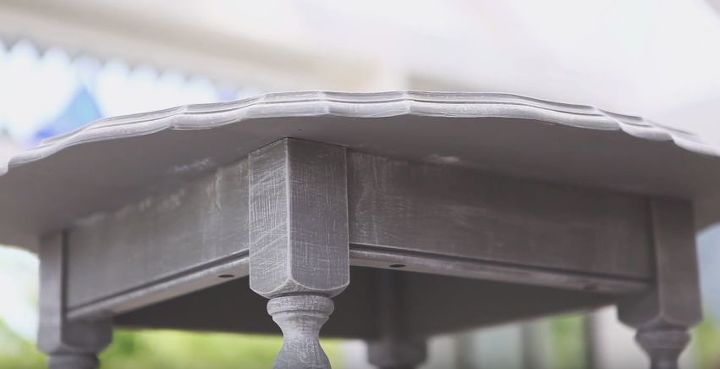
Using light, quick brush strokes, begin dry brushing your piece. You don't want to apply too much paint, so make sure your brush is quite dry, and your brush strokes are gentle. If you find you've applied too much in a certain area, you can use a damp cloth to remove the paint right away.
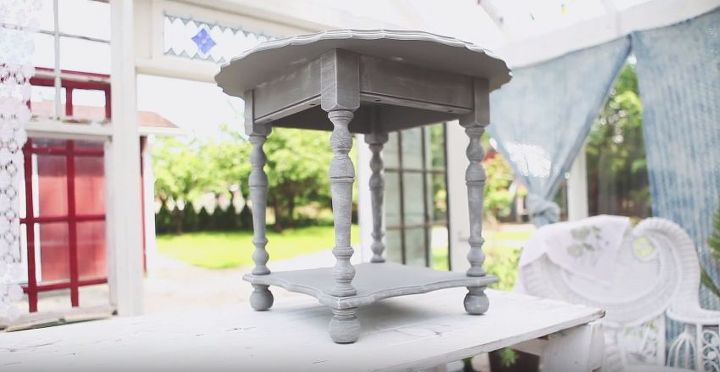
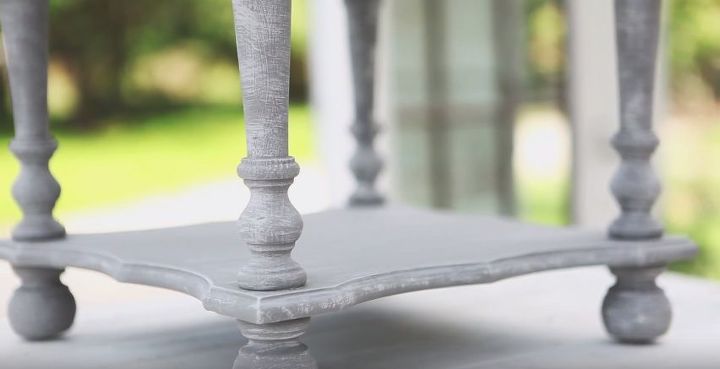
Here's how the finished product turned out. Isn't it pretty? The possibilities are endless, so go get creative!
Did you enjoy our video tutorial? Make sure to Subscribe to our channel at https://www.youtube.com/channel/UCkgIYQ9bjp-FQd4RuV8eTBQ?sub_confirmation=1 to get access to all our videos!


Frequently asked questions
Have a question about this project?