


Upholstering French Provincial Style Chairs. Sharing the Process

by
Jeanne
Medium
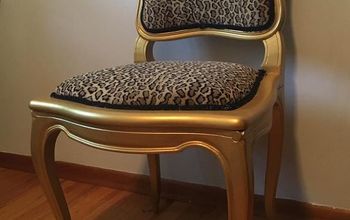
Hello! I just finished a few French Provincial Chairs for the shop and thought I would share some of the process with you. If you saw GOLD painted chair frames at a local sale would you take them home? I saw the beauty in the rough and love how they turned out.
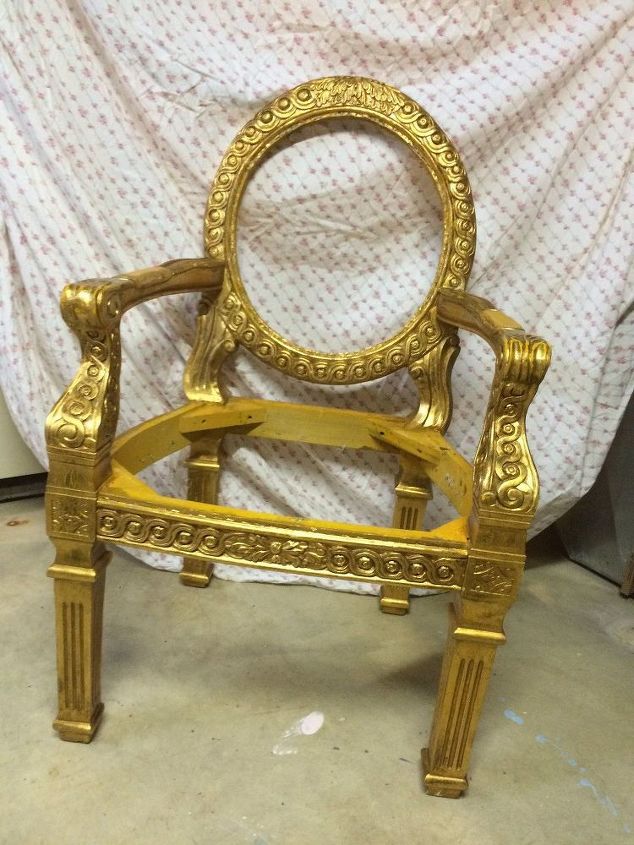
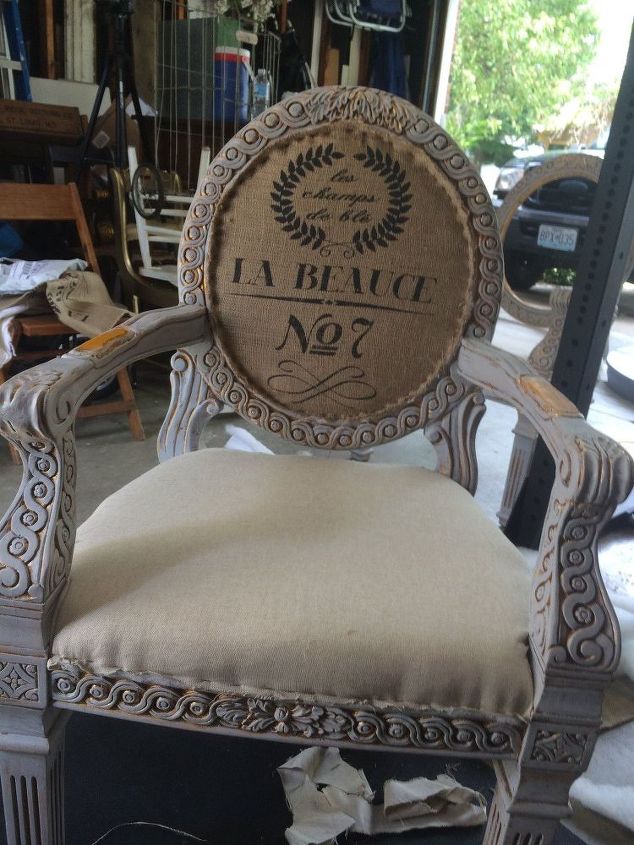
BEFORE CHAIR
So I was at a local sale and found 3 of these awesome chair frames... I knew immediately I could turn these into soft French Provincial Beauties.
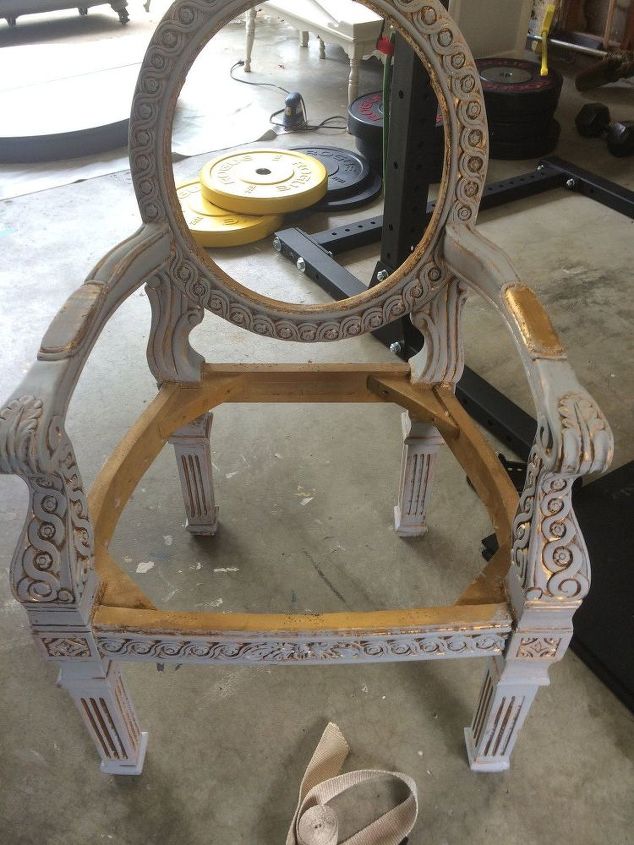
STEP 1
First thing was to tone down the bright paint a bit. I did a dry brushing of a soft grey chalk paint (Tritan Grey)from my I Dream of Jeanne Chalk Paint line.
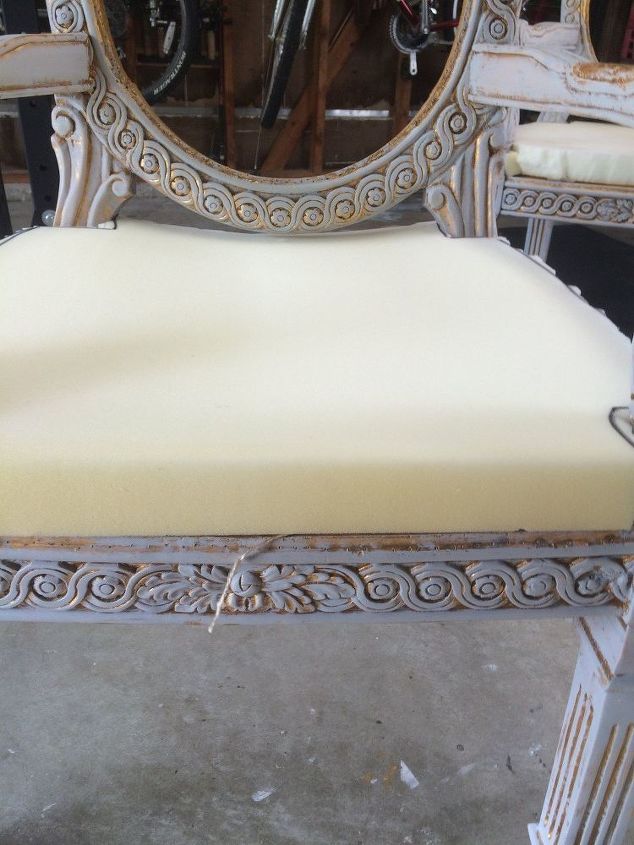
STEP 2 and 3
Ok, sorry I am a task oriented gal so I forgot to show you how I make a seat... I usually cut a piece of plywood to fit and screw into place.
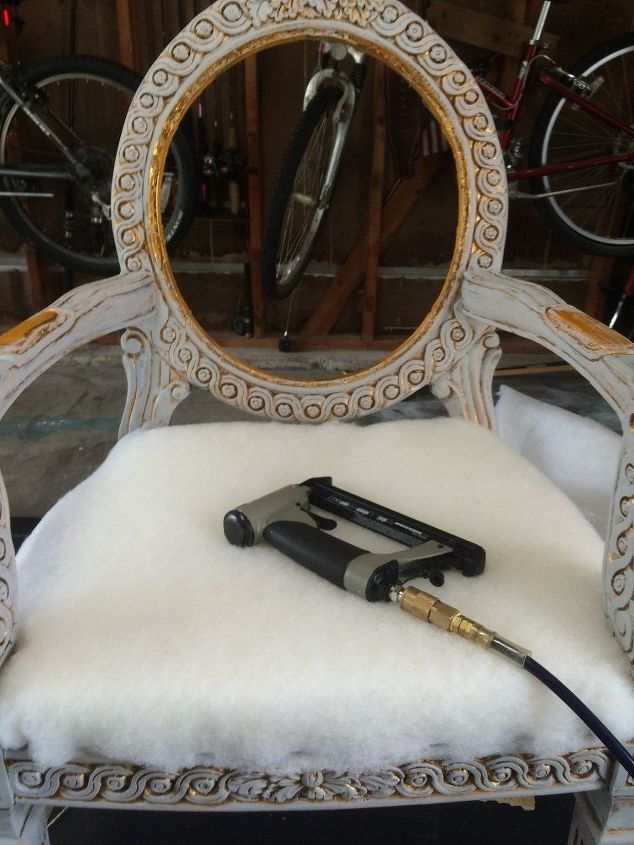
STEP 4
After foam, I use Dacron. This is a material that comes in large rolls for upholstery, it is like quilt batting only thicker and stiffer. It is a critical step, it adds stability and shape to your upholstery. I staple this in place around the chair and trim the excess.
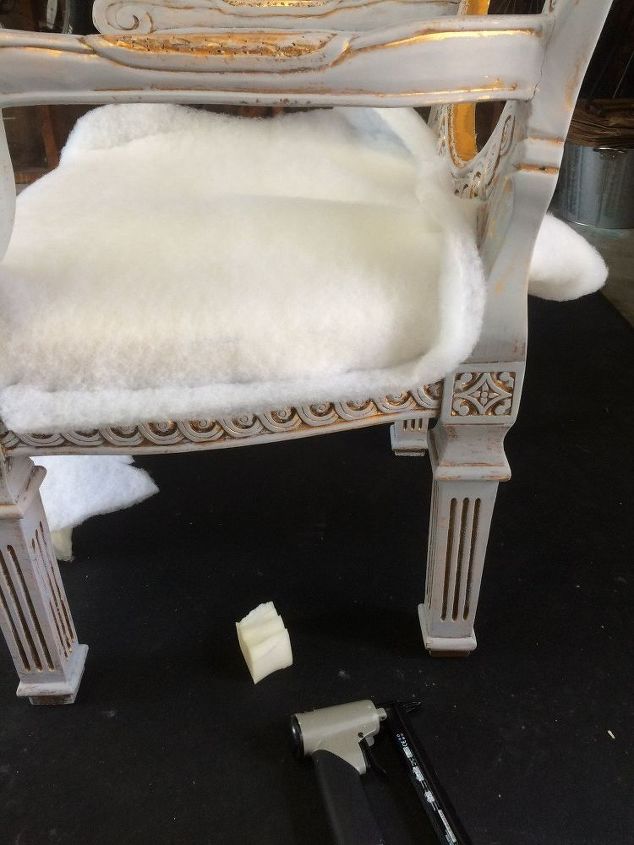
You do not have to use alot of staples, just want it to stay in place before adding your fabric.
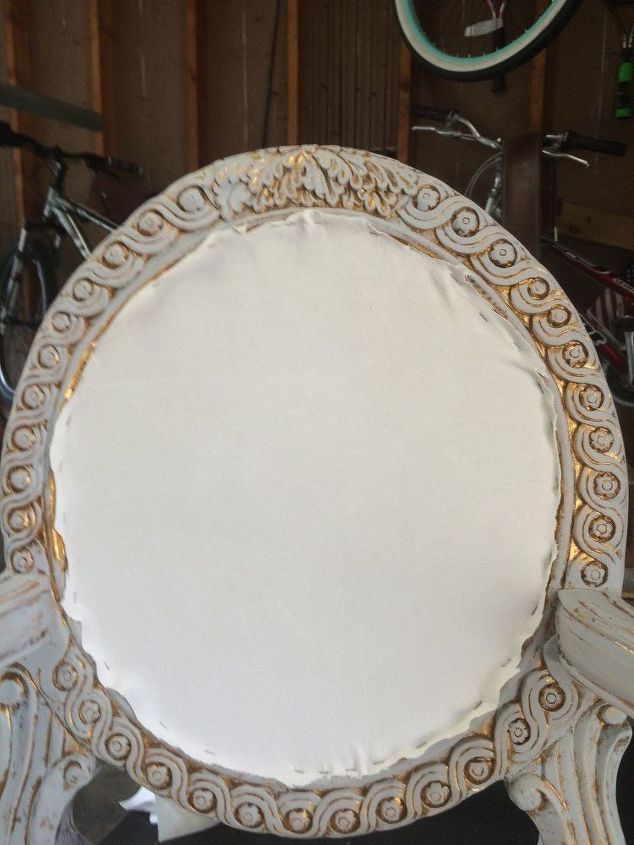
STEP 5
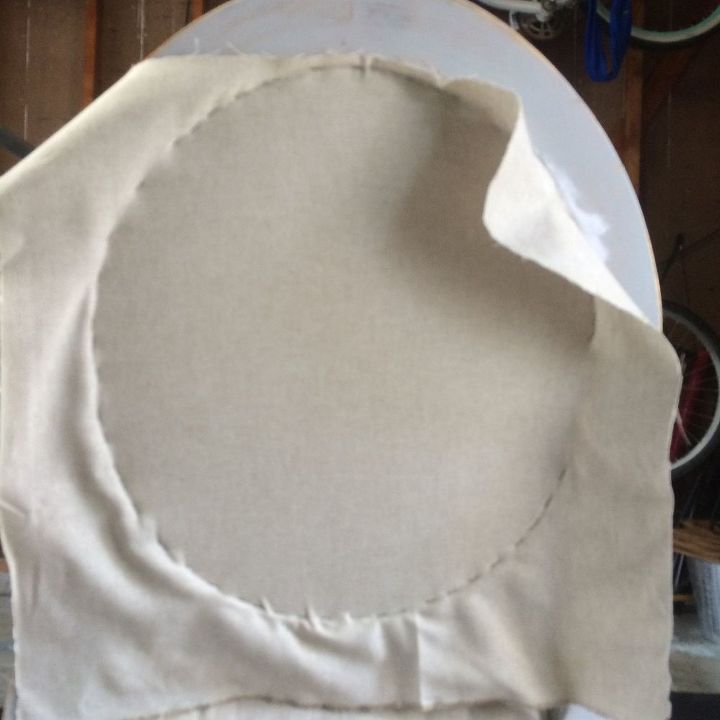
Ok, for the front seatback... I started with a stiff duckcloth and pulled and stapled taught across the back.
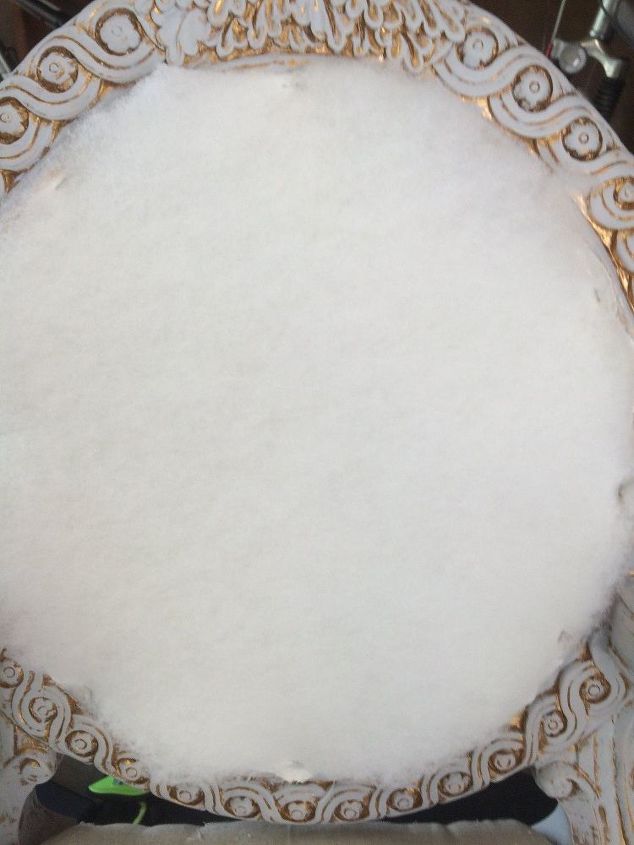
STEP 6
After the fabric is in place, you can add 1/2" or thicker foam set in place and then add your layer of dacron again and staple just to hold. again trim off all excess, a razor knife works best.
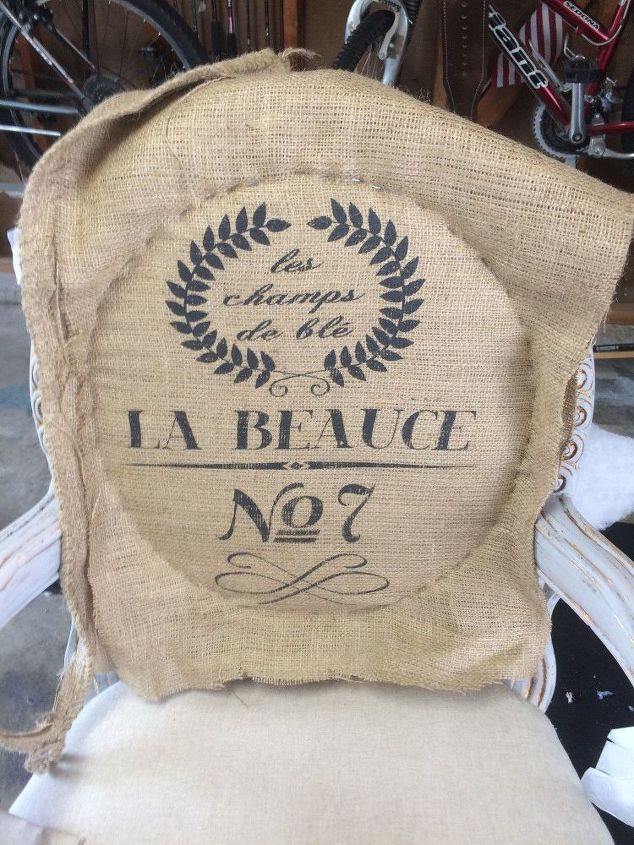
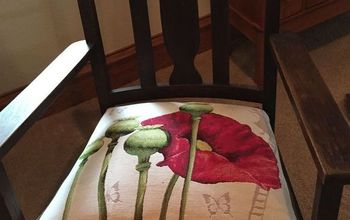
STEP 7
Now the fun can begin... I used reproduction French Grain sacks here.. I had to line up and try to center. although the sack was not printed centered.. So start stapling at top and bottom then sides pulling and stapling all the way around the opening feeling where the groove is in the wood. Again trim excess fabric.
Step 8
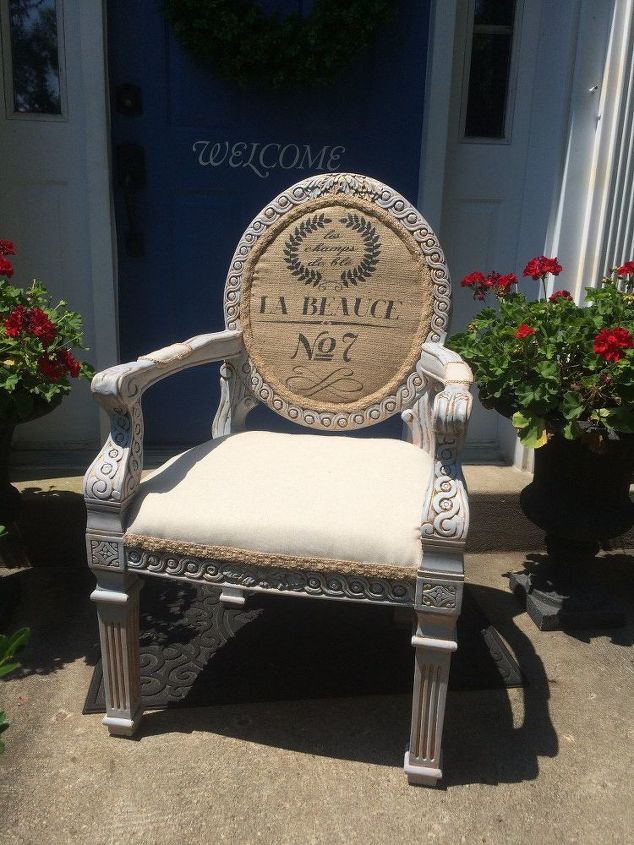
Again, I forgot to take pics of the progress of adding the fabric to the seat. I used a French linen fabric in a solid color here. Looks great doesnt it!!
STEP 9
Here is the very back side of the chair... Again I used a sturdy duckcloth pulled and stapled taught then added a layer of Dacron then my fabric and trimmed then added my gimp.

AFTER CHAIRS
See the burlap gimp I used for these ... It is a 1" burlap trim purchased by the yard.
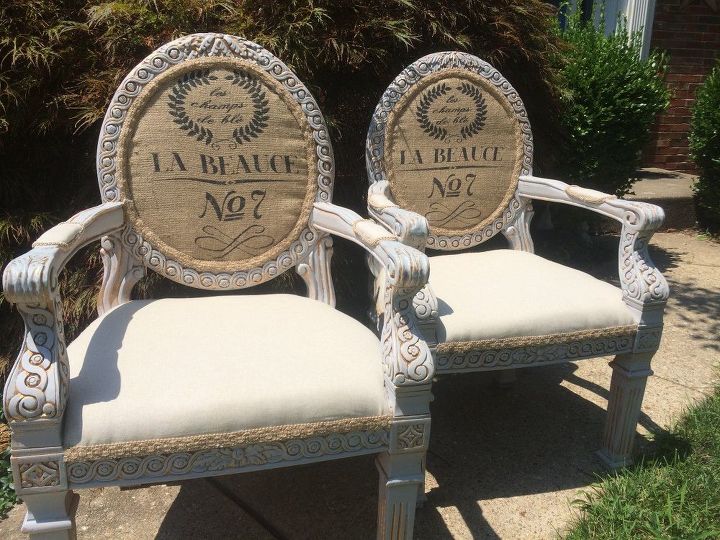
So far, I have completed 2 of these, I loved the "set". Not sure how I will complete my 3rd... These are heading to the shop this weekend!!
Gorgeous ! Thanks for reading and I hope to share a more detailed tutorial with you soon!
Want more details about this and other DIY projects? Check out my blog post!
Comments
Join the conversation
2 of 9 comments
-
Stunning makeover, absolutely beautiful thanks for your step by step tutorial, it helps to keep things fresh in your mind. I wish I lived near your shop, boo hoo! Thanks for sharing.
-
Gorgeous. I am so going to be on the look out for chairs like these. great job.


Frequently asked questions
Have a question about this project?