


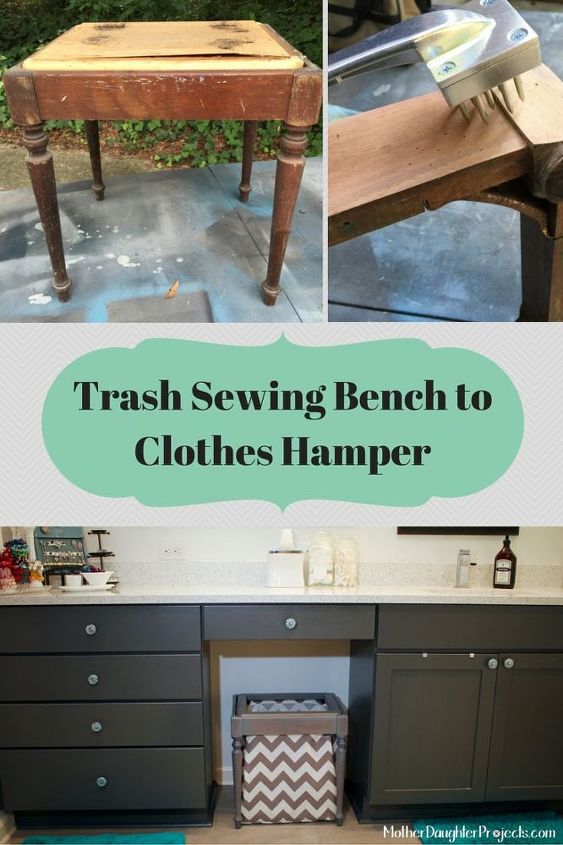
Trash Sewing Bench to Clothes Hamper
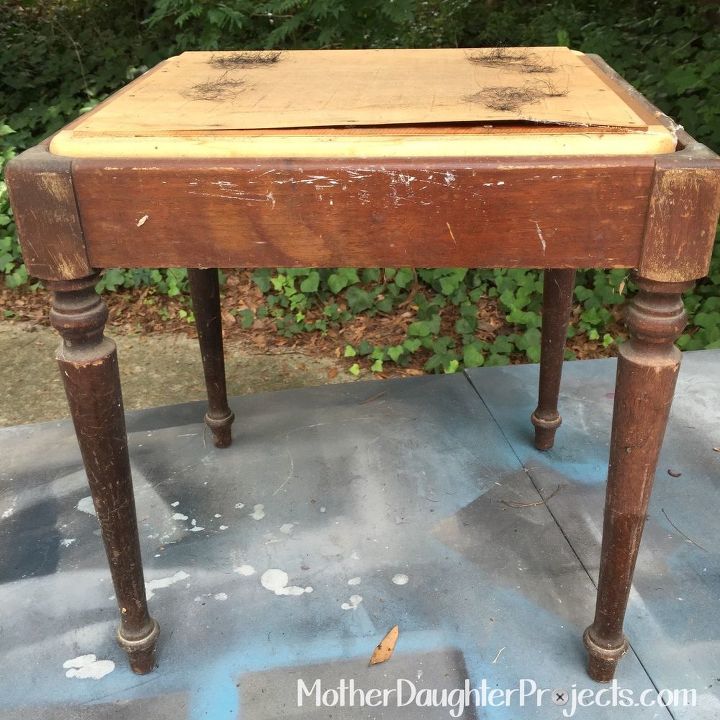
I (Vicki) have been known to stop and pick up trash along the road, not just any trash—I’m particular about my trash. It needs to be a piece of furniture in terrible shape that the owner has determined is not even fit to donate to a thrift so out to the curb it goes. This little sewing machine bench was on the curb in my neighborhood along with its water damaged, beyond repair sewing machine cabinet buddy. I passed this sad little pair three times before I decided to load up the bench. The cabinet was just in too bad of shape to take and try to rehab.
The bench sat outside another week before I had a idea for its transformation. I decided it would make a great clothes hamper for my bathroom. I’ve needed one for a while and just hadn’t found anything I’d want sitting out in the open where it can be seen.
The bench sat outside another week before I had a idea for its transformation. I decided it would make a great clothes hamper for my bathroom. I’ve needed one for a while and just hadn’t found anything I’d want sitting out in the open where it can be seen.
Materials:
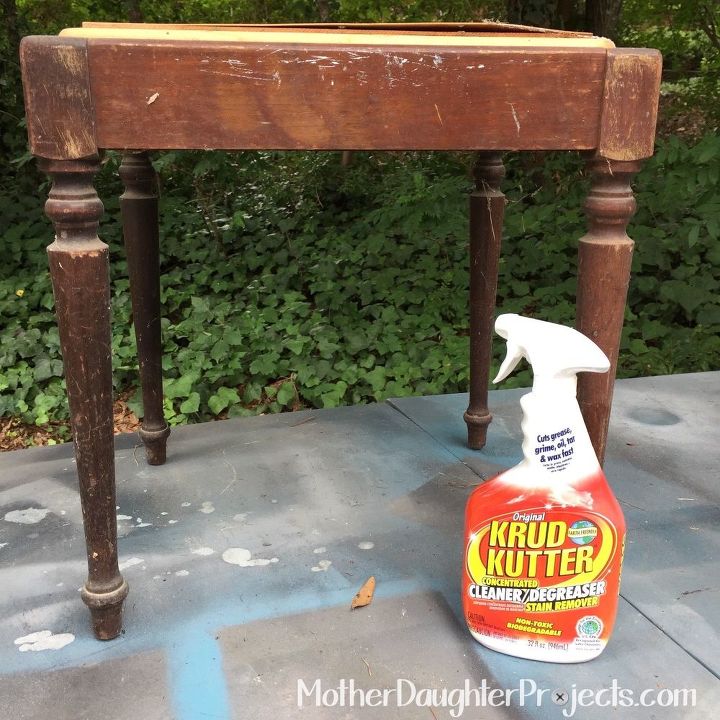
Step 1: clean the bench with Krud Kutter or cleaner of your choice.
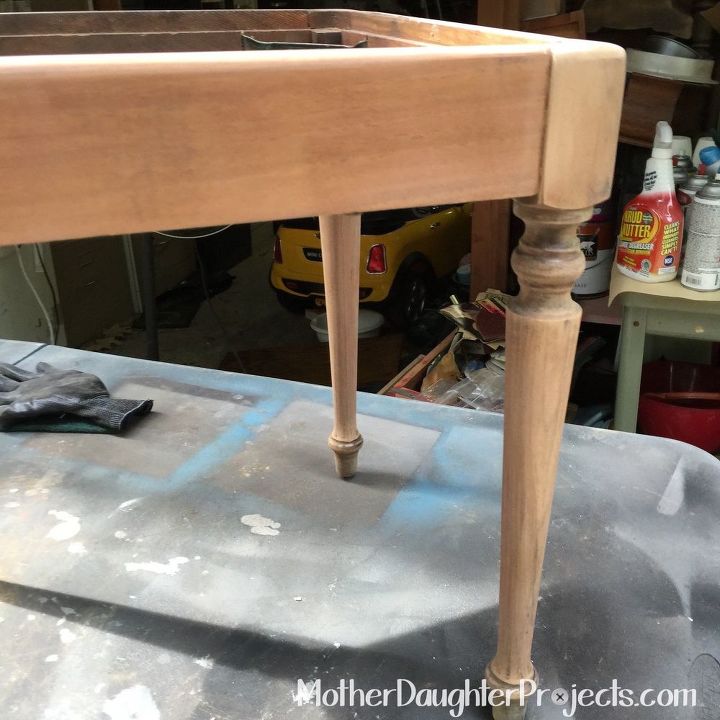
Step 2: sand the bench and the removable top with 150 grit sandpaper. I used a power sander on the flat areas and hand sanded the rest.
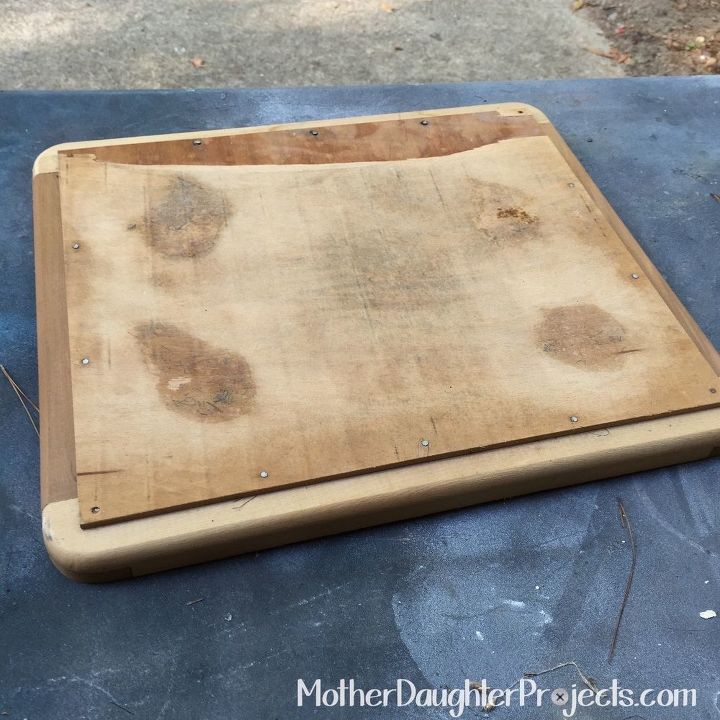
Step 3: Remove the plywood panel from the top of the stool--the seat part of the stool is not hinged but sits nestled into a recessed area about half an inch into the base of the stool. (See pictures for details) Also, remove the bottom of the bench base--it simply unscrewed making this really easy!
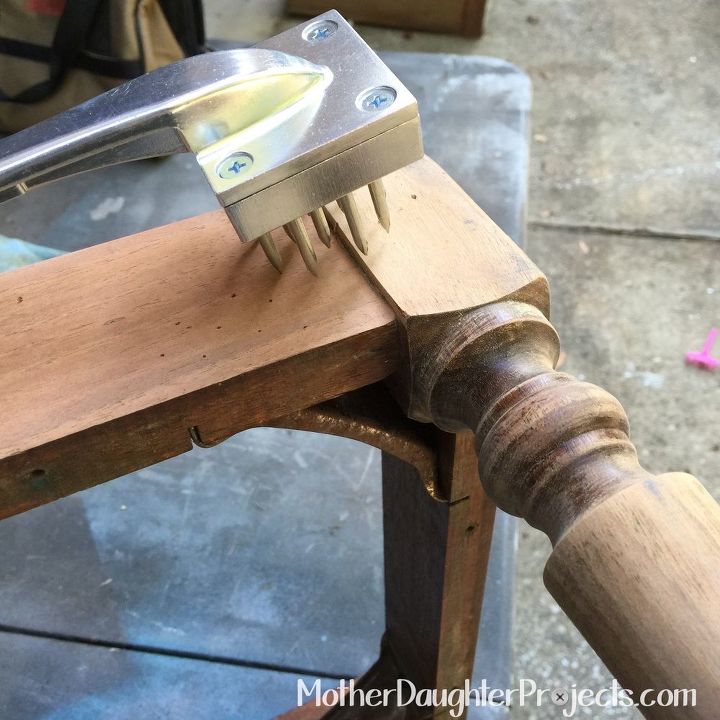
Step 4: Distress the newly sanded base and top. I used commercially available distressing tools, but you can make your own.
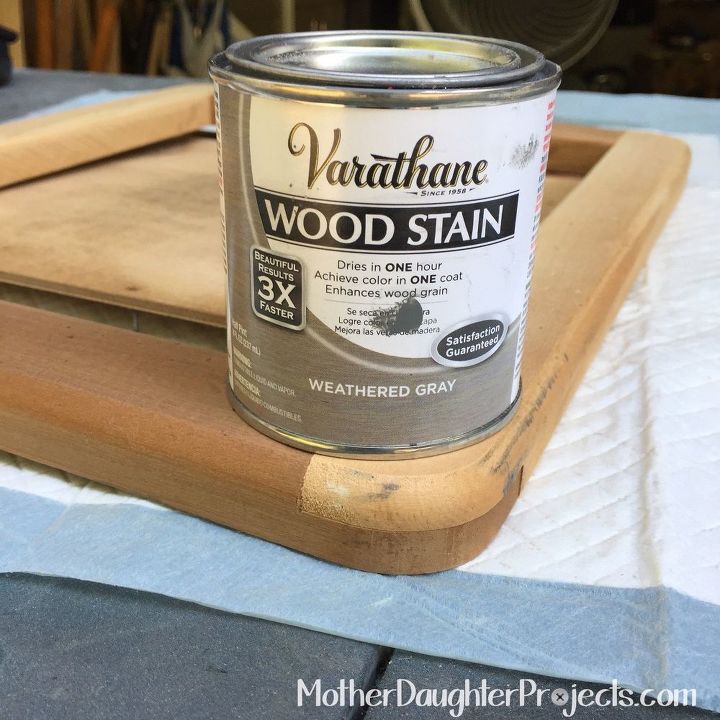
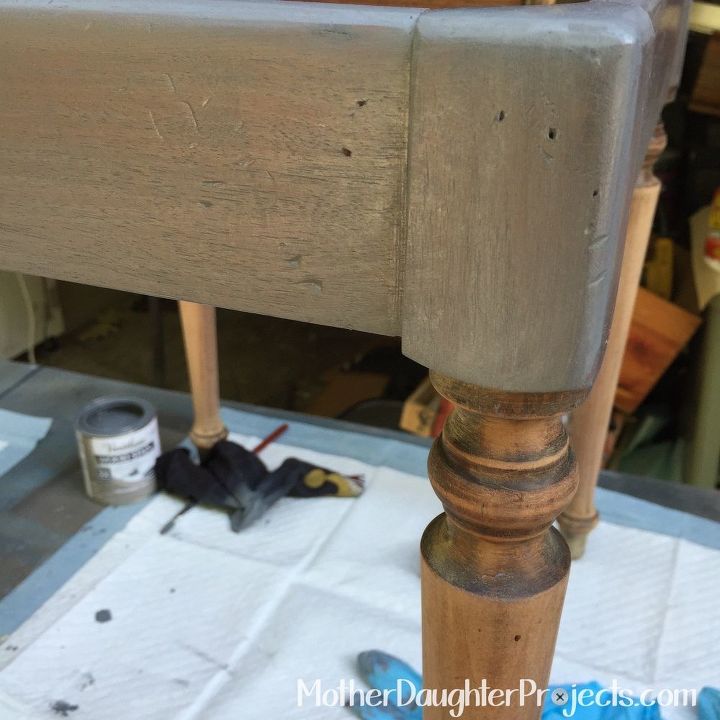
Step 5: Stain the bench and the top. See that small brush in the background? I used that to apply paint to the "wormholes" as the t-shirt rag doesn't get into those areas.
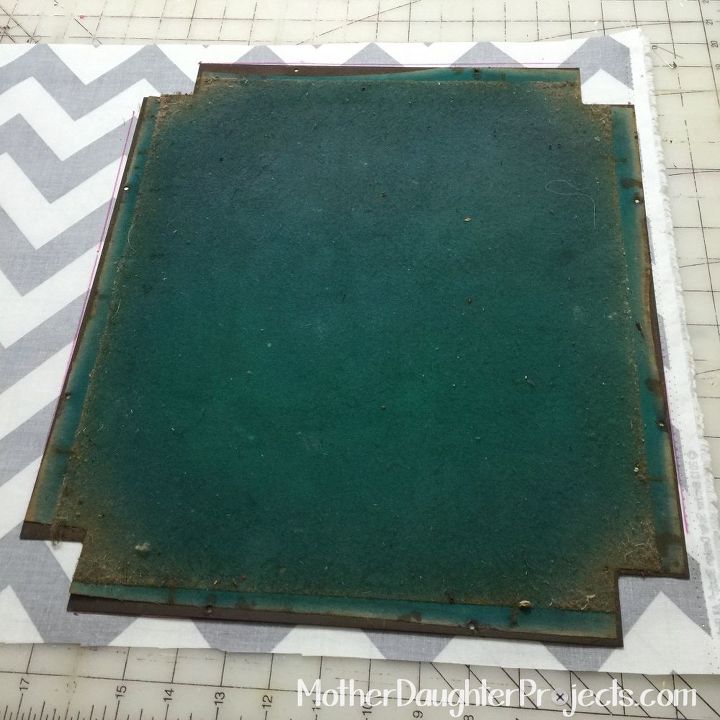
Step 7: Make the laundry bag. Attach with velcro and mini binder clips to the top of the base. (Pictured above: this is the bottom of the bench that was removed. I used it as a template to mark and cut the bottom of the hamper bag from the fabric.)
Check out our website for more details and how to make the inside bag!

Want more details about this and other DIY projects? Check out my blog post!
Comments
Join the conversation
3 of 14 comments
-
Adorbs...........and so functional!
-
Great idea!


Frequently asked questions
Have a question about this project?
Where is the photo of the finished project?
I would also really like to see the finished product! Where is the final picture?