


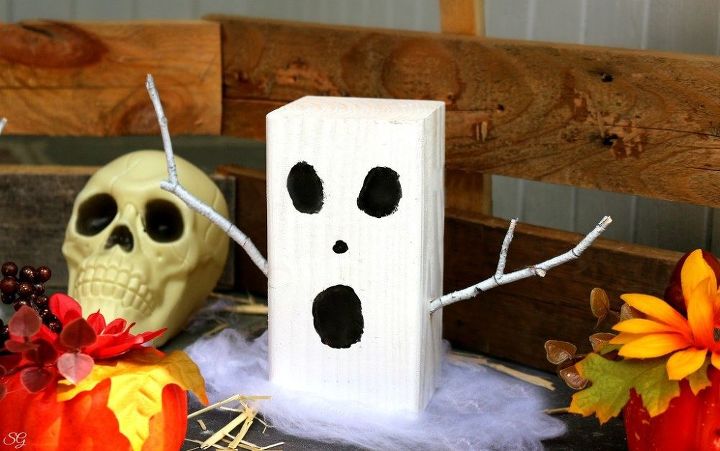
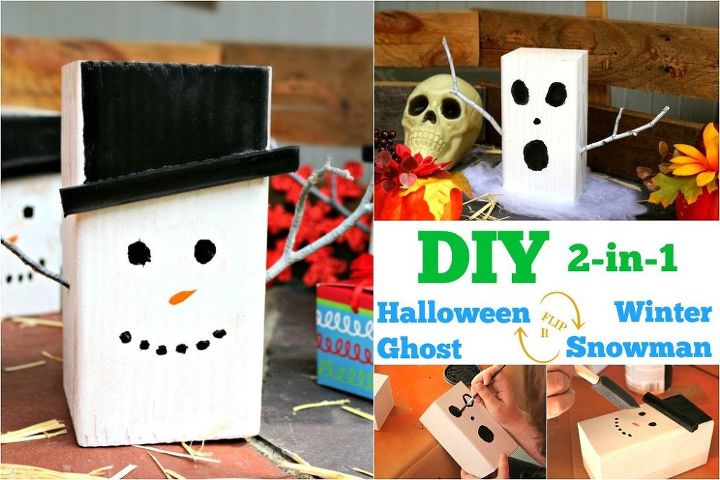
DIY Ghost With a Surprise!
5 Materials
Easy
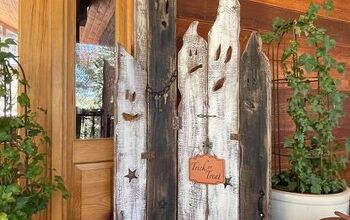
This DIY ghost decoration holds a little surprise. While you can put him out for a Halloween decoration, you can leave him out until after the winter Holidays! Keep reading to find out how...
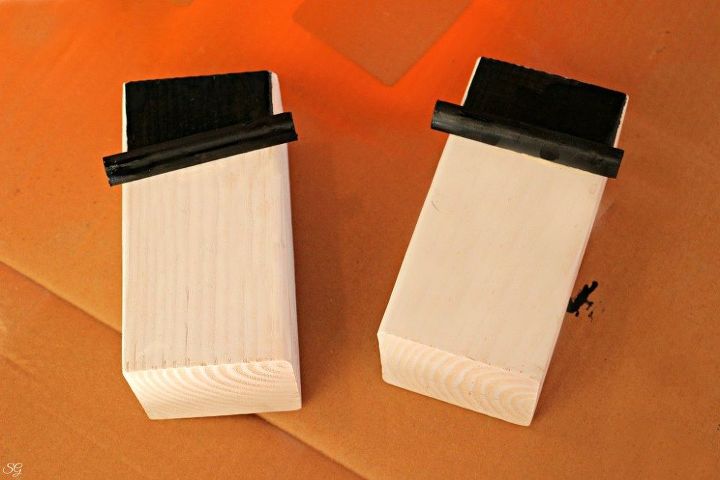
How do you build this simple DIY winter ghost? I began with some scrap 4x4 pieces of wood I had in my shop.
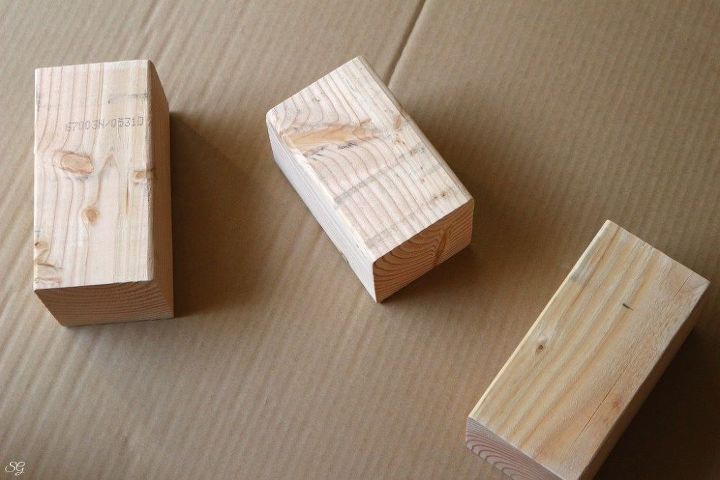
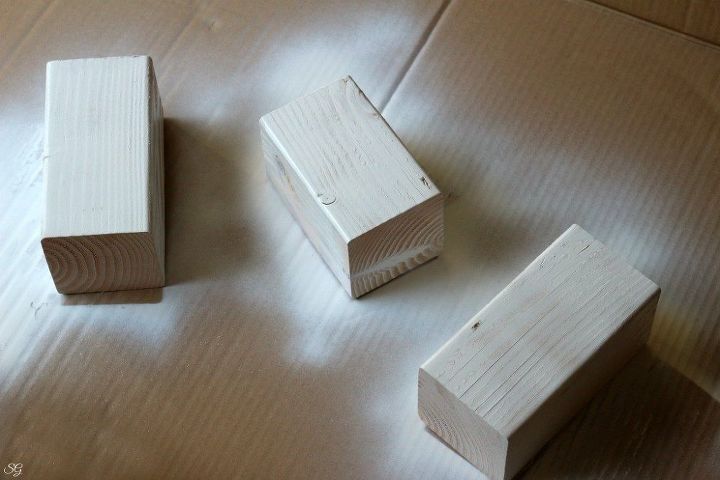
I cut the 4x4 pieces into various lengths. The length isn't really too important as long as it's longer than it is wide - so anything over 5 inches or so is perfectly fine.
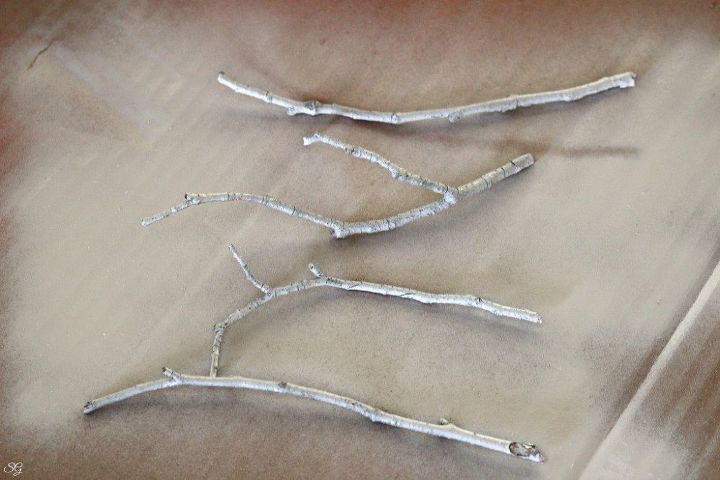
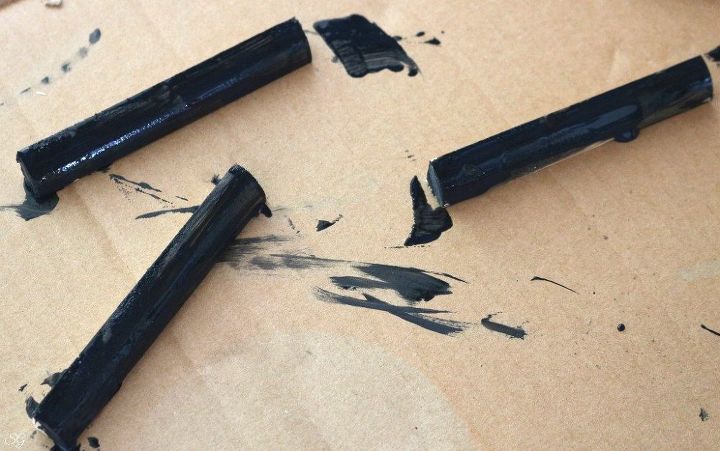
We found a couple of sticks on the ground outside and spray painted one side of them white. These will be the arms.
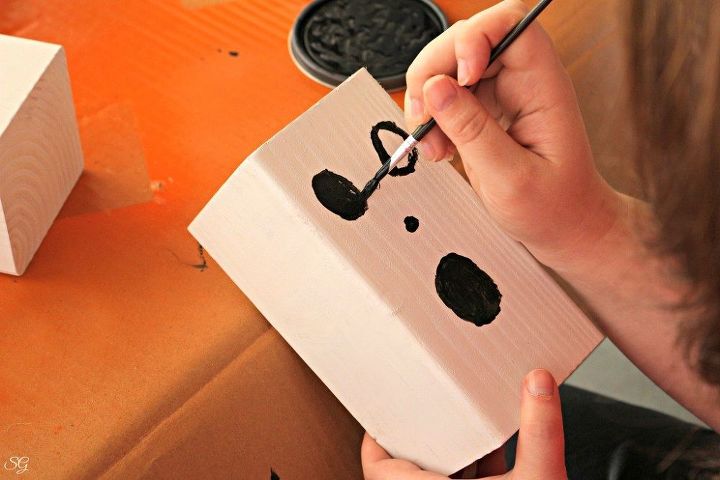
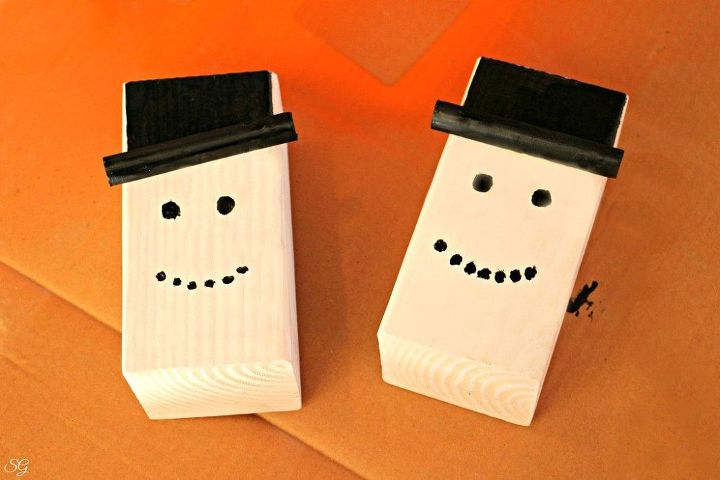
We painted the faces onto the ghosts (Katie is my painting hand model) :). Get as creative as you want here, we're certainly not artists. We put a big mouth, two eyes and a little nose, I think it makes for a good ghosty face. Yes?
Then we got out our drill bits and matched up the bits to the size of the sticks we found for the arms.

Apply a dab of glue to the end of each twig and glue them into the holes! Make sure the white is facing the side with the ghost's face.
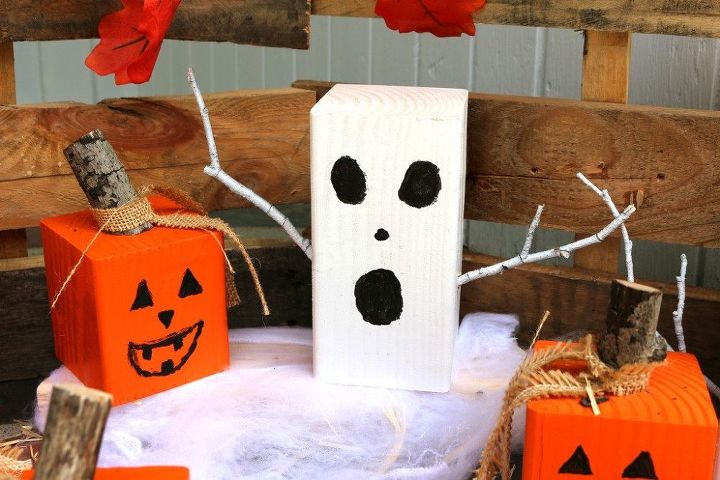
Don't mind the Jack O' Lanterns, we'll get to those in another post. They were inspired by another Hometalker! Be sure to follow me here on Hometalk and subscribe to my email list to be notified of my new blog posts.
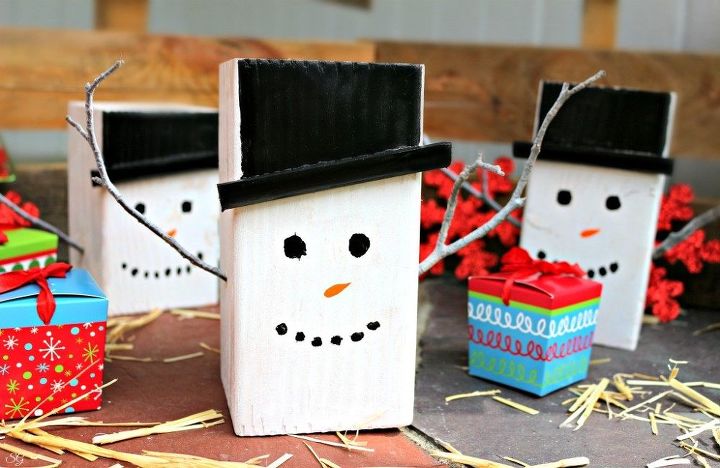
TIP: If you're making a snowman on the backside of the ghost, wait until you've painted everything before attaching the arms.
Attached it with wood glue and brad nails (finish nails would work too) about 2/3rds of the way up the backside of ghost.
We painted on eyes and a mouth...
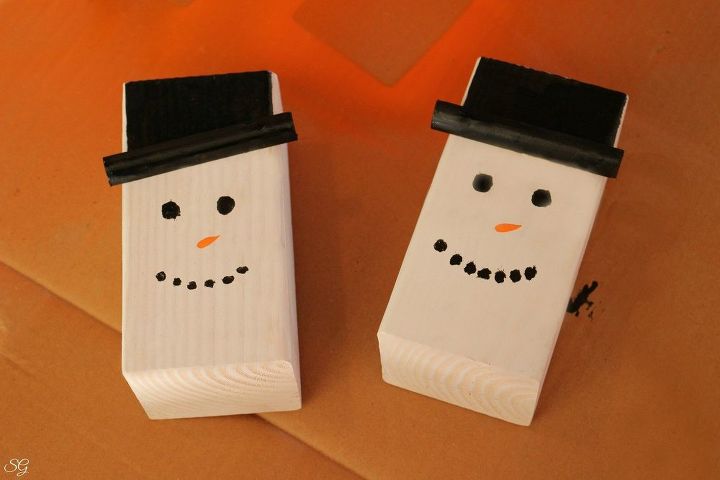
and then a orange carrot nose...
The last step was gluing in the arms - now we have a two in one DIY Halloween and Winter decor piece!
This project is a 10 minute at a time project, most of the time is spent waiting for the paint to dry.

Want more details about this and other DIY projects? Check out my blog post!
Comments
Join the conversation
3 of 28 comments
-
What would be even cutier, is to use you kids thumb and finger prints for the face!!
-
So Cute, and I have some wood pieces on the side of the house, so I'm going to start this project today. Thank you for sharing.


Frequently asked questions
Have a question about this project?