


DIY Wooden Signs
2 Materials
$20
1 Hour
Easy
Get the "fixer upper" look for less when you make your own DIY wooden signs!
We've all seen those wooden farmhouse-style signs floating around Pinterest, right!? I mean, Jojo herself sells them. They're adorable and stylish and I want all of them. Problem is, I can't bring myself to spend 100 bucks on one.
So, I figured why not just make one?!
We've all seen those wooden farmhouse-style signs floating around Pinterest, right!? I mean, Jojo herself sells them. They're adorable and stylish and I want all of them. Problem is, I can't bring myself to spend 100 bucks on one.
So, I figured why not just make one?!
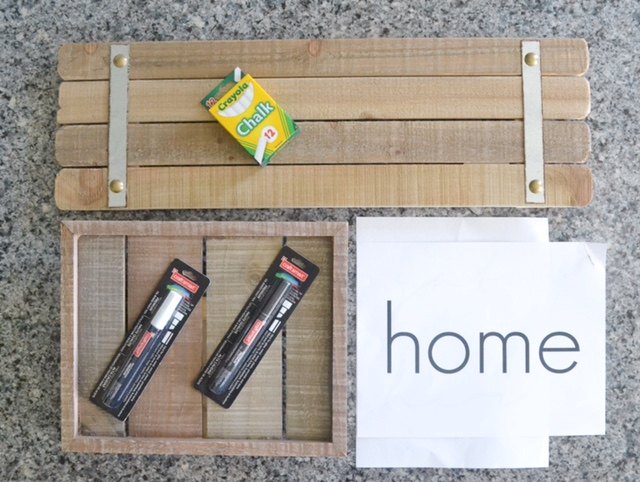
I picked up a few pre-made wooden signs at Hobby Lobby but you can find these all over nowadays. Target and even Walmart have upped their craft sections.
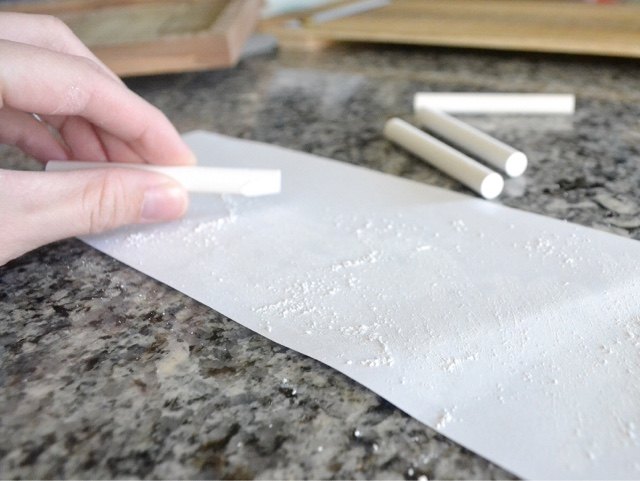
I first used a sharpie but I would recommend using a ball-point pen to simply trace over the letters, using just a little bit of pressure. This makes the chalk transfer onto the wood wherever you trace, leaving you with a light but very visible pattern.
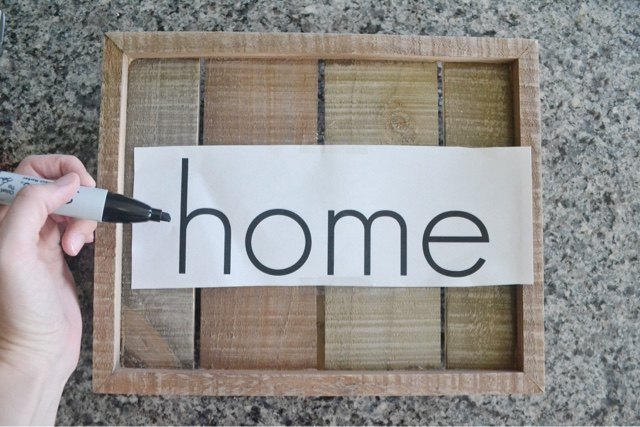
Next, use a paint pen to paint over the chalk letters. I did a few coats just to make sure it looked uniform in terms of color.

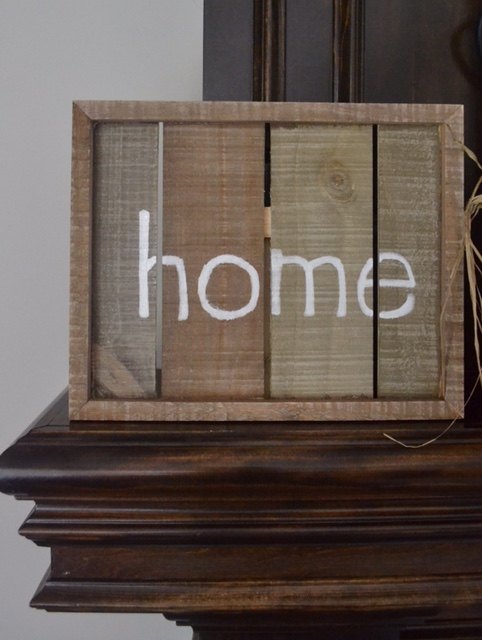
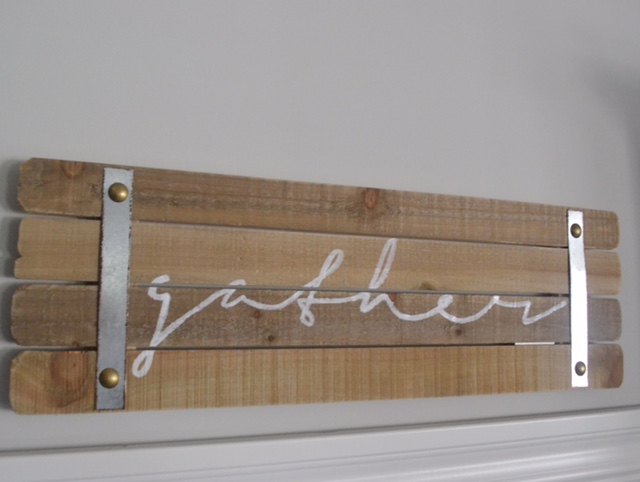
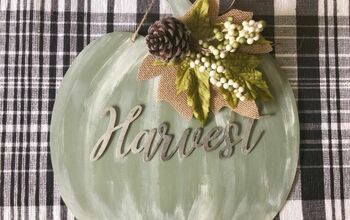
Voila! A nice farmhouse-style wooden sign for under $20!
I repeated the steps above to make a "gather" sign for our kitchen and I really like it.
Check out my blog for the full tutorial! Happy crafting!

Want more details about this and other DIY projects? Check out my blog post!
Comments
Join the conversation
2 of 26 comments
-
Old cutting boards from the thrift store make great signs.
-
I've been wanting to try my hand at a homemade sign because I too can't bear to spend so much on one. Yours look fabulous!


Frequently asked questions
Have a question about this project?