


DIY Farmhouse Style Vintage Sign
3 Materials
30 Minutes
Easy
This project is easier than it looks. I promise.
I liked the look of a striped sign with striped lettering.
This starts with a broken piece of pallet wood. It's 3 1/2 inches wide and 10-inches long. I used two colors of chalked based paint in creamy white and gray. Any type of paint is fine. The painter's tape is 2-inches wide. I made a stencil using a Silhouette cutting machine and cardstock. Usually, I make stencils with clear stencil plastic. But for this project the cardstock is fine. A store bought stencil works too. Temporary spray glue and small paintbrushes and petroleum jelly to aged the sign.
First, paint the pallet wood with white paint.
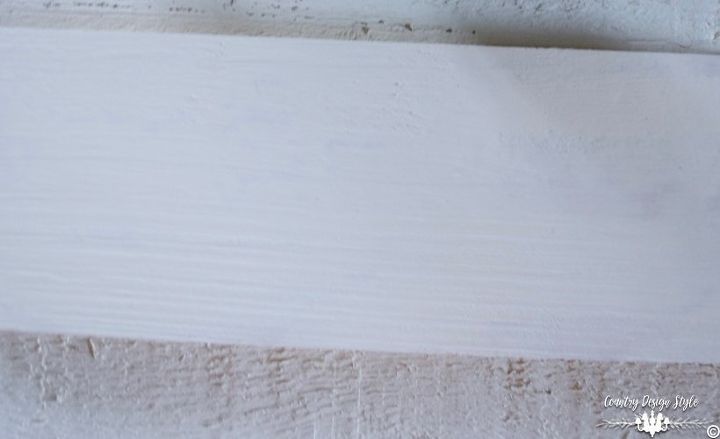
First, paint the pallet wood with white paint.
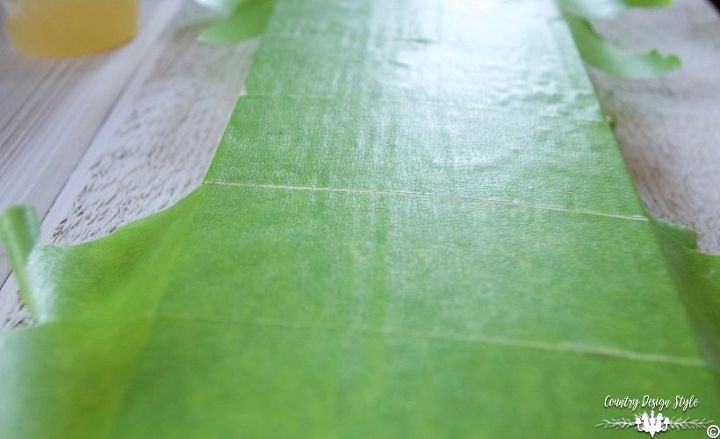
Covered the wood with strips of painter's tape completely. This is faster than measuring.
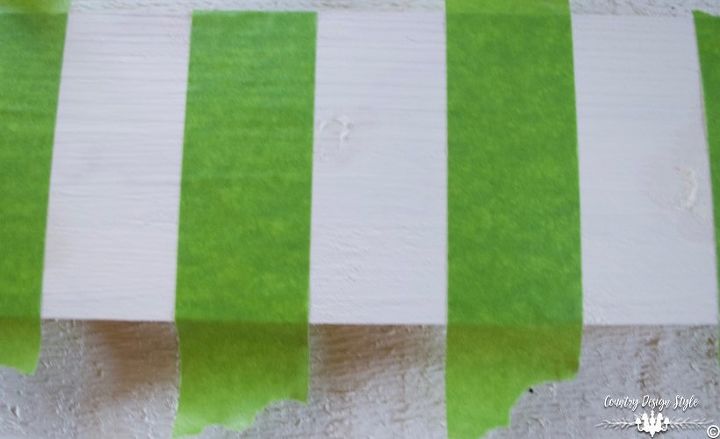
Then removed every other piece of tape.
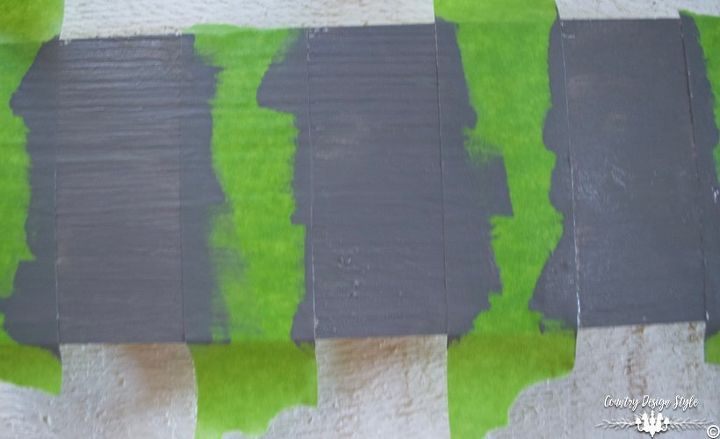
Now paint the exposed stripes gray.

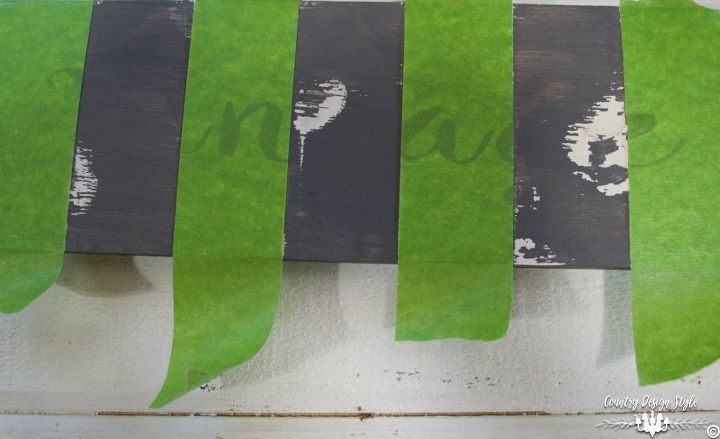
Remove the tape. When the paint dries, rub petroleum jelly where you want distressed areas.
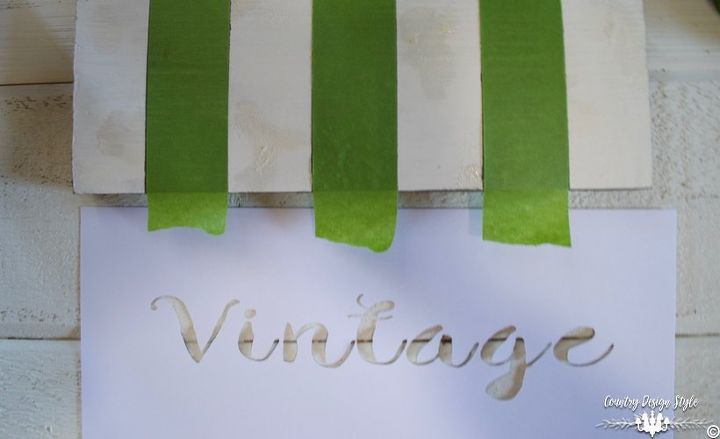
When the paint dries. Add tape over the gray stripes.
Lightly spray the back of your stencil. Wait the amount of time your spray glue states for a temporary bond. Center the stencil. Paint the stencil using the gray paint.
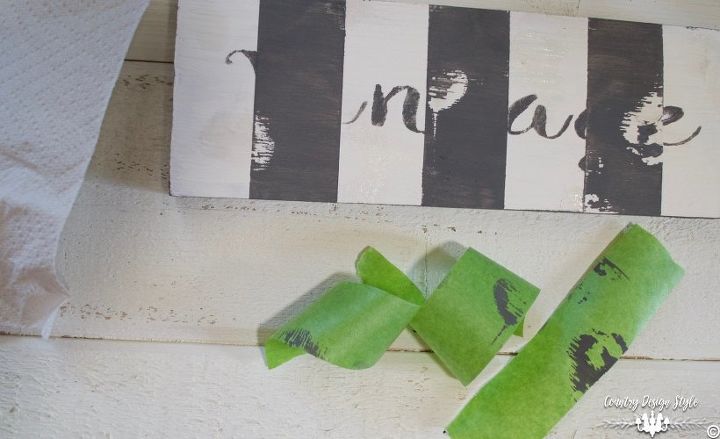
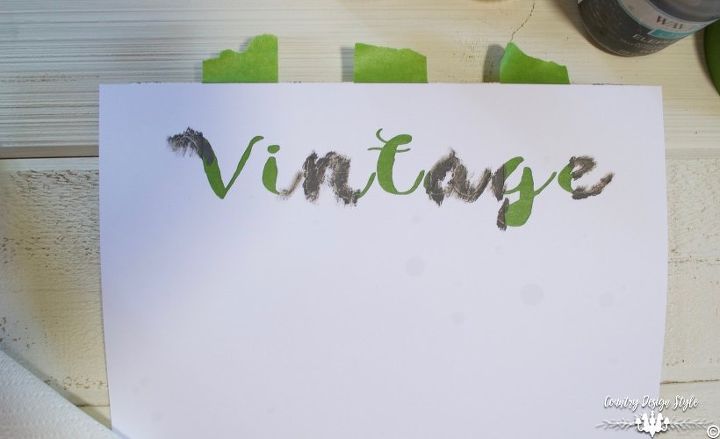
Remove the stencil and tape. Some paint may come off with the tape. That's fine. It's vintage.
Next, cover the white stripe with tape. You can see my lettering through the tape.
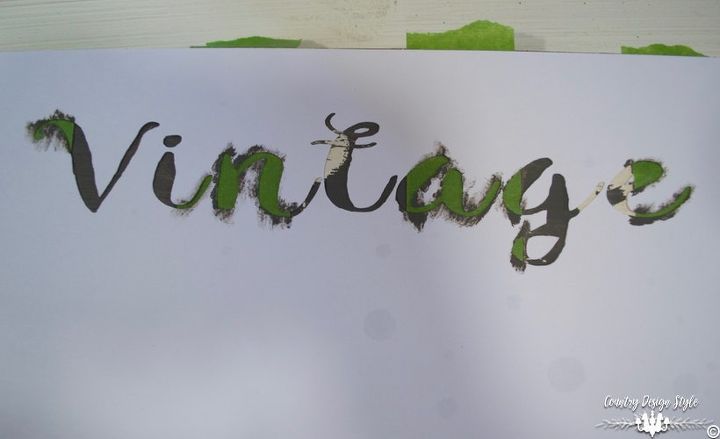
Replace the stencil in the same position. You can add registration marks if you wish. I didn't. It's vintage.
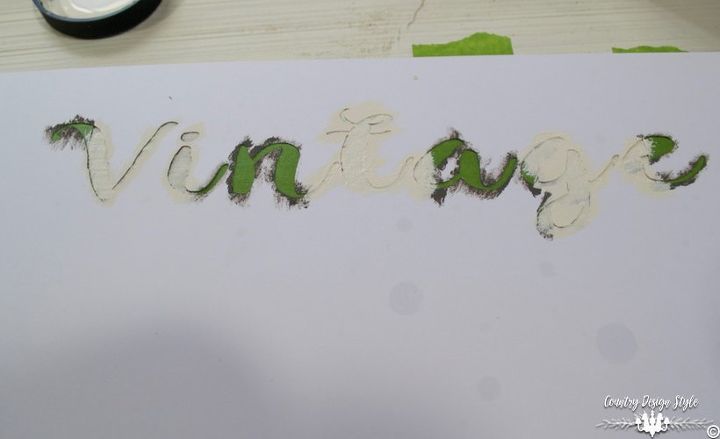
Stencil the white paint.
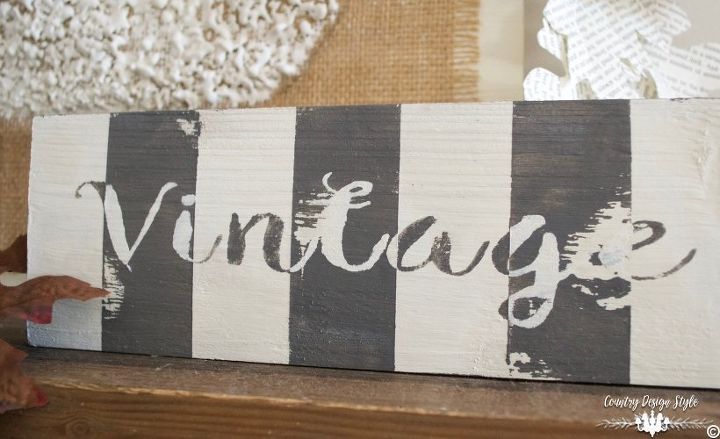
Remove the stencil and tape. Voile! A DIY farmhouse style vintage sign.
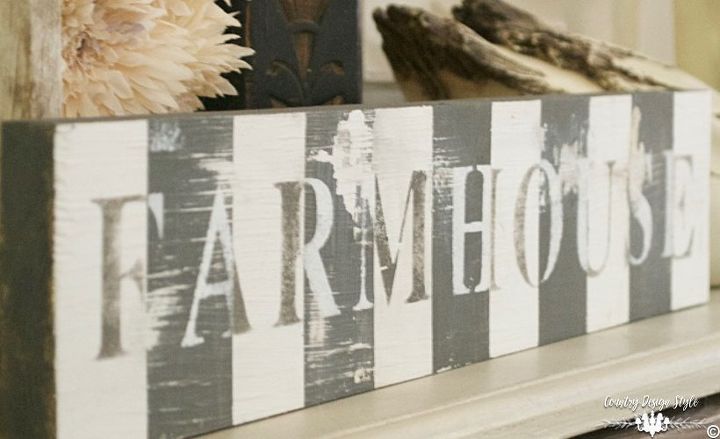
Here's another striped sign with striped lettering! I had all the supplies so these signs did not cost me anything.

Want more details about this and other DIY projects? Check out my blog post!
Comments
Join the conversation
3 comments
-
Lovely! :)
-
I love this idea!!


Frequently asked questions
Have a question about this project?