


DIY Window Wedding Picture Frame

I'm a big fan of the old chippy window-to-picture frame, so here is my take on it!
First thing I did was distress it a bit more by using a putty knife and gouging at the edges a bit. I wanted to expose some of the wood underneath, and rather than just leave the window white, I sanded it down just enough to smooth out the chippy parts, added a thick layer of Crackle Medium (found at any craft store) and topped it off with burgundy crafting paint. Once dry and cracked I grabbed my putty knife again and began scraping at the edges to expose the wood and some of the white paint.
My darling Hubby, the woodworker, fashioned the photo corners for me and I painted them to match the detail in his wedding attire. Then added the peacock feathers (used in our wedding) to match the fan that I carried.
I bought a piece of photo matting (which is actually a champagne color) so I had something to assemble everything on and to attach to the back of the window. Once assembled, I stapled it to the back of the frame and viola!
I must point out that nothing sits against the glass, its like a shallow shadow box.
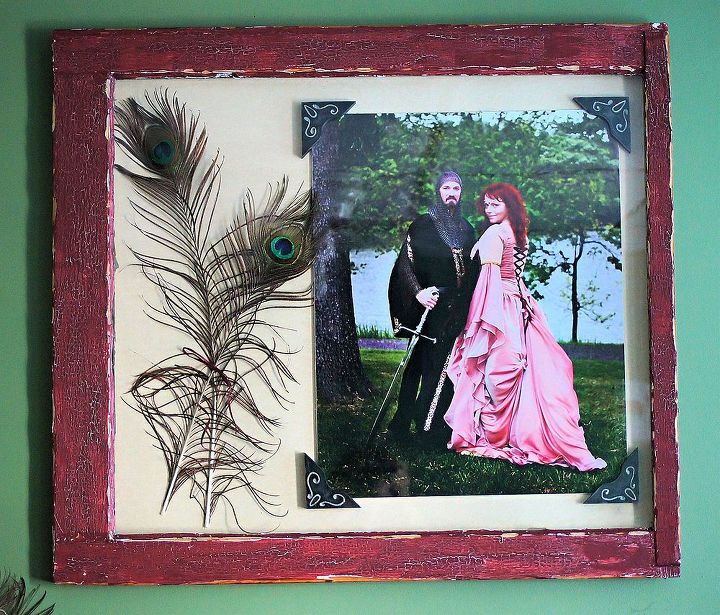
Chippy Wedding Window Frame


Frequently asked questions
Have a question about this project?