


DIY Upholstered Headboard
6 Materials
$50
3 Hours
Easy
I decided after looking at a lot of different tutorials online that I could probably create my own for quite cheap. This headboard cost less than $100 and only took a couple hours to make. Your cost will depend on the cost of the fabric you choose and if you can get the other materials on sale.
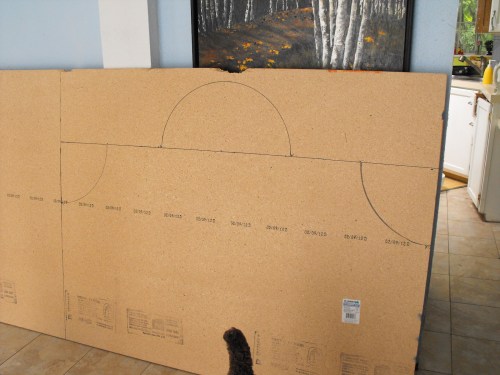
We got this giant 5×8 piece of MDF from Home Depot for $5!! Yes only $5. There was some damage to the edges of the piece but since we were cutting out out shape it didn’t matter. I started by by tracing a rectangle and then used a clock to trace out the circular shapes. Measure and trace out your shape then cut it out with a jigsaw.

Once your shape is cut out trace out your upholstery foam and glue it on with spray adhesive. The foam was the most expensive part of this project. I used 2″ foam. Cover the foam with batting for extra padding and smoothness. Staple it in place using a staple gun on the backside of the headboard. I bought the foam and batting from Joanne craft store. If you have pets they will think this is a new soft dog bed you created just for them. Ha ha. I couldn’t get Luna off to take a photo.
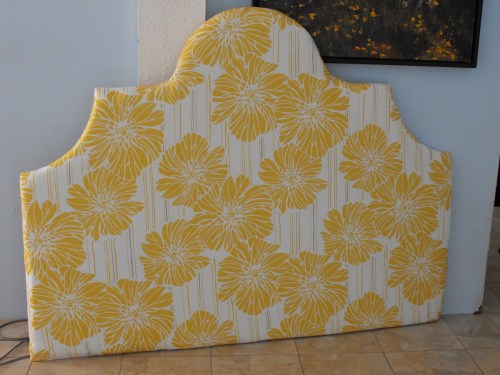
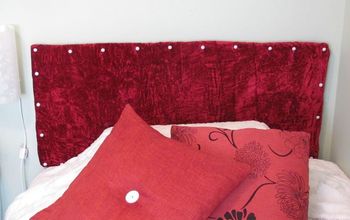
The next step is to staple your fabric on top of the foam. I couldn’t find a fabric I liked at the fabric store and I didn’t want to purchase it online either. I actually used a duvet cover from Target! I cut the top layer of the duvet cover off and stapled it in place. I love this pattern.
To add stability we added legs to the headboard so that it wouldn’t tip over and fall on us while we sleep.
The great thing about this headboard is that I can change it later. If I decide to redo my bedroom I can easily cover the fabric with something new or disassemble it and cut the wood to change the shape or drill holes in the wood and create tufts!
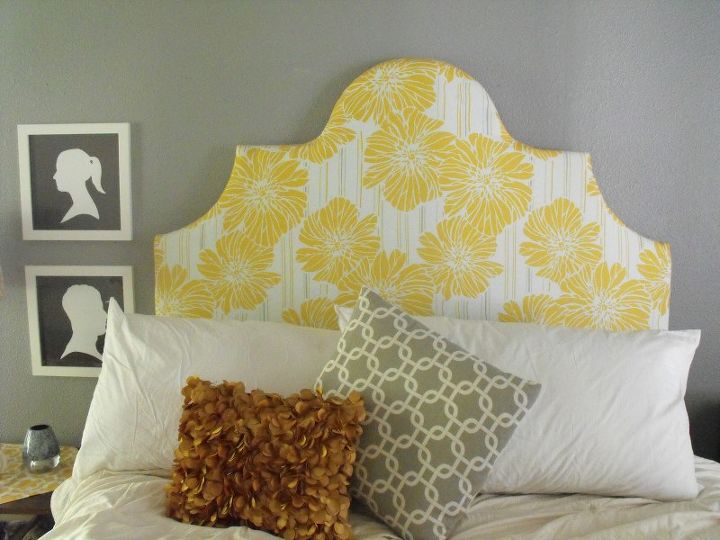
Finished product
Resources for this project:
See all materials


Any price and availability information displayed on [relevant Amazon Site(s), as applicable] at the time of purchase will apply to the purchase of this product.
Hometalk may collect a small share of sales from the links on this page.More info

Want more details about this and other DIY projects? Check out my blog post!
Comments
Join the conversation
4 of 28 comments
-
material you chose not a good fit
-
It's just simply LOVELY!


Frequently asked questions
Have a question about this project?
What's the difference between 2" regular foam and upholstery foam? Aren't they same?
Can I use plywood instead of cardboard ?and can it just be fixed to the wall instead of legs added?
How many yards of material did you use?