


Install DIY Shiplap: The Easy Way


Comments
Join the conversation
-
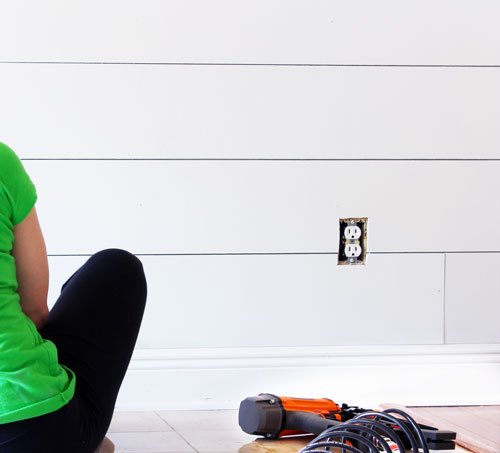
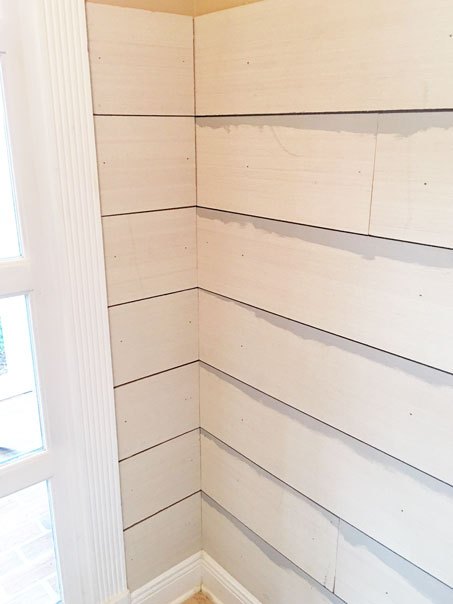
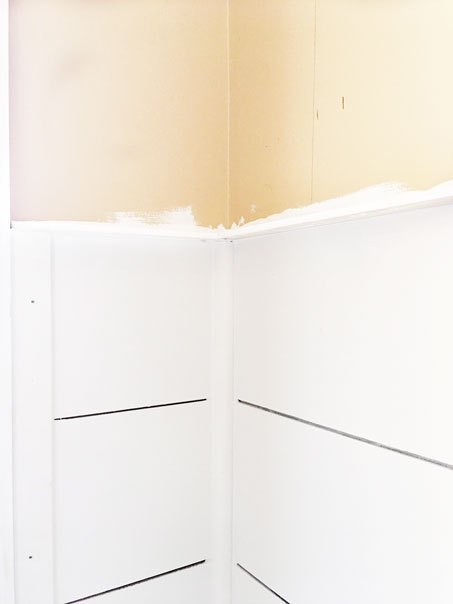
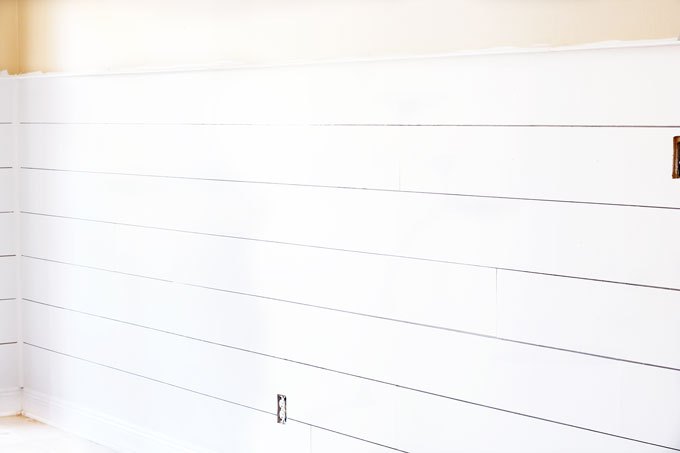
I have done shiplap on all walls in 3 rooms! Love it. Our Home Depot has an OSHA policy/reg that only allows them to cut nothing smaller than 12 in. So I have them cut a sheet of plywood into 12 in. widths, then I cut those into 6 in. widths. I do mark my walls where each sheet of shiplap will end/begin and then take my paint on a roller and simply run a "strip" of paint on the wall … then I have the same color showing thru the gap in the shiplap boards. I found this easier than trying to go back and paint that tiny space after the shiplap is up and installed.
-
Yes! I would love to have this "look" in my bedrooms, bathrooms, kitchen, and living area. I know that I would have to hire someone to do this for me. Can't wait to see it the finished product! 💞⚜️


Frequently asked questions
Have a question about this project?
What type of floor underlayment did you use? Unfortunately on Home Depot and Lowe's websites there are 3 or 4 types of floor underlayment, never mind all the different types of other plywood, lol!
Hi Holly
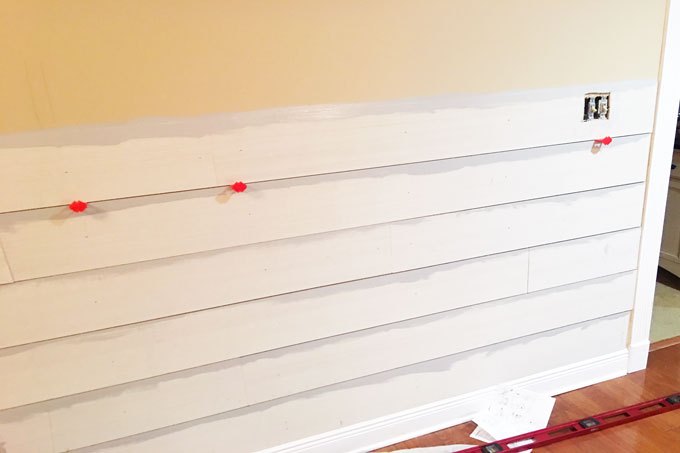
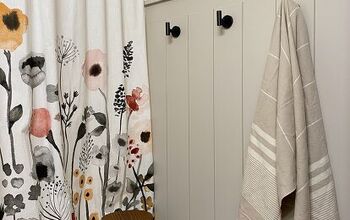
did you use a dark paint on the walls behind the gaps in the "ship lap"
I’m not seeing a photo of your “finished product” I’d love to see the shelf on the top. How did you add the floating shelf? Did you keep it white?
thank you. Looks great, we’re actually doing our bathroom walls (1/2) in shiplap and I can’t wait to finish the project!