


Make a Stunning Map Table of Your Favourite City (an IKEA Hack)
4 Materials
$15
3 Hours
Easy
One of the easiest and fun ways to make a piece of furniture interesting and personal is to add a map to it.
Not only with this lovely map project do I show you how easy it is to transfer a map to wood but also how to print off a map of any city or town in the world for free in any style you want.
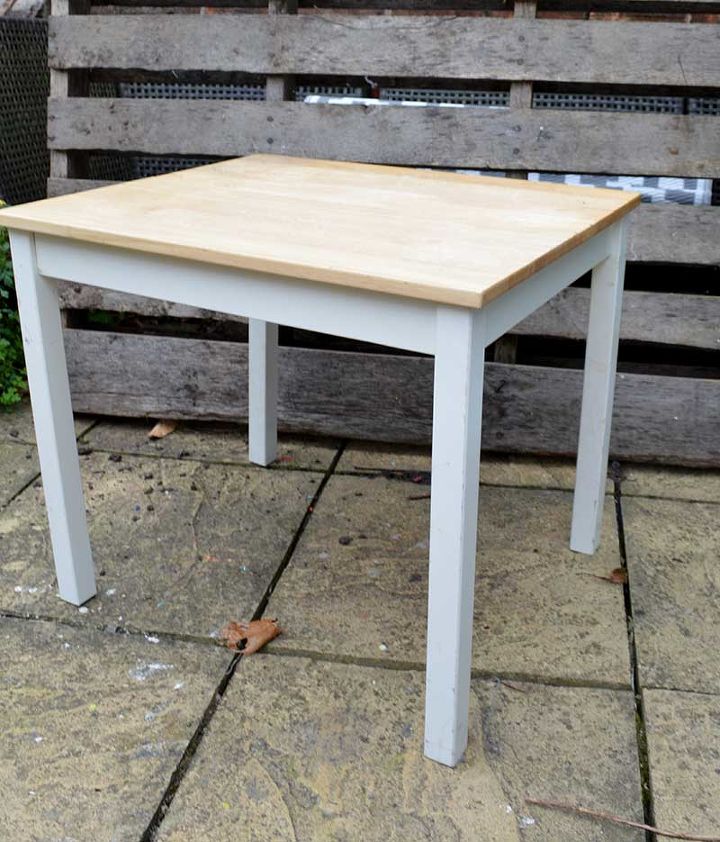
I started off with this old IKEA children's table I had kicking around the house. My kids used to sit and do their home work on it. Now that my boys are all over six foot tall the table is just sitting there in the games room looking rather boring.
One day whilst playing around on the computer I came across this amazing website called MapBox.com. Mapbox is a free website where you can zoom into any country, city or town in the world and save it. Not only that you can save it in any style you want.
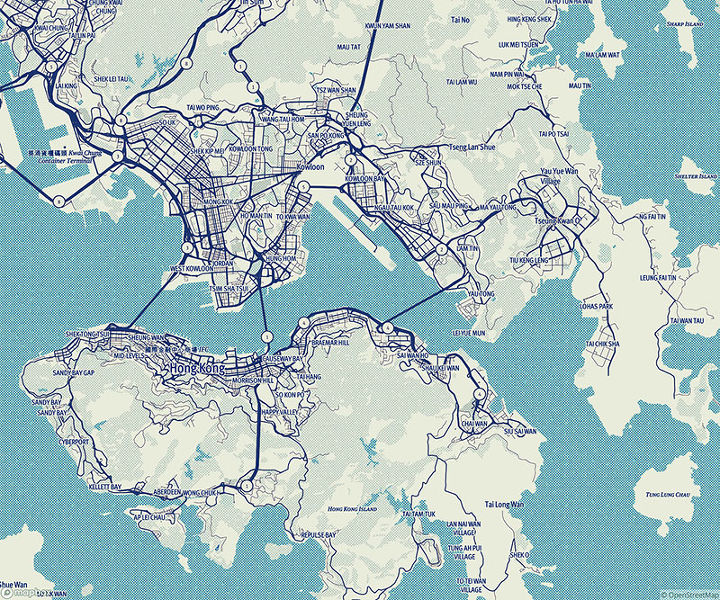
I was born and bought up in Hong Kong, so decided to make a map of the city in MapBox in my favourite colour blue.
That's when I got the idea to transfer it to my it boring old IKEA kids table.
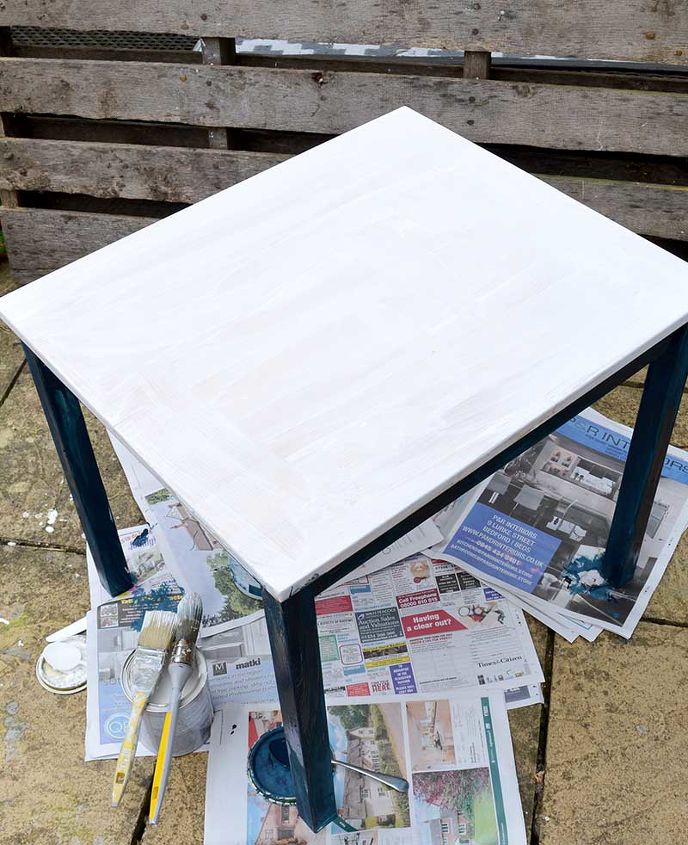
First I painted the table legs blue to match and the top in white chalk paint so that the map would show through easily.
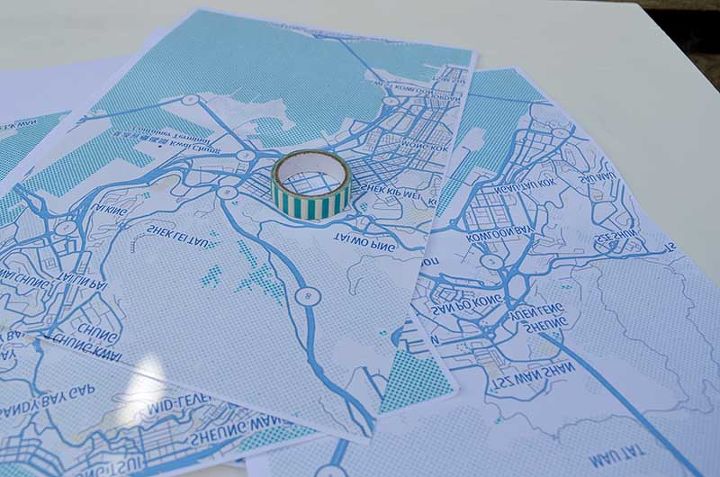
My table top was bigger than A4 so the map was printed over six pages. Also for the map transfer technique, I used you will need to print the map in a mirror image on a laser printer.
I didn't have a laser printer at home so I just took my map to my local copy shop and they did it for me.
Details on how to print a map from Mapbox or on the blog.
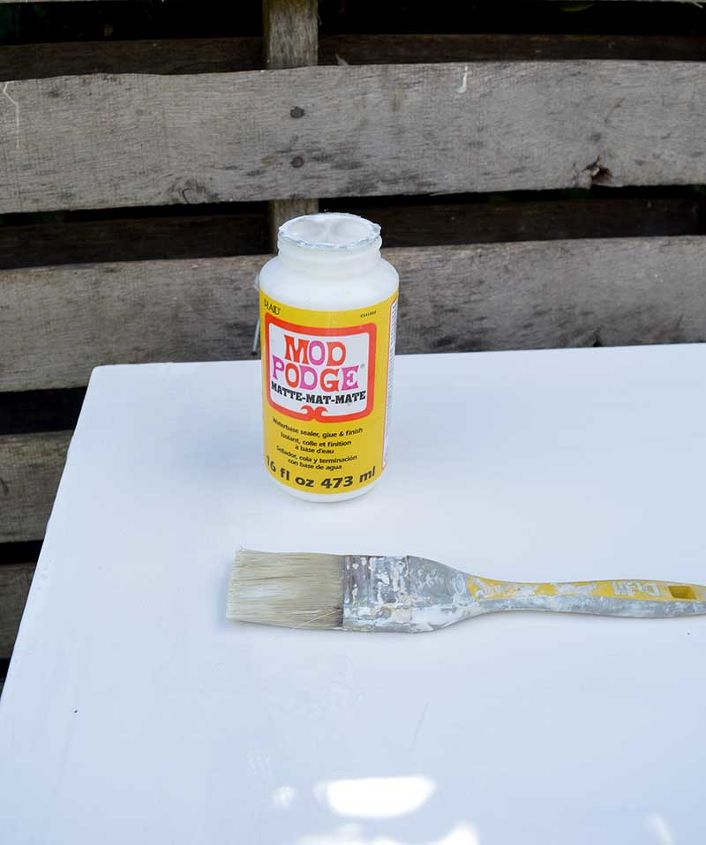
The magic ingredient used to transfer the map image to the table top is Mod Podge (see here).
I covered both the table top and the maps in Mod Podge.
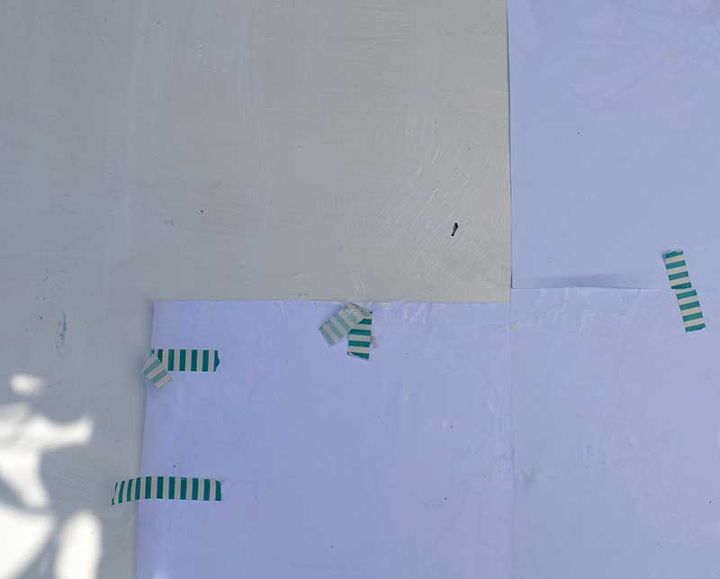
The map was then stuck face down onto the table top and left for several hours to dry thoroughly.

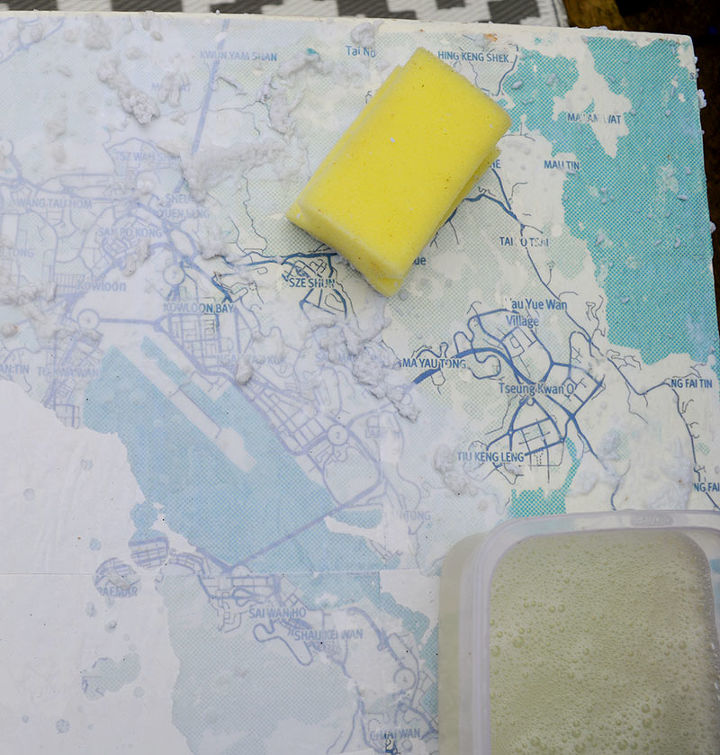
I then got a wet sponge and rubbed away the white paper. The paper forms into pulp and comes away from the table leaving the printed image behind.
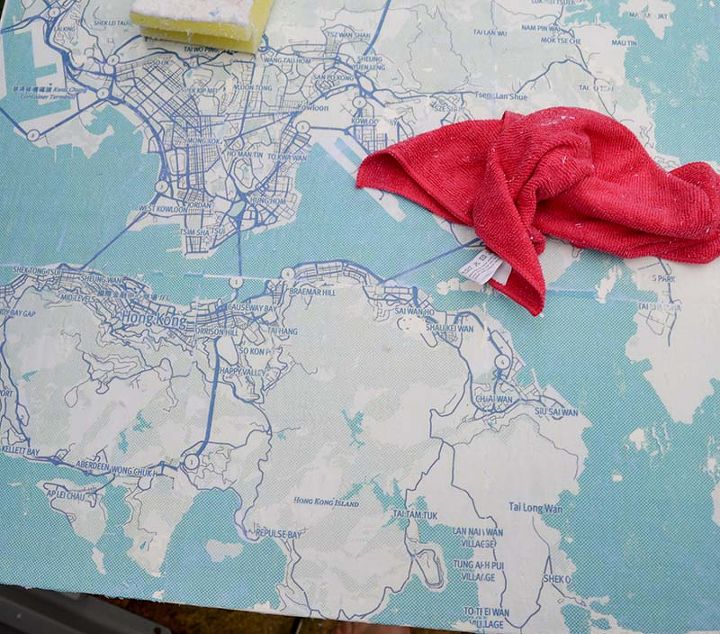
This takes a little bit of elbow grease but eventually, you will be able to rub away all the paper residue.

Once all the paper is removed you can then apply another coat of Mod Podge to the top of the table to provide a protective sealant.
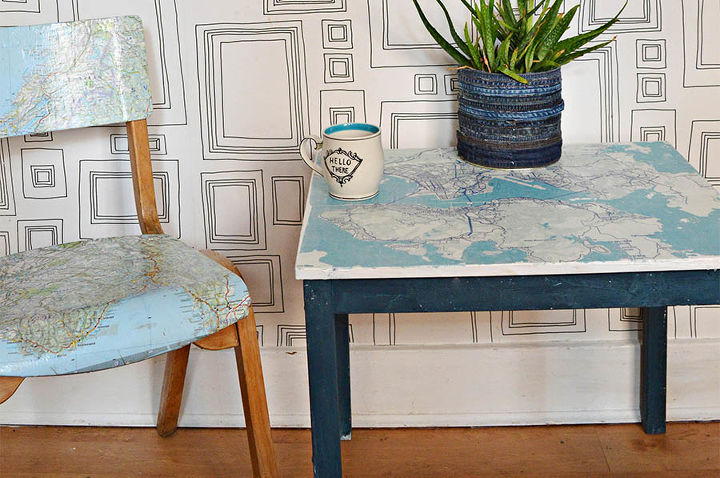
I love how my map table turned out. I especially love sitting and having a coffee whilst looking at a map of my favourite city.
What city or town would you make a map of for your table?
This isn't the first IKEA map table I've made I've also made a gorgeous world map one with decoupage and map wrapping paper which you can see here.

Want more details about this and other DIY projects? Check out my blog post!


Frequently asked questions
Have a question about this project?
Did you do the chair the same way