


Faux Framed Wood Signs

by
Brianna
8 Materials
$3
30 Minutes
Easy
Making faux framed wood signs is one of my favorite things to do when creating a sign. It is more cost effective (since you don’t need all the tools to make a “normal” frame), the sign is lighter making it easier to hang, and it gives the sign a unique look! For those that are just starting in your sign making journey, this is a great way to do it!

Supplies Needed:
A wood blank
Stain (color of your choice)
Painters Tape
Square
Measuring Tape
Pencil
Chalk Paint (I prefer to use Waverly Chalk Paint from Walmart or make my own. You can find my DIY Chalk Paint Recipe here.)
Paint Brush or Mini Roller
The How-To:
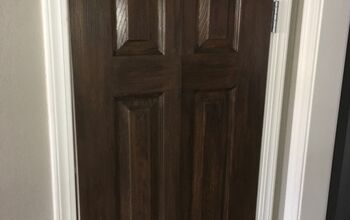
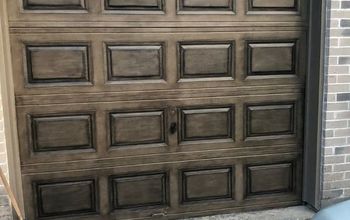
Find your piece of wood that you want to create with. I prefer using 1”x10″ or 1″X12″ boards and cut them down. Once cut, I sand it with 80 and 120 grit paper with my orbital sander. Once smooth, stain you sign. I use Minwax Dark Walnut. When your sign is dry (I let mine dry for at least 8 hours), you are ready to create your faux frame! Watch the video tutorial below to get the step by step instructions on how to create your faux frame!
This technique is a really quick and is a great way to add a frame without all the wood work and measuring.
If you found this helpful, please pin this tutorial to Pinterest or comment below to let me know you tried it!


Happy DIYing,
Brianna
Want more details about this and other DIY projects? Check out my blog post!


Frequently asked questions
Have a question about this project?