


Painted Tree

by
Michelle
3 Materials
$1
6 Hours
Easy
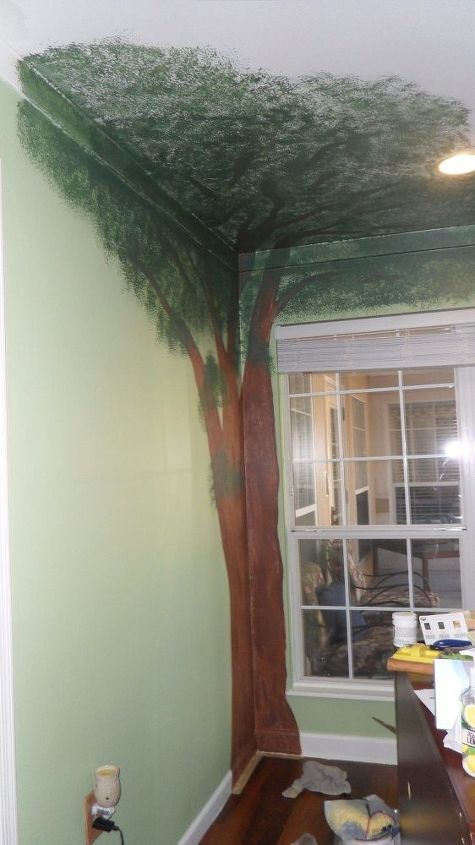
I got a promotion at work, and with that, I inherited an office all my own :) I wanted to make the space special and relaxing, so part of my transformation was to paint a huge tree in one corner! It goes all the way up and onto the ceiling :)
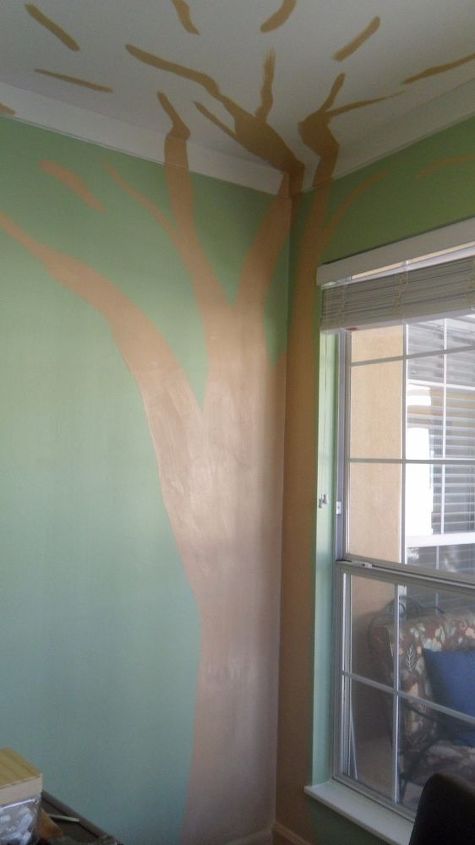
I started by painting every wall in the office. I painted 3 walls light green and the 4th is forest green (Look for my post of the entire office remodel coming soon!) Then I painted a tan base for my tree trunk.
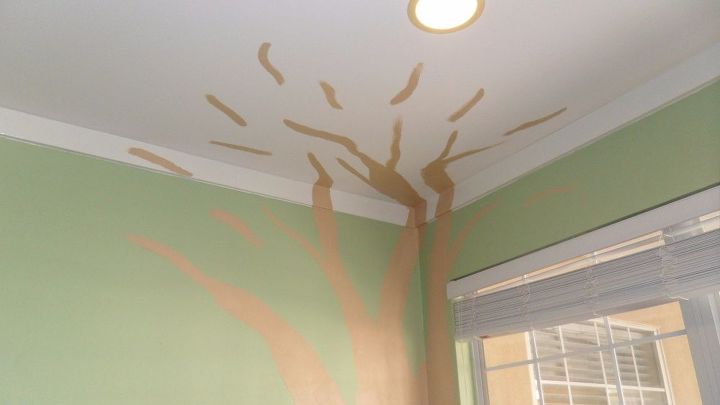
I knew I wanted to go up and onto the ceiling and I wanted the tree to look as real as possible, so I painted "branches" that would show through my finished tree.
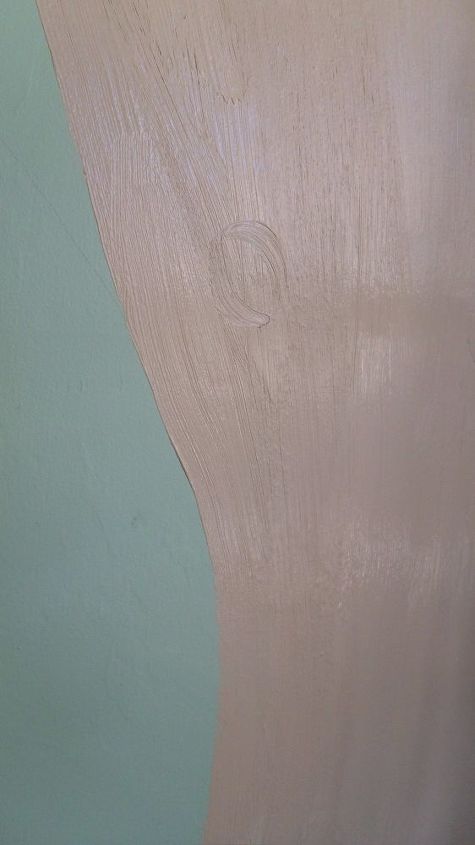
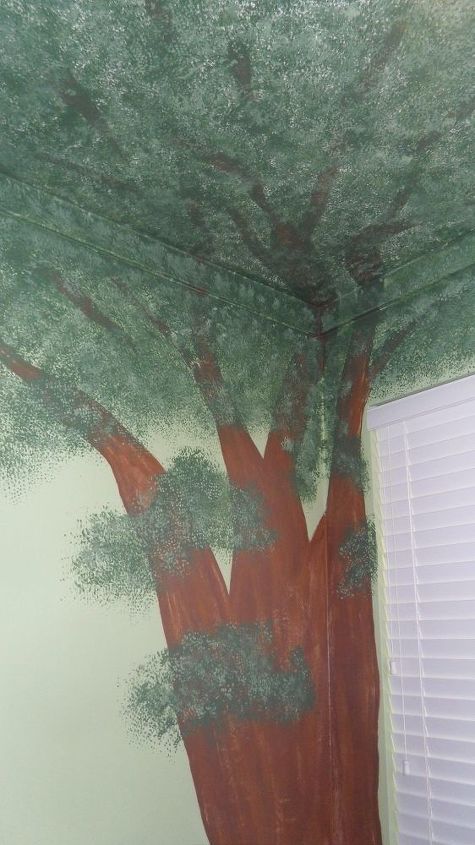
The cool thing about this first paint I used on the trunk, (I used 3 paint colors for the trunk) is that it was old and real thick! Now, normally that would be a bad thing, but as I was painting, it really started to give it the look of bark! I was so excited! I ran with it and began making swirls and lines like you would see on a real tree.
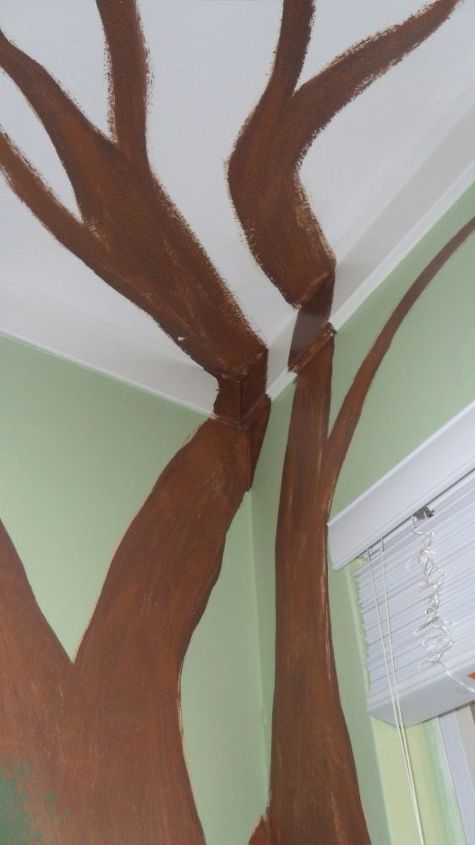
I dry brushed a darker brown and then a reddish brown to create the depth and appearance of bark.
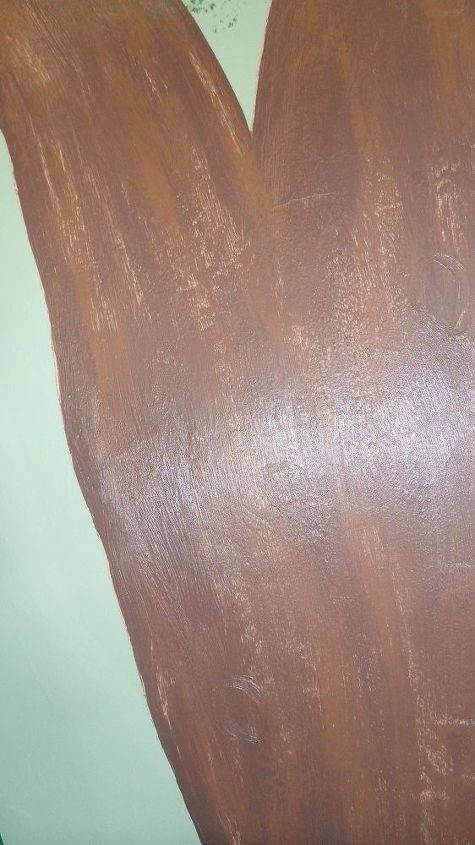
Here is a close up of my bark :)
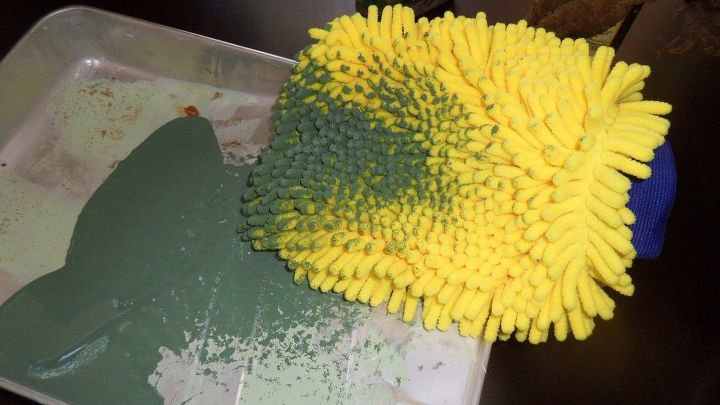
Once I was happy with my bark, it was time to do the leaves. Someone at work suggested that I use a stamp to do the leaves ...I did not have 2 or 3 years to dedicate to that process, but I think I like my solution better anyway :) I bought this doodad ( how do you like that technical term?  ) at the dollar store and got to work creating the canopy of my tree! I just slipped it on my hand and tapped it into my dark green paint and patted it on my tree trunk where it made sense to create leaves.
) at the dollar store and got to work creating the canopy of my tree! I just slipped it on my hand and tapped it into my dark green paint and patted it on my tree trunk where it made sense to create leaves.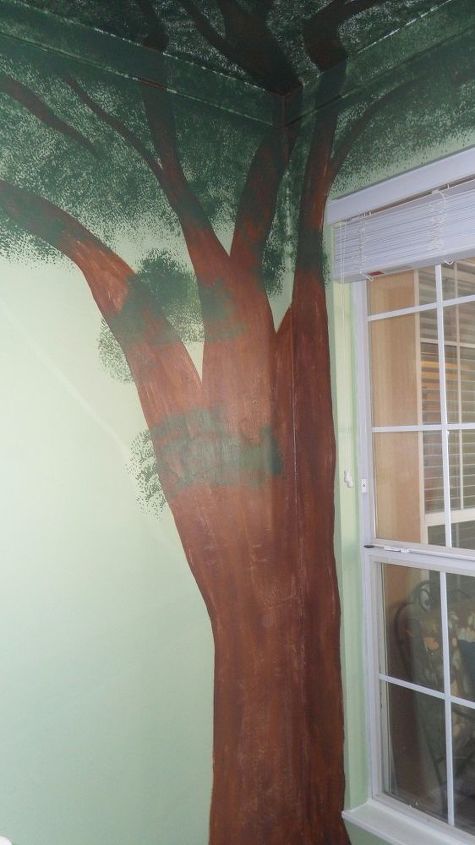
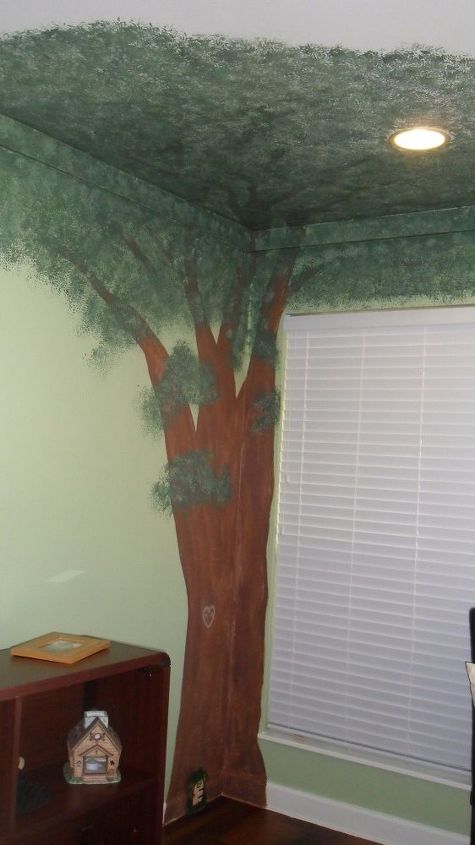
I worked my way up the trunk and onto the ceiling...
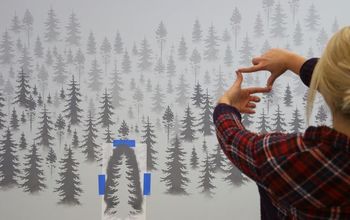
....stopping every once in awhile to step back and check my work. I wanted to make sure it was proportioned correctly.
Here you can see the tree growing!
After I was happy with the shape and size of my tree canopy, I mixed some of the light green paint with the dark green and lightly went over the dark green I had already applied to give the leaves more depth and life.
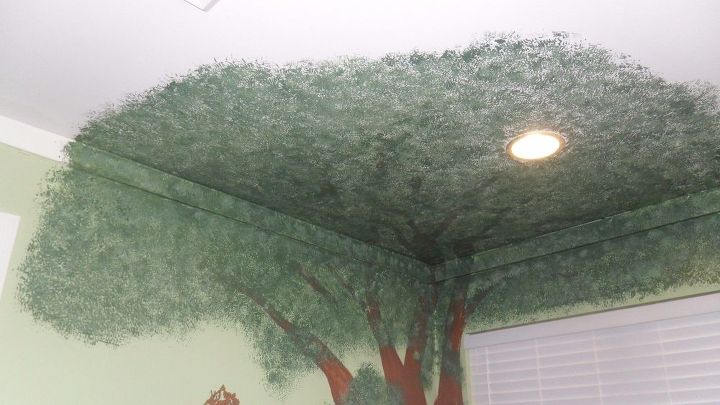
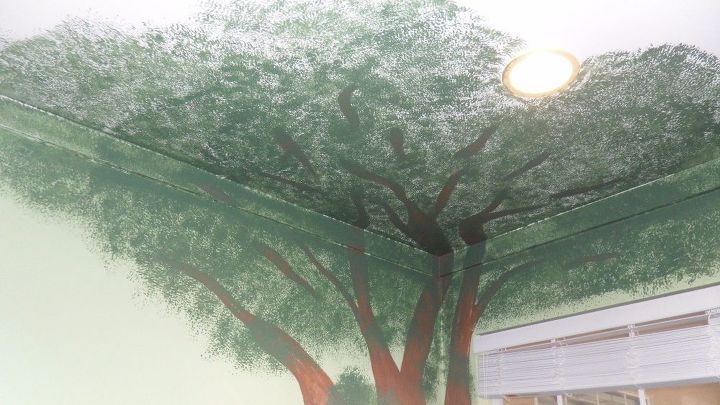
Here is the full canopy. It was hard to get pictures of the whole thing because the room is not very big and I could back up just so much before I was sitting on my desk.
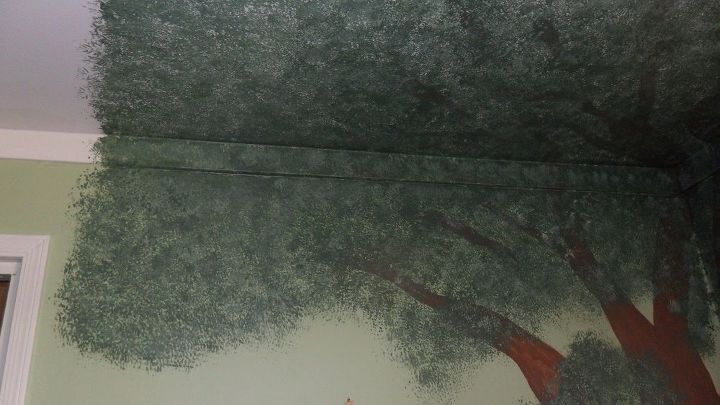
You can see how the branches show through just enough.
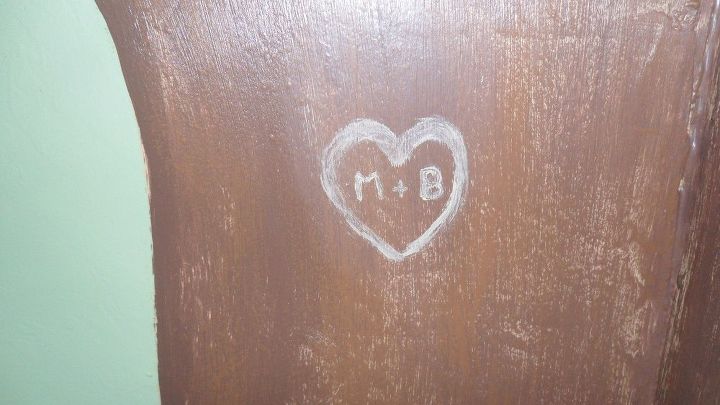
And of course...the finishing touch...my hubby's and my initials "carved" in the tree 
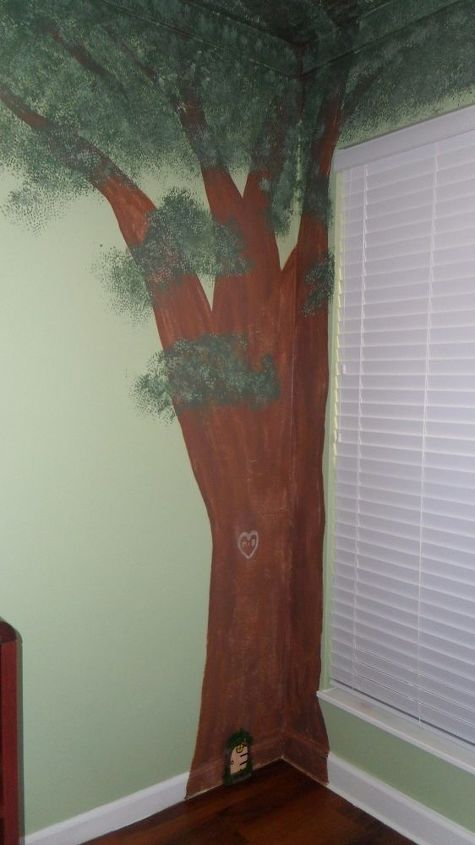
It takes up the whole corner and then some!
I an really happy with how it turned out, and have even had people say that when you walk under it you feel like you are under a real tree!
Comments
Join the conversation
2 comments
-
WOW! You had a vision and you really went for it, kudos to you on a wonderful job! *Inspired*


Frequently asked questions
Have a question about this project?