


Mirrored Lazy Susan

by
Sam Schaefer
I love centerpieces that have some sparkle & shine. I can’t help it, the more shine, the better.
When I’d first seen the Mirrored Lazy Susan by Valerie Parr Hill on QVC, I fell in love with it. But the $31.00 + $7.47 shipping & handling charge made the price tag a little high for me. By now, you know me, and you know that if I want something, and it’s too expensive, I’ll try to make it myself. My version was under $5.00!
When I’d first seen the Mirrored Lazy Susan by Valerie Parr Hill on QVC, I fell in love with it. But the $31.00 + $7.47 shipping & handling charge made the price tag a little high for me. By now, you know me, and you know that if I want something, and it’s too expensive, I’ll try to make it myself. My version was under $5.00!
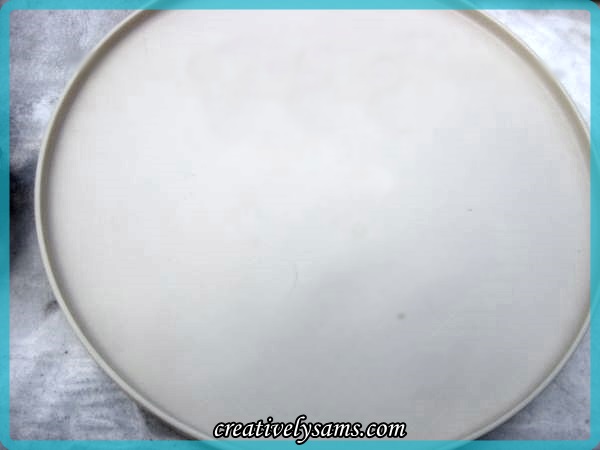
I started with a Lazy Susan that I’d found at Goodwill for 99¢. It was just the regular beige Rubbermaid one.
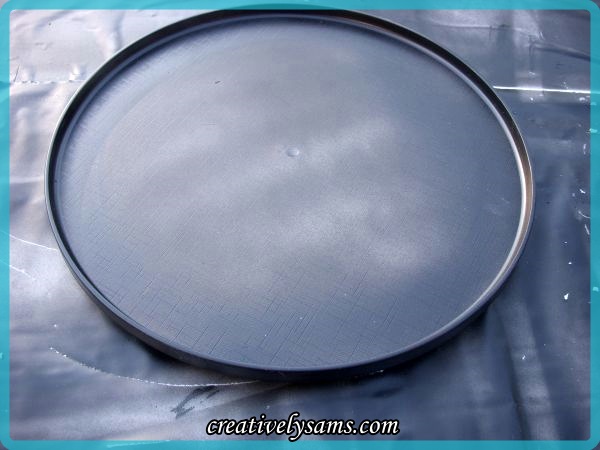
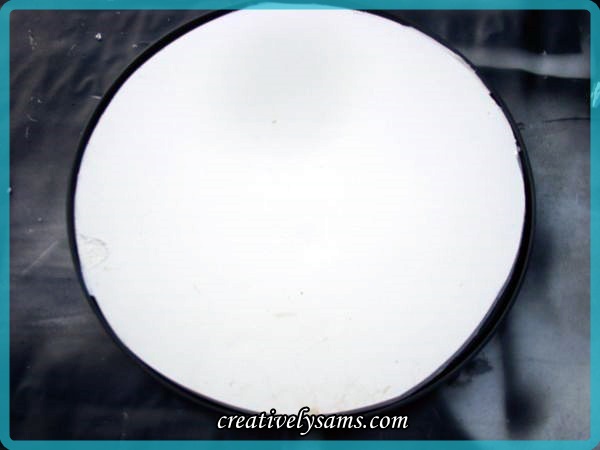
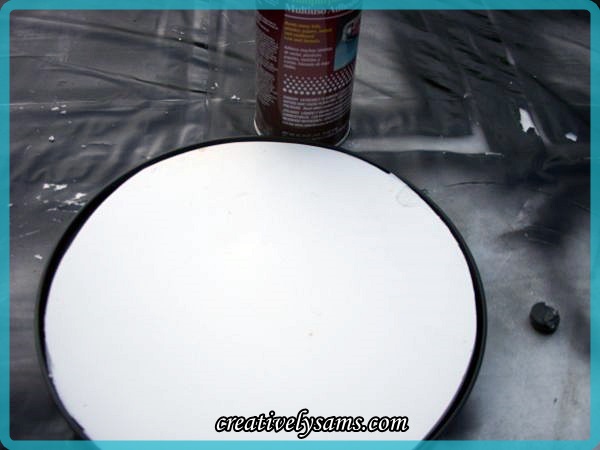
I painted the edges with Krylon flat black paint.
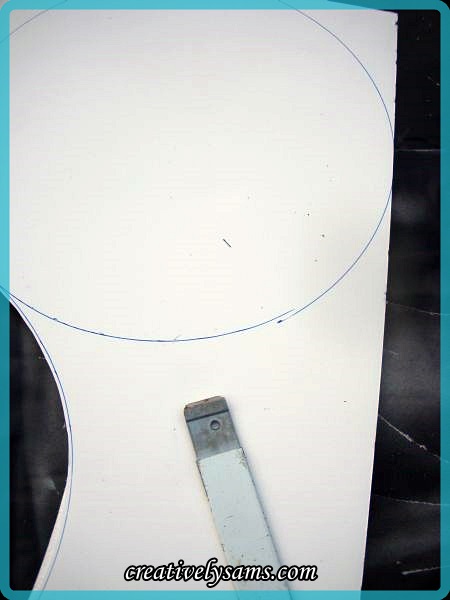
Since the Lazy Susan has raised edges, I wanted to fill it in so that the mirror would have a flat solid surface to adhere to. I had some foam core board that would work perfectly! I traced around the Lazy Susan & using a cutter, I cut inside the line. I kept slicing off the edges until it fit snugly into the Lazy Susan.
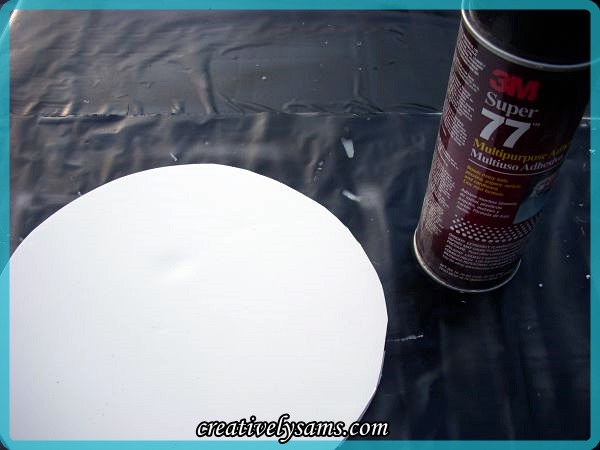
Once I’d gotten the foam circle cut, I sprayed it with 3M Super 77 spray adhesive.
I waited a few seconds, then pressed the foam board into the Lazy Susan.
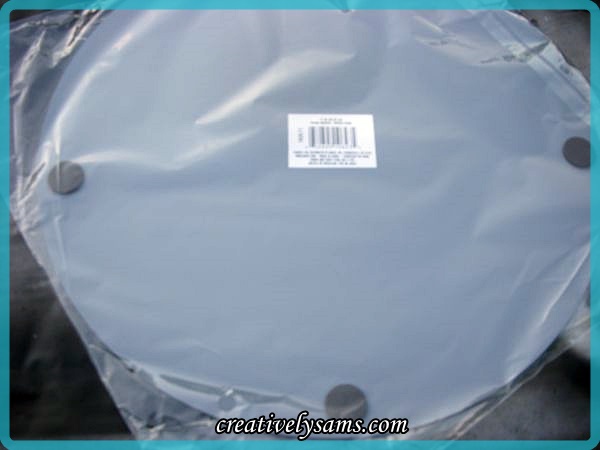
Joann Fabrics has 12″ round mirrors for $5.99. Although they aren’t beveled edged, I knew it would do the trick. I had a 40% off coupon, which made the mirror only $3.59!
I sprayed the foam that was attached to the Lazy Susan with the 3M Super 77 and waited a few seconds.
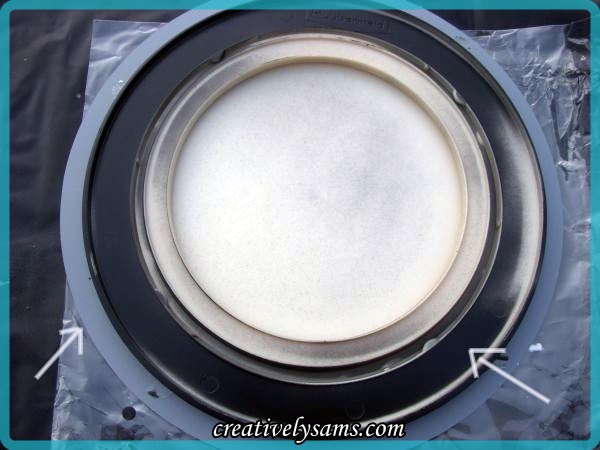
Then I pressed the foam side onto the back of the mirror. The reason I did it this way was so that I could center the Lazy Susan on the mirror.
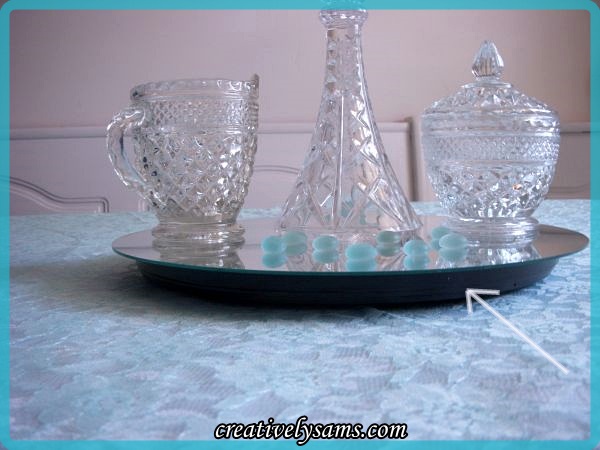
When the Lazy Susan is on the table, you can see the Lazy Susan’s sides, which is why I painted it black. I could have left it plain, or painted it white, but black always seems to disappear.
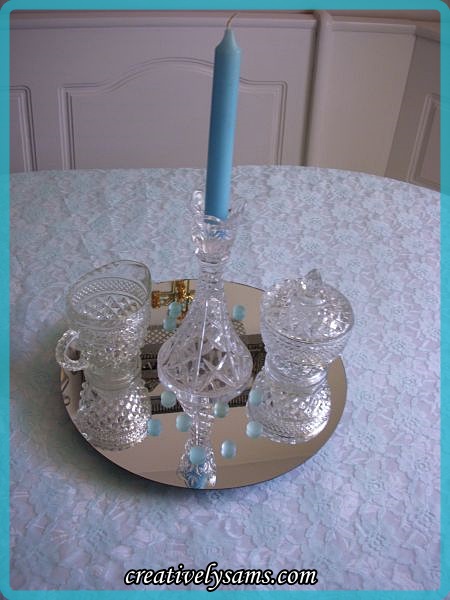
I love the way it turned out! It will make a nice addition to my table, whether I use it as a centerpiece, to hold a centerpiece or to hold condiments for dinner.
Want more details about this and other DIY projects? Check out my blog post!
Comments
Join the conversation
2 comments
-
This is a great idea! Thanks for sharing!


Frequently asked questions
Have a question about this project?