


Fall Craft: Plaster of Paris Gourds, Leaves, and Pumpkins

by
Megan Aubrey
Step outside and breathe in deep. There is definitely a hint of fall in the air. And yes, a hint of a still simmering summer heat – but here in Virginia, once September hits fall is close behind! So even if the weather isn’t quite there, my fall spirit is!
I am kicking off September with an homage to fall decorating! I’ve been itching to try this project ever since I saw it over on my pal’s site Teal & Lime, and I thought this fall was the perfect time to try it out.
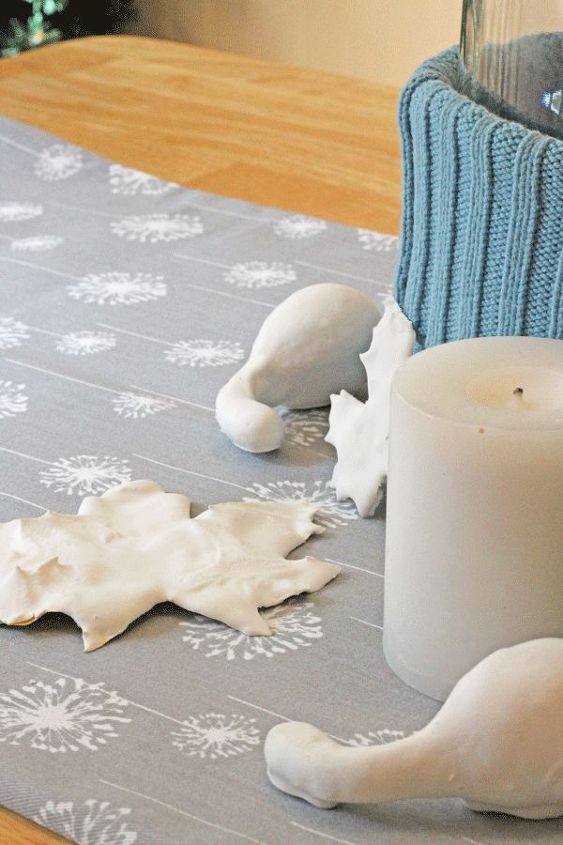
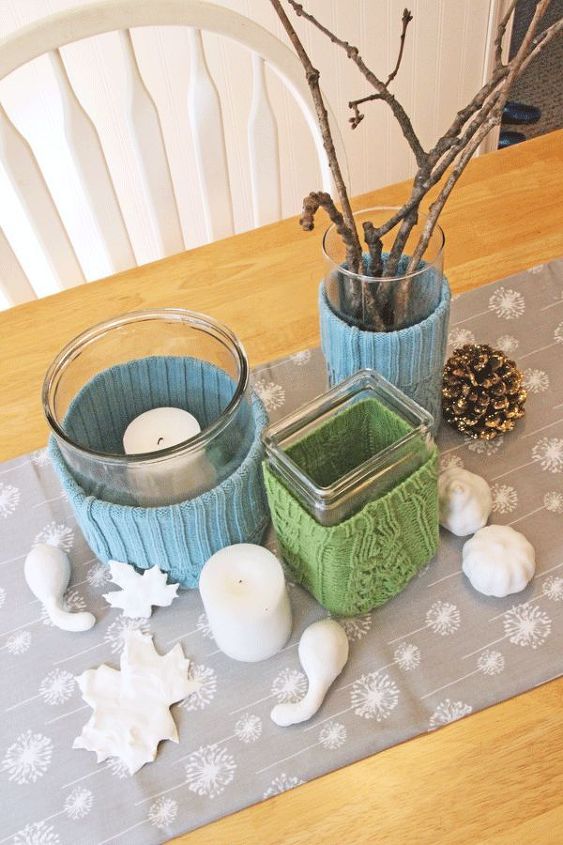
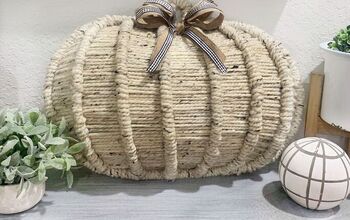
So here’s how to turn cheap plastic gourds, pumpkins, and leaves into high-end ceramic looking items for a bargain price and with your own two hands and a little plaster of paris!
I am kicking off September with an homage to fall decorating! I’ve been itching to try this project ever since I saw it over on my pal’s site Teal & Lime, and I thought this fall was the perfect time to try it out.
So here’s how to turn cheap plastic gourds, pumpkins, and leaves into high-end ceramic looking items for a bargain price and with your own two hands and a little plaster of paris!
This is how you do this fun project!
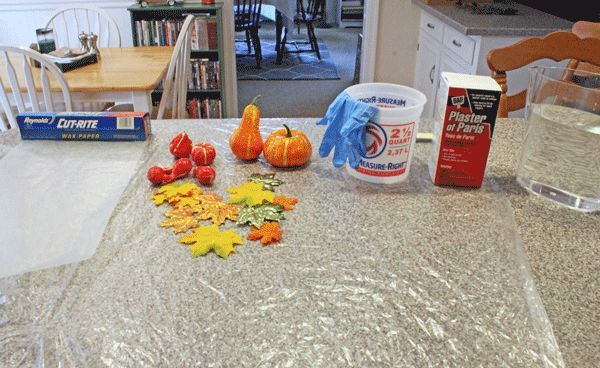
Supplies
1. Set out all your supplies. Once you get to mixing you are going to move quickly.
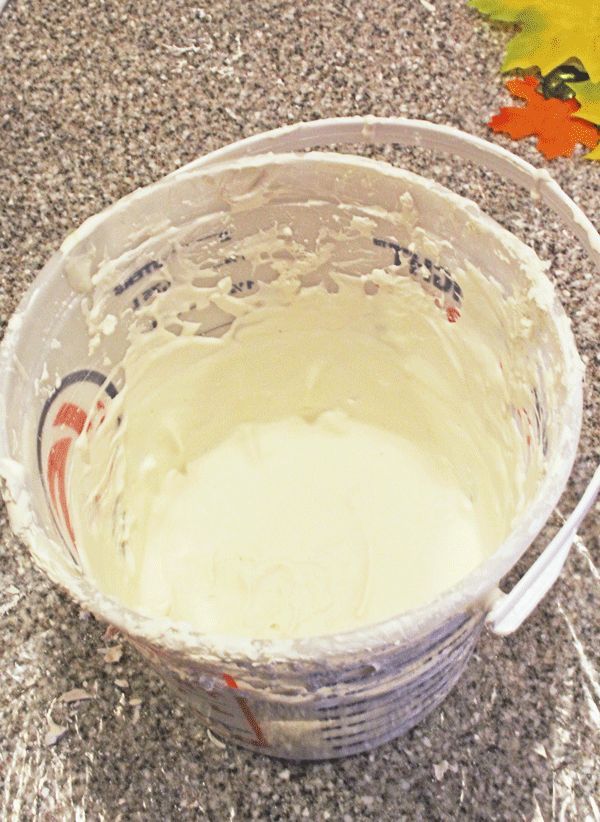
3. Take each item one a at time and dip into the mixture. Don’t worry if you don’t get perfect coverage the first dip. Some of my items I had to dip 2-3 times after they completely dry.
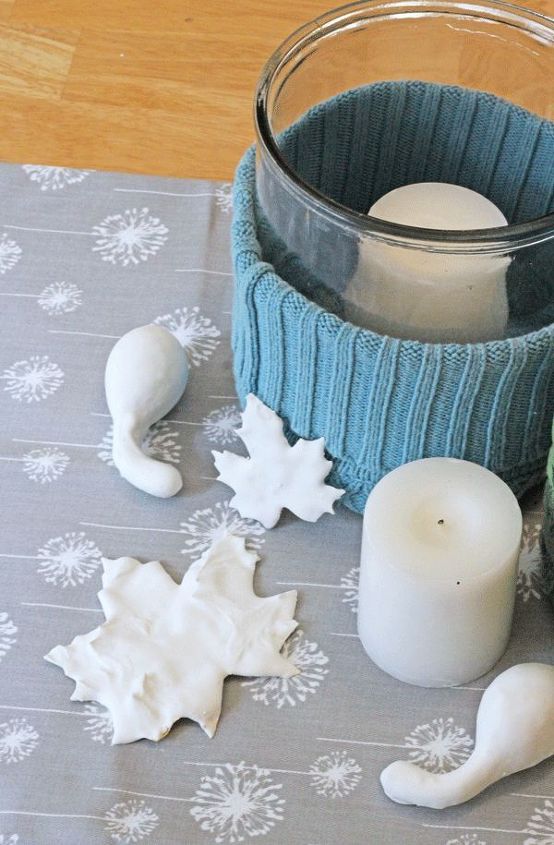
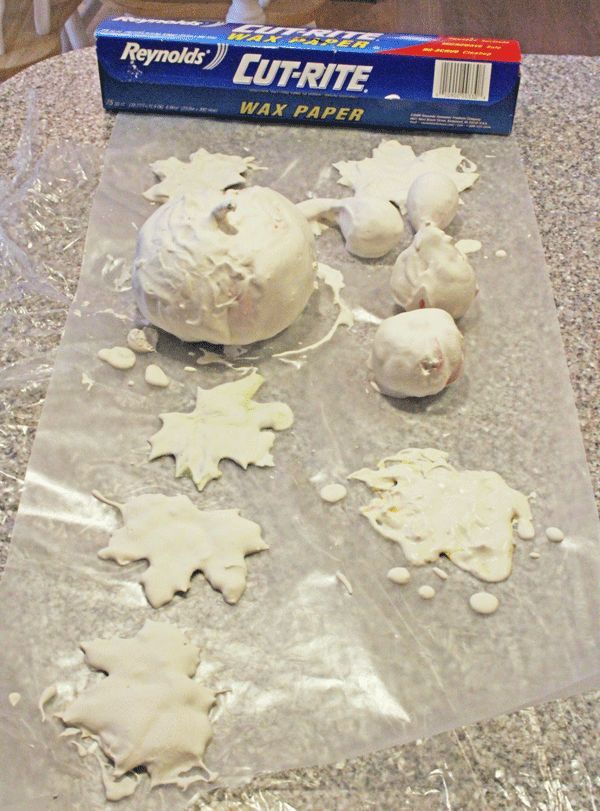
For the leaves, put it on the surface of the mixture and then slowly press it down, covering it completely. Then scoop it out gently, drying not to let all the mixture drip off the leaf. I found these were better looking with a thick mixture on top.
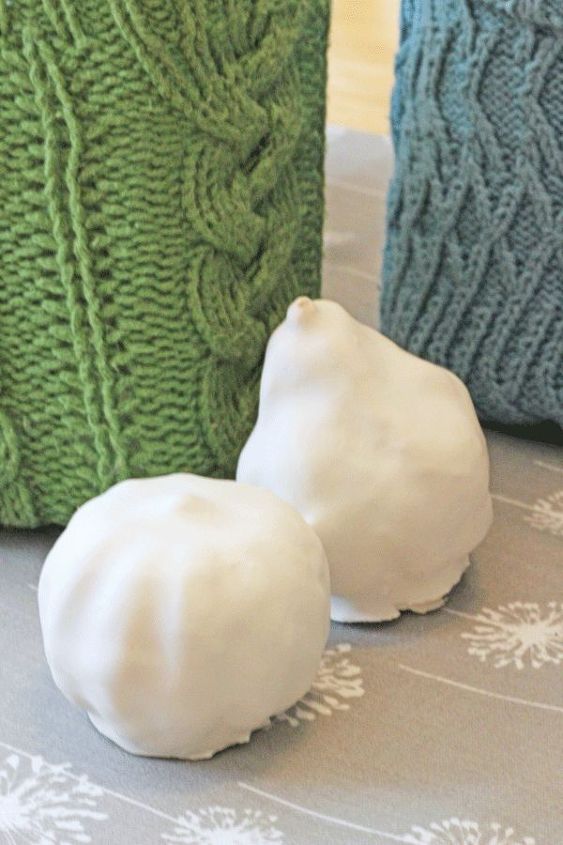
It took me a couple of tries to really get a good method down, but I learned to do thinner coats and just to keep redipping until they looked like I wanted them too! If you mess up, you can just crack the plaster off when it dries and try again.
This was such a fun project to do this past Saturday afternoon. I setup all my supplies on the kitchen counter and poor Eric came in to eat lunch and had to go eat in the basement (because I was recording a how-to video too – look for that soon – so I needed no ambient noises like crinkling and crunching from eating). Ahh the supportive husband of the blogger, right?!
Want more details about this and other DIY projects? Check out my blog post!


Frequently asked questions
Have a question about this project?