


DIY Campaign Desk

by
Julia Fabens
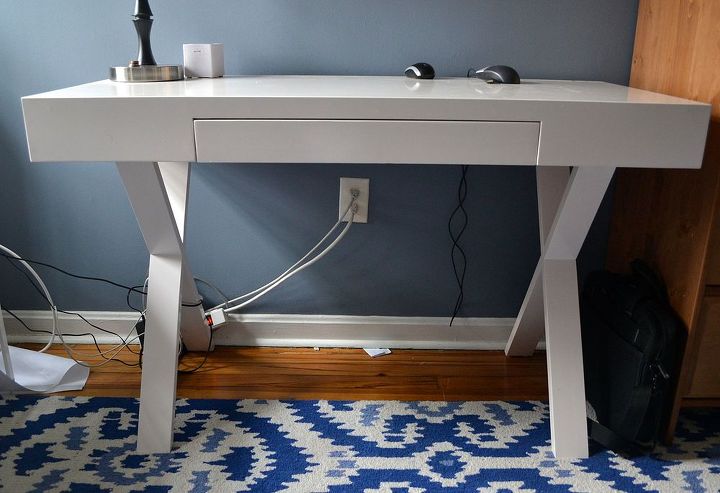
Hi! I found a white World Market Josephine desk for $50 and I remembered the campaign-style desk from Caitlin at Desert Domicile, tracked down a boatload of hardware and decided to do a little makeover of my own.
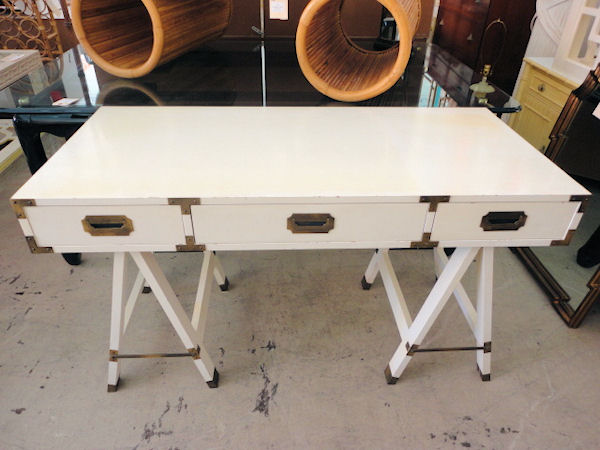
Here is my inspiration – a vintage campaign desk from Circa Who:
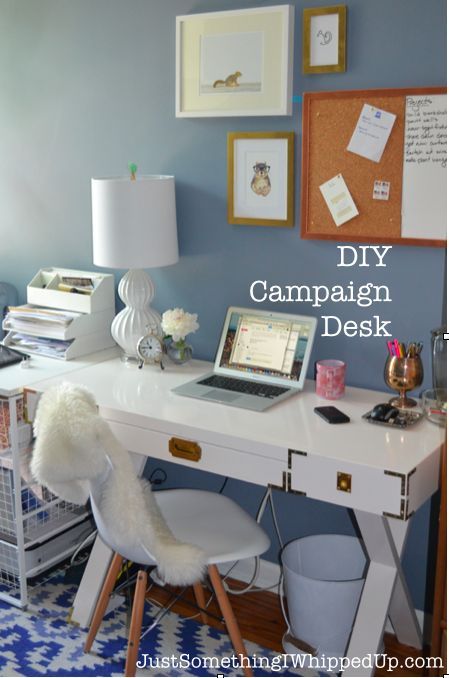
DIY Campaign Desk
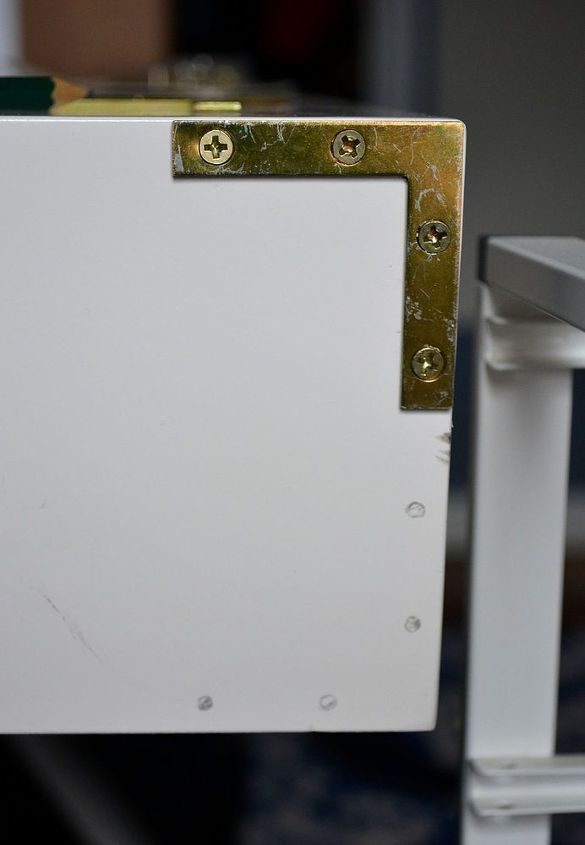
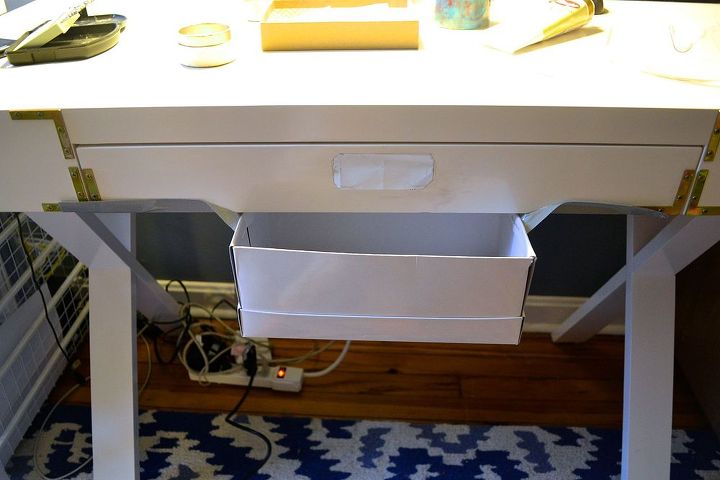
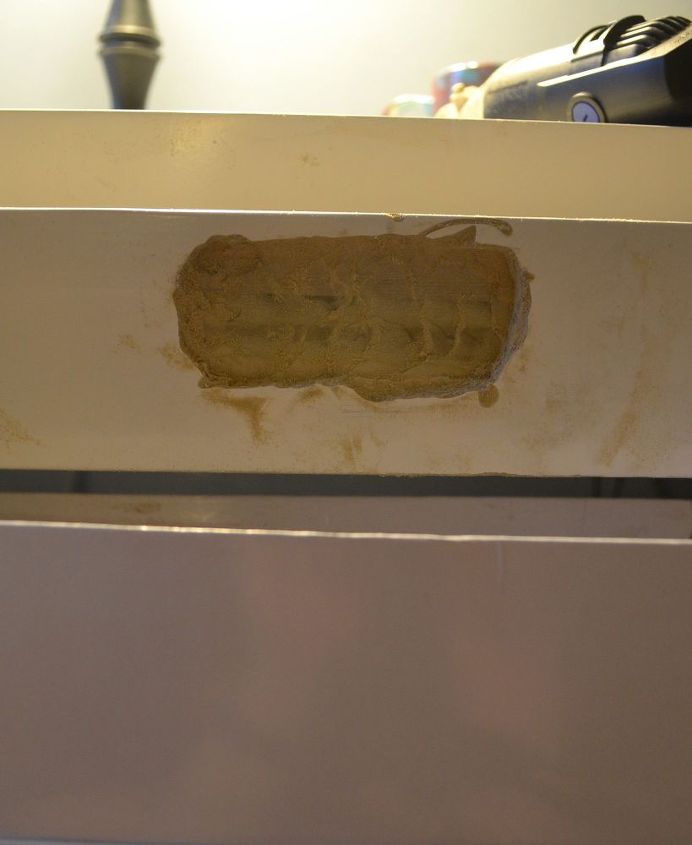
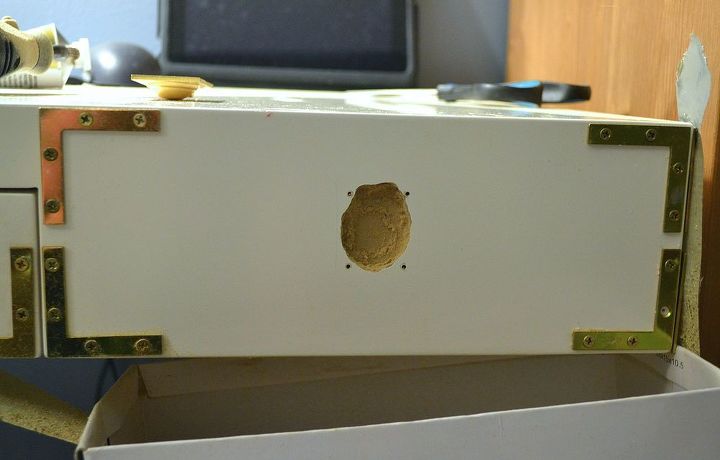
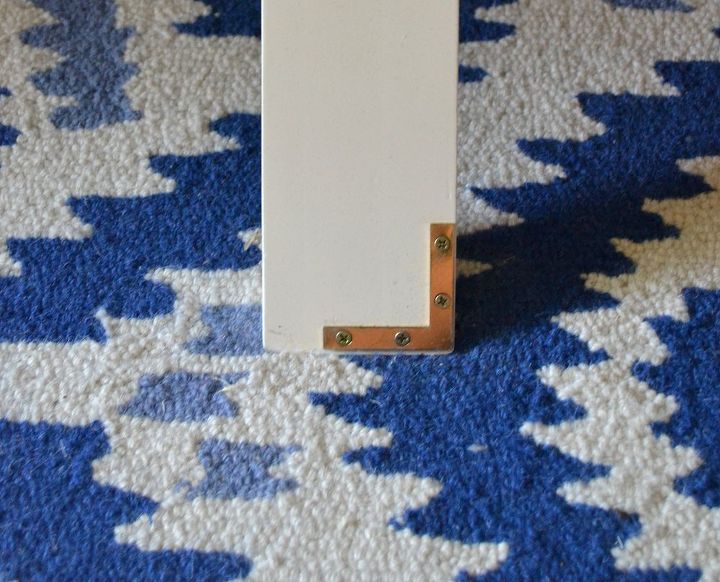
Once the brackets were on, things really started to come together buuuut that meant the easier part was over. The next step was to rout out the spots for the inset hardware. Full disclosure – this was my first routing project and while the Dremel absolutely did the trick, it took some time and serious concentration. To start, I traced the back of the large pull on to a piece of paper, cut it out and taped it on to the middle drawer. I also taped a shoebox to the underside to catch sawdust. Why not just put down newspaper you ask? Honestly, the shoebox and tape were closer to me, and seemed like they might catch more sawdust before it spread out.
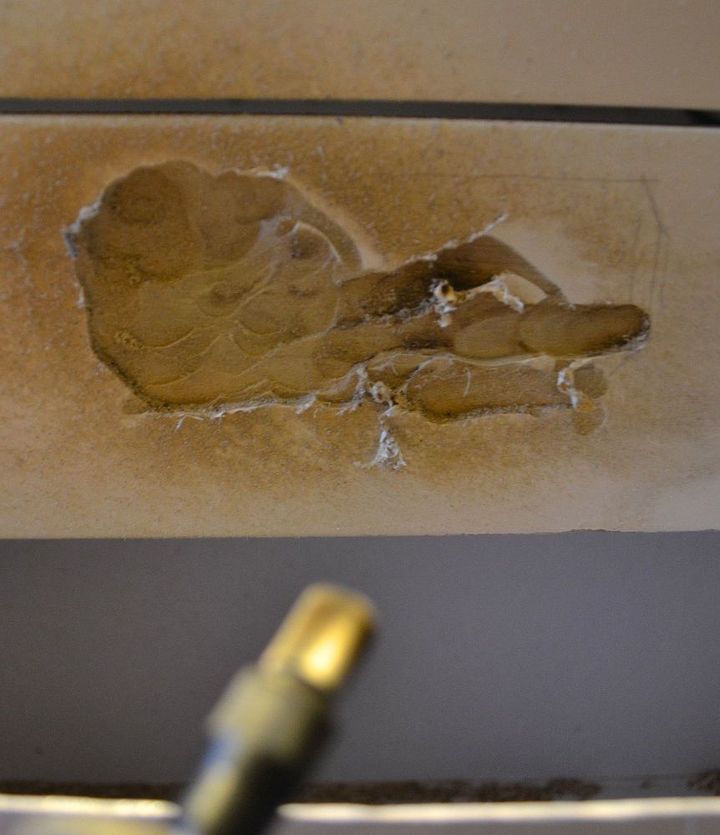
Then I traced the shape onto the drawer with a pencil and routed out that area. This is the point where I should have put on goggles and a mask, but it wasn’t until I was sneezing and had dust (thankfully nothing worse) in my eye that I thought to do it. The routing took endless stopping and checking against the pull until it was as deep enough everywhere, while making sure not to go outside the line. It definitely skipped out on me a couple of times and left marks, but someday I will get around to patching them. I am not saying it’s beautiful behind that pull…
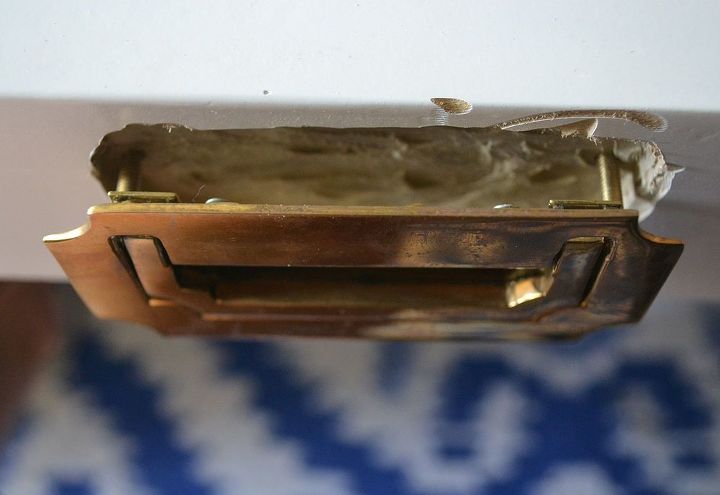
Next, I marked the places to make the holes for the bolts using the same paper cut-out of the pull. Using a drill bit large enough to fit the bolts, I drilled the holes then screwed the bolts to the pull, fed it through the holes and put on the nuts.
The process for the side finger pulls was almost the same, but with one important difference – where the bolts for the center pull went through the routed out area, the screws connecting the side pulls to the desk do not. I carefully marked where the screws went and then routed out the space inside.
Those pulls had screws that required pilot holes, so I switched back to the small drill bit, made the holes and then screwed in the pulls.
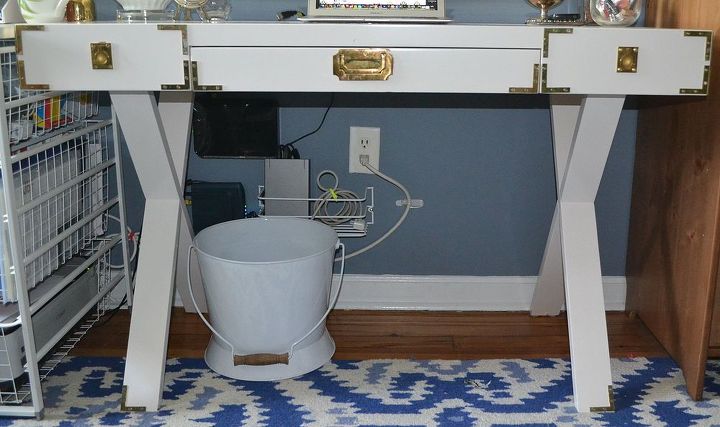
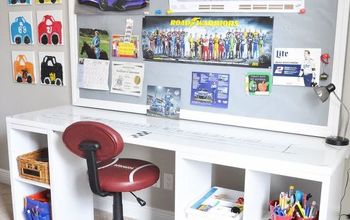
So there you have it. It was not super fast – I watched 1.5 movies while I did it, but I was figuring out a lot as I went along. I am SO pleased with how it came out. The study is slowly becoming one of my favorite room in this little house of ours, and I will be sharing a bunch of the other projects in here – including the built-in bookshelves we are working on which are now lovingly know as the F**king Bookshelves.

And the obligatory before and after. Ignore the maze of cords on the wall. As crazy as it looks, it is a vast improvement over the jumble on the ground. Organizing the router and all of that other important junk could be a post in itself.
XO,
Want more details about this and other DIY projects? Check out my blog post!
Comments
Join the conversation
2 of 3 comments
-
This is great!
-
I love this!!! Thanks for sharing!!


Frequently asked questions
Have a question about this project?