


Kitchen Back Splash

by
Michael F
Our kitchen had a plain white tile back splash. We had to remove the old tile, which pulled parts of the drywall with it. Once all the tile was removed, I patched the holes with new drywall and put a fresh coat of compound to give us a smooth surface to work with. We chose a tumbled stone tile with a glass mosaic inlay. The tile we bought at a local tile store and the glass we ordered online.
Advice:
When removing old tile, be very careful not to due too much damage to the wall. Replacing drywall and patching holes is more difficult than smoothing out the existing wall. Tiling is a 2 man job, one person measuring and cutting tile and the other applying mortar and spacing the tile. This way you can use all the mortar you mix before it dries even it you mix small amounts at a time.
I have no experience with tile, this was my first project.
Materials:
Tumbles Stone Tile - $0.00
Glass Mosaic Tile - $0.00
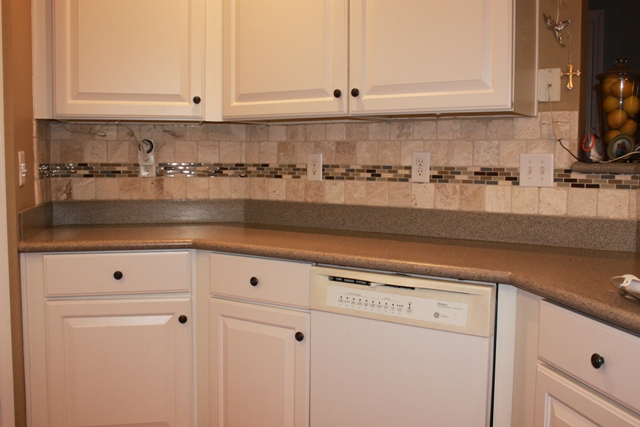
Project Completed.
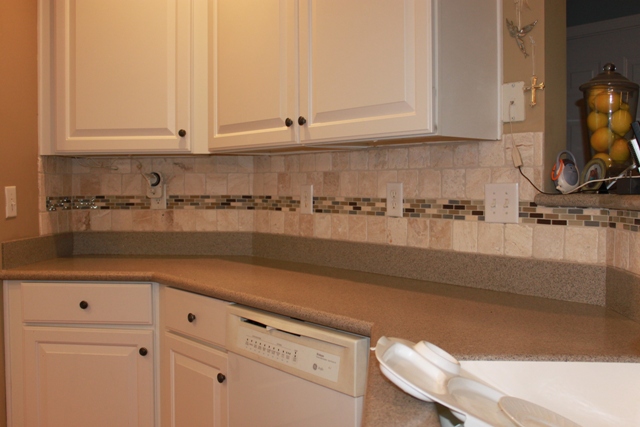
Project Completed.
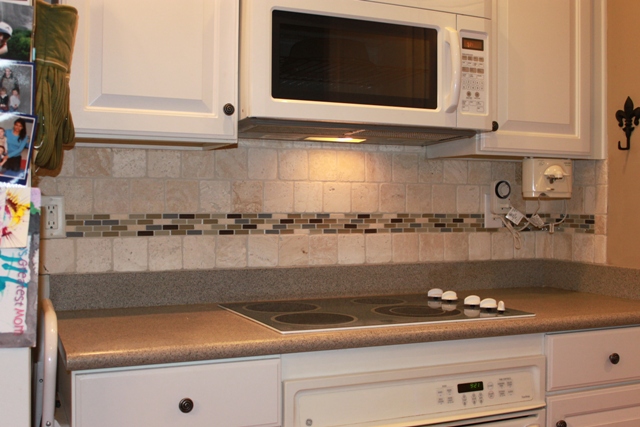
Project Completed.
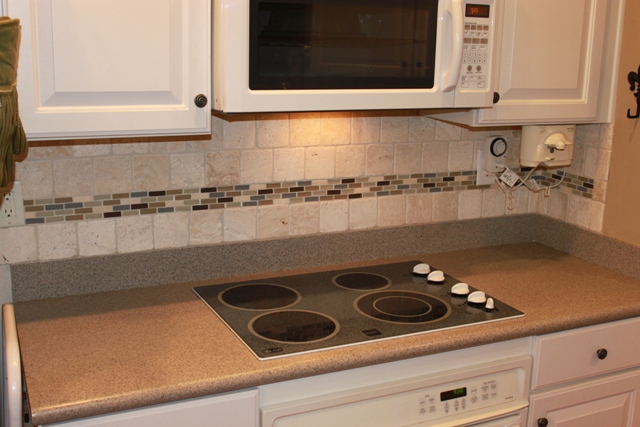
Project Completed.
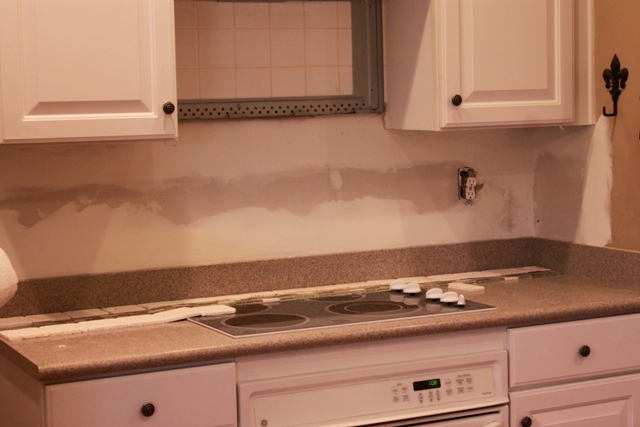
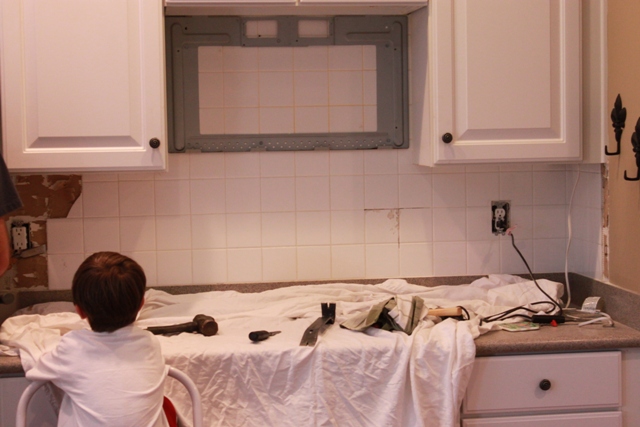
Smooth wall, ready to begin tiling.
Continuing to prep wall, creating a smooth tiling surface.
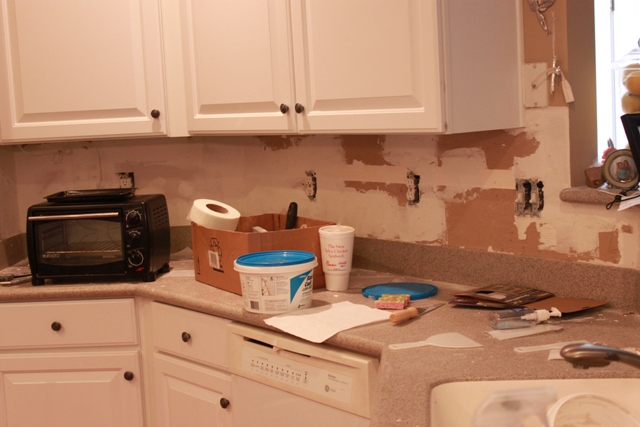
Replacing small areas and trying to smooth out the rest of the wall.
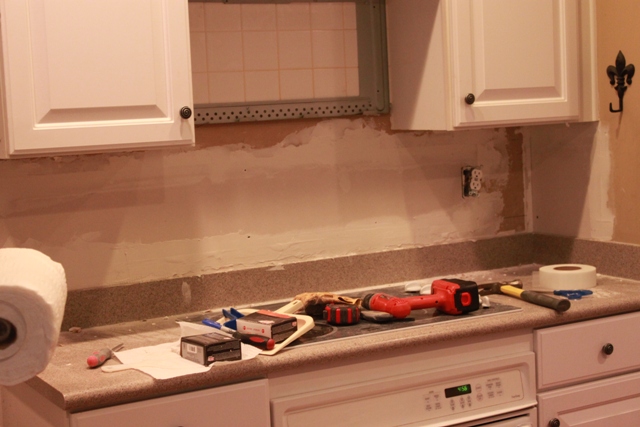
First layer of compound to create a smooth tiling surface.
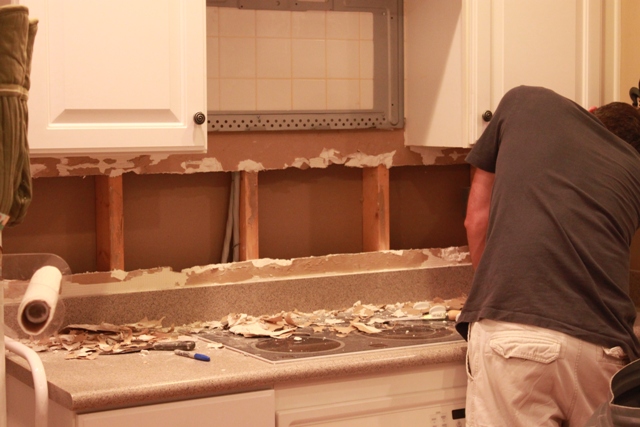
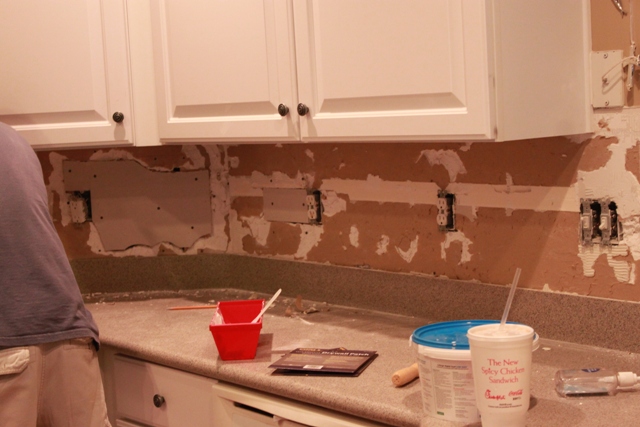
After removing tile, the wall was so damaged that replacing the drywall was my only option.
Beginning to remove original tile.
Comments
Join the conversation
2 comments
-
wow! beautiful project- great job
-
I second that, truly impressive! When you ordered the glass online, were you concerned at all about ordering without seeing it first in person?


Frequently asked questions
Have a question about this project?