


Replace a Cracked Floor Tile

by
James A
Replaced a craked floor tile on my bathroom floor.
*Options I considered for this project:
Covering it with a rug or getting someone to fix it. Decided to try it myself.
*Questions and unexpected events that arose during the project:
How solid a floor tile is. Difficult to get all pieces removed from floor.
* Cost Comments:
Many choices for replacement tiles out there. Great variation in prices. Pieces are available as srap at home improvement centers that might can be picked up and used if a leftover piece is not available
*My motivation to do this project:
The tile was cracked down the middle. Apparently something heavy had fell on it. It was an eyesore.
*Project Steps:
Luckily I had an extra tile left over from the original floor installation, and the tile to be replaced was full size, so no cutting was needed. I was never too successful in cutting tile without a water table saw. I removed the grout from the joints around the broken tile using the pointed end of the hand can opener. My crack was pretty severe so no additional scoring of the tile was needed. So I placed the chisel at the center of the crack, which ran down the middle of the tile, and pounded the chisel with the hammer to break up and remove the tile. Then I used the chisel and scraper to remove the remaining pieces of tile, grout, and adhesive. I then sanded the rough spots so the new tile would sit evenly on the floor. I applied the adhesive to the back of my replacement tile and on the sub floor. I wiggled the new tile into place. With a piece of wood, I gently tapped with a hammer to seat the tile. I then placed two pieces of masking tape over the new tile in an X shape to hold it in place and let it dry for 24 hours. After drying, I applied grout to the joints around the new tile with a putty knife then smoothed the grout in the joints with my finger. After waiting ten minutes, I cleaned off the excess grout from the tile with a damp sponge. The grout had to dry for 24 hours. I then wiped the new tile with a soft cloth to remove the grout haze. I now had a beautiful new floor with no ugly crack in one of the tiles. This was not that hard and something that really improved the room..
Advice:
Do allow plenty of time for drying. Do protect the tile from being walked on. While using the chisel, don't force a tile piece out as you may damage adjacent tile.
Materials:
Grout - $8.50
Adhesive - $6.00
Chisel - $9.00
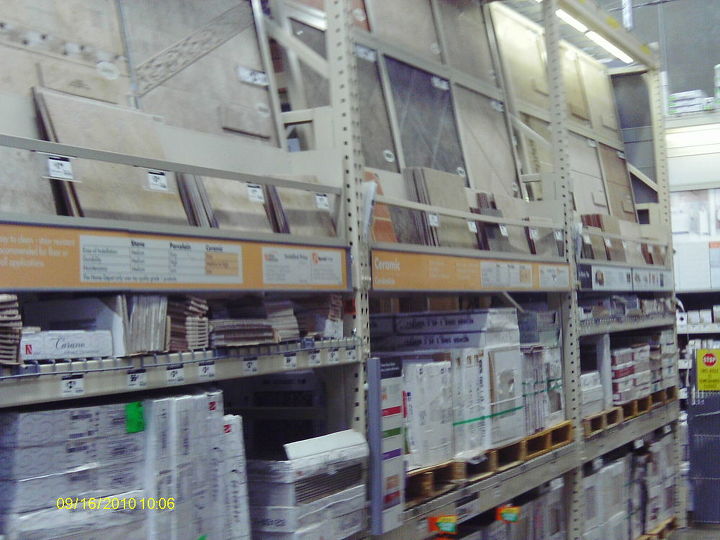
Wide varietty of choices to find a match to yours at the home improvement store.
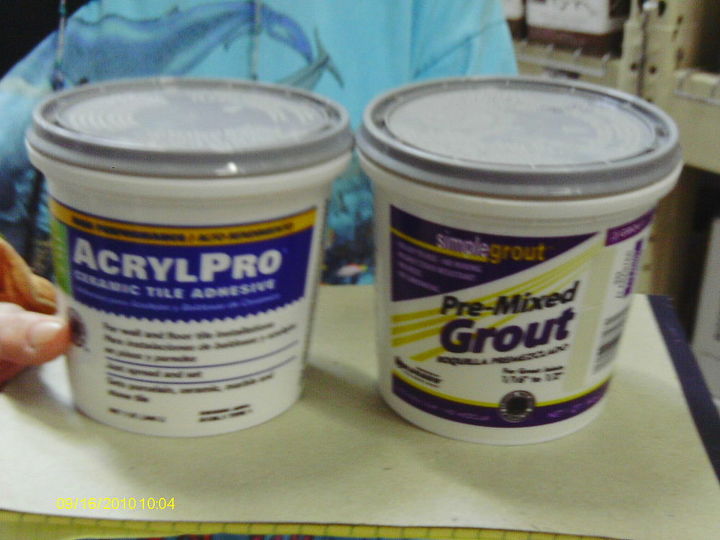
Gout and adhesive was relatively inexpensive.

A new or sharp chisel is critical for this job. This 3-pack was less than $10.
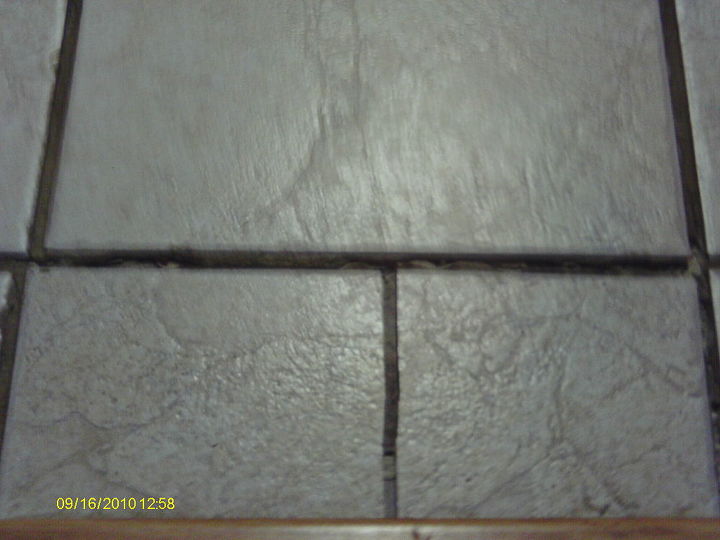
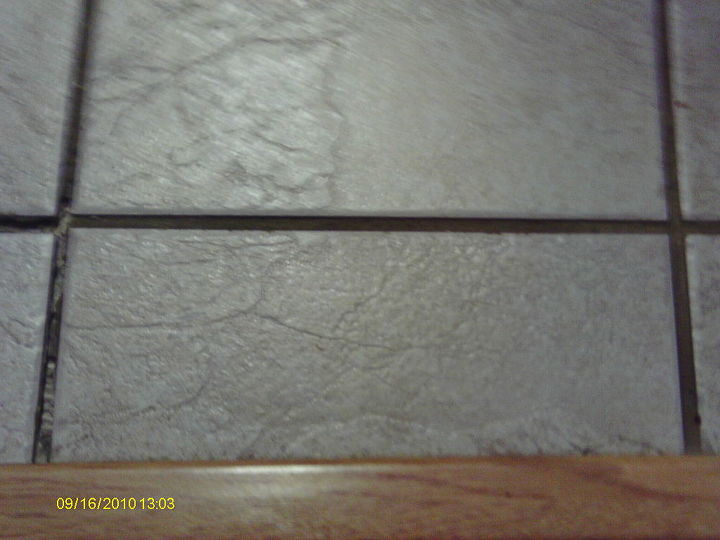
This the severe crack down the middle of my tile.
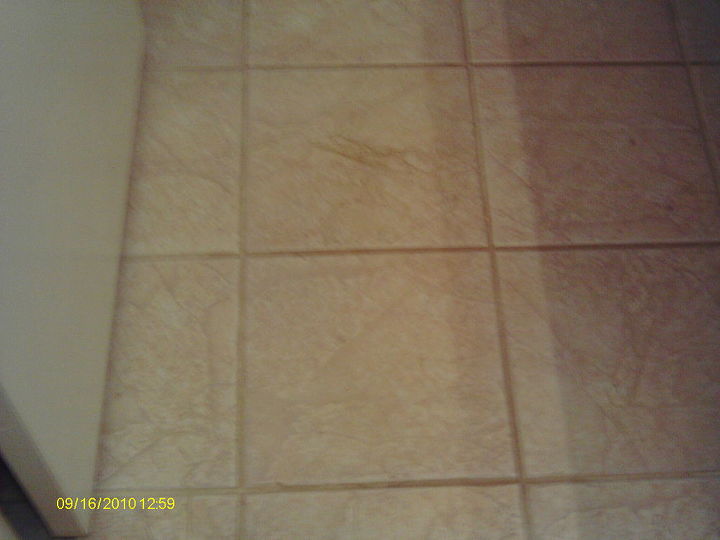
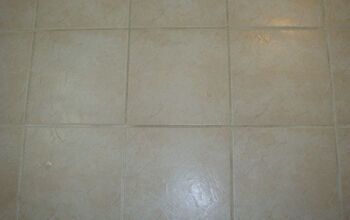
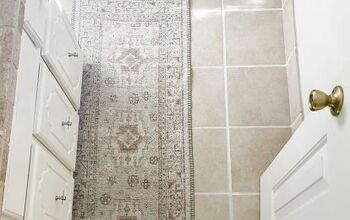
This is the finished floor and the crack is not to found!
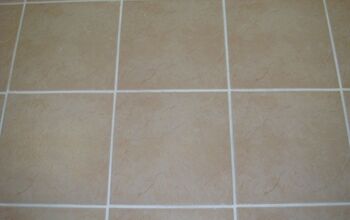
Closeup of repaired tile.
Comments
Join the conversation
2 of 4 comments
-
this is alittle like the problem i have but i have tile in my kitchen with the same problem thanks for advice. I will be replacing tile this week now
-
Remember once you replace the cracked tile and regrout it the new grout will not be the same color but you can use Grout Shield color sealer to make the grout uniformed and one again. www.groutshield.com


Frequently asked questions
Have a question about this project?