


Tips for Decoupaging Paper Napkins Onto Furniture
$25
2 Hours
Easy
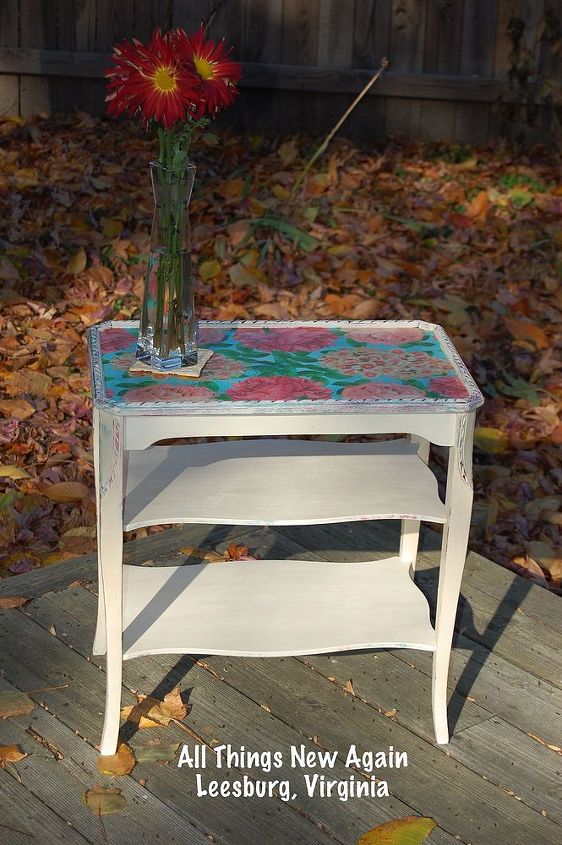
Decoupaging paper napkins onto furniture is a popular technique right now, but it takes a little practice. I learned a lot on this project ~ and wanted to share a few tips with you. There are so many pretty napkins out there, you can really add a lot of pizazz to your piece for just a few dollars. I got my napkins at a party supply store.
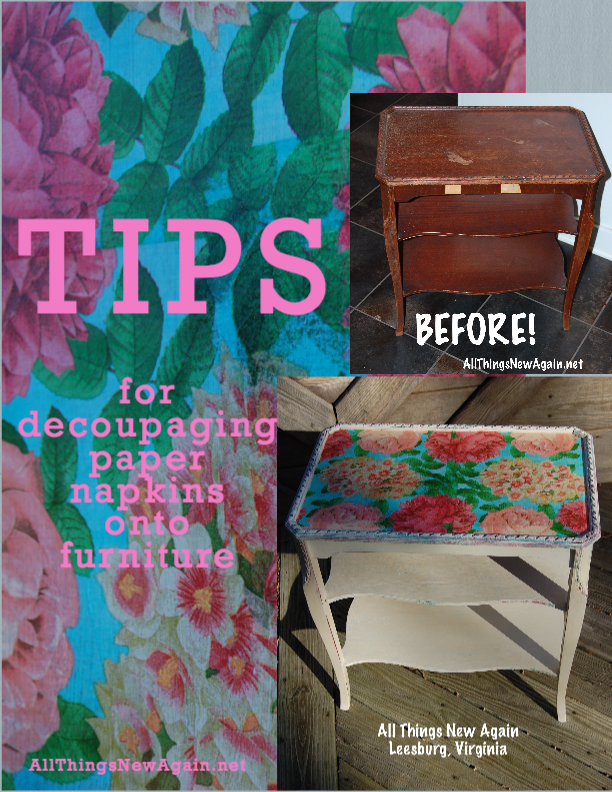
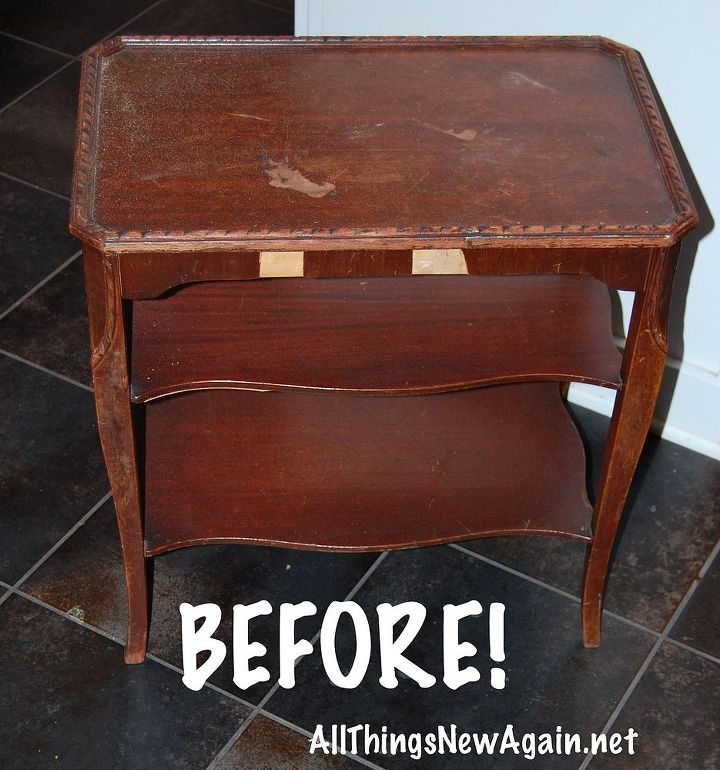
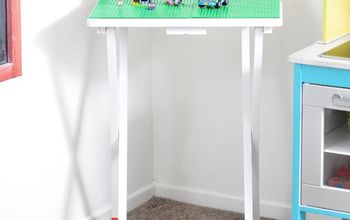
Here's the "before" shot of my table.
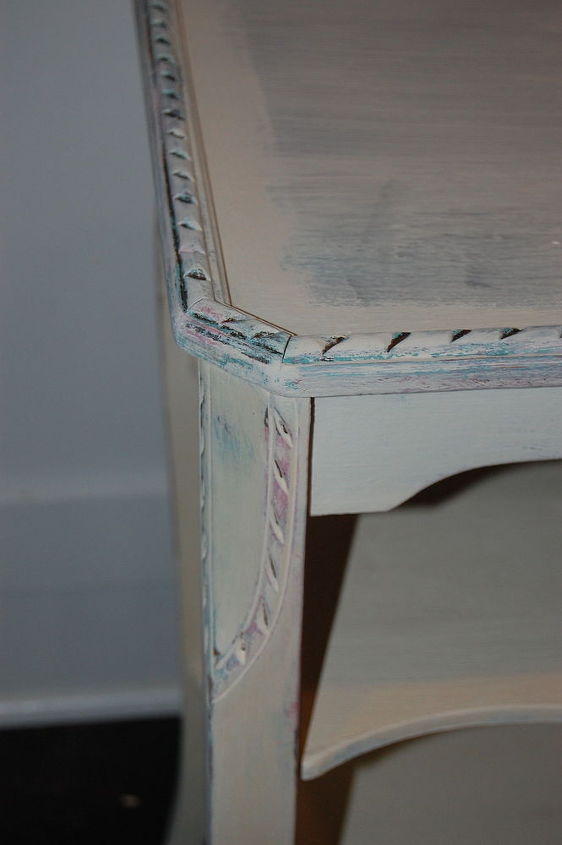
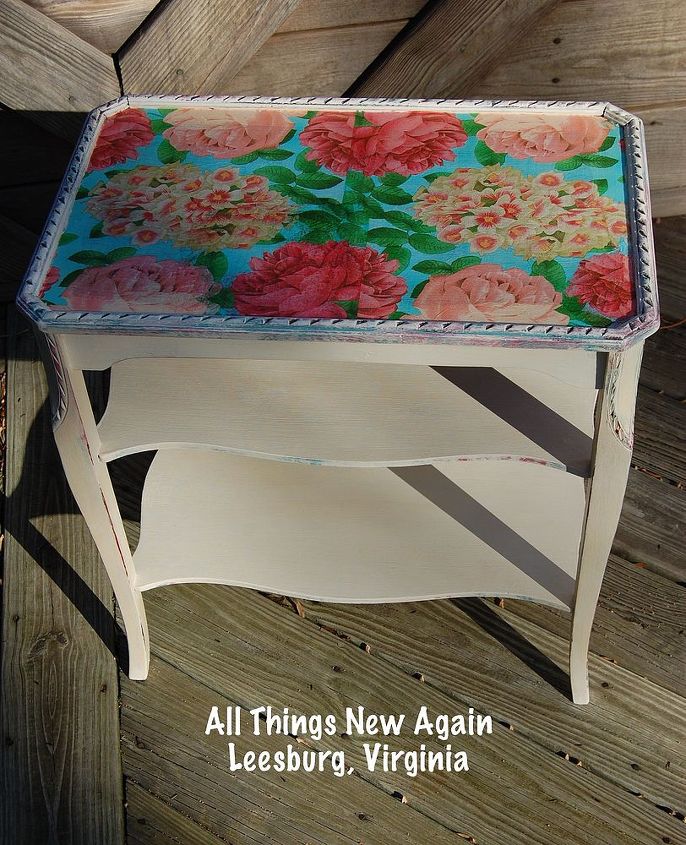
I base coated it with American Paint Company's creamy, dreamy not-quite-white color called "Limoges." Then I added a little turquoise and pink around the edges to match the napkins and covered it all with another coat of Limoges.
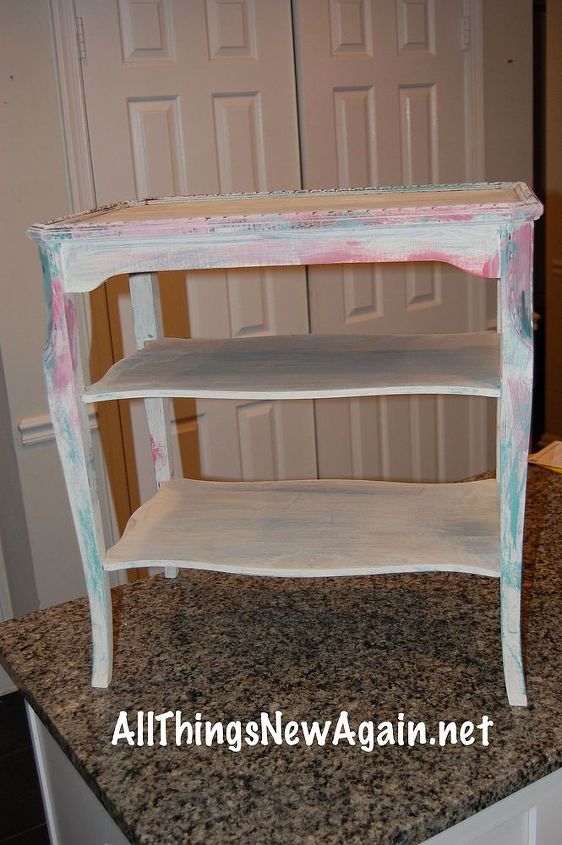
After the table was painted, I was ready to decoupage the napkins.
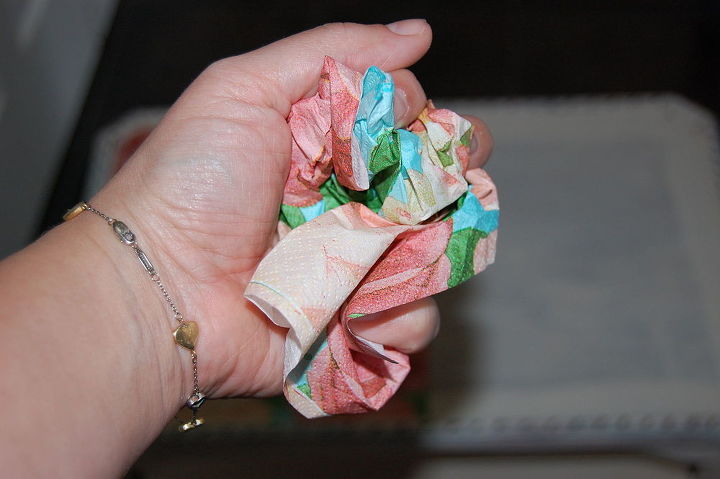
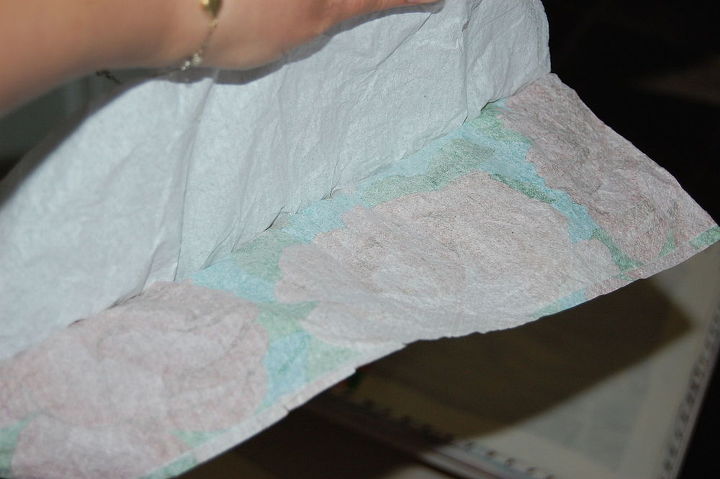
TIP 2: Separate the plain white backing. I'm not 100% sure why you do this, but every online tutorial I consulted recommended this so I did it. I think it helps to make sure your image adheres to the tabletop and does not become separated from the backing later.
TIP 3: Brush on Mod Podge lightly. Don’t put it on too thick or your napkin will get too wet and tear. It would probably be better to let the Mod Podge set up a bit so it is tacky and not dripping wet when you place your napkin on it, but I’m impatient and can never wait that long. Once all of your images are in place, come back with more Mod Podge and brush it—GENTLY—over the entire surface.

TIP 4: BE GENTLE! I can not emphasize this tip enough. If you are not gentle, you might end up with a GIANT HOLE in your tabletop like this ...

I think I had an air bubble that wasn’t completely smoothed out and when I pushed it with my brush, the napkin ripped. After this happened, I found a tutorial from an Expert Decoupager with another great tip.
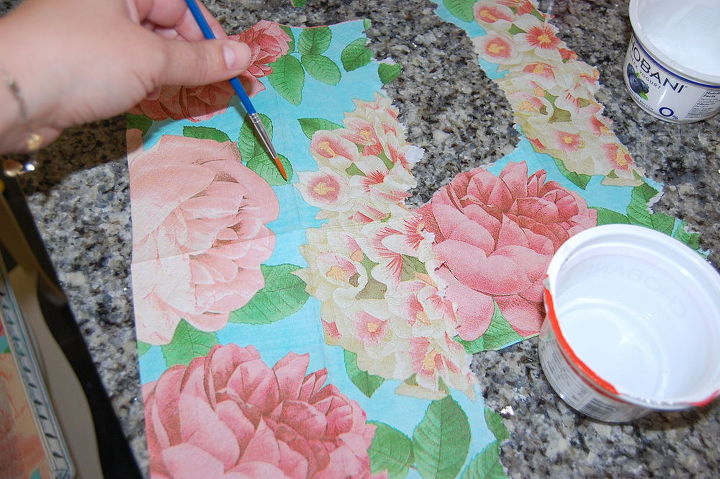
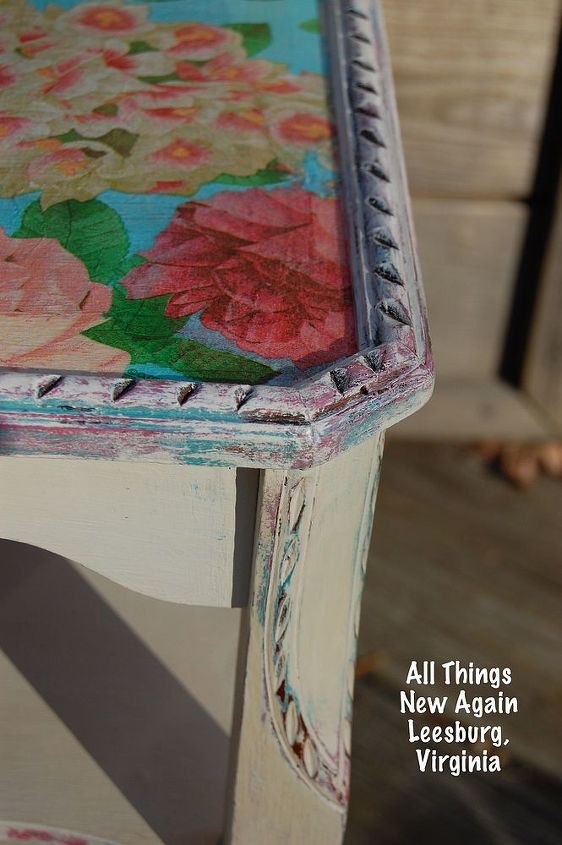
I did learn something else from the Expert Decoupagers online. You can cut out specific images from the napkins by drawing a line around it with a wet paintbrush, then gently tearing it away. This works better than cutting it out with scissors because the edges are feathery and blend into the rest of the design.

It worked!
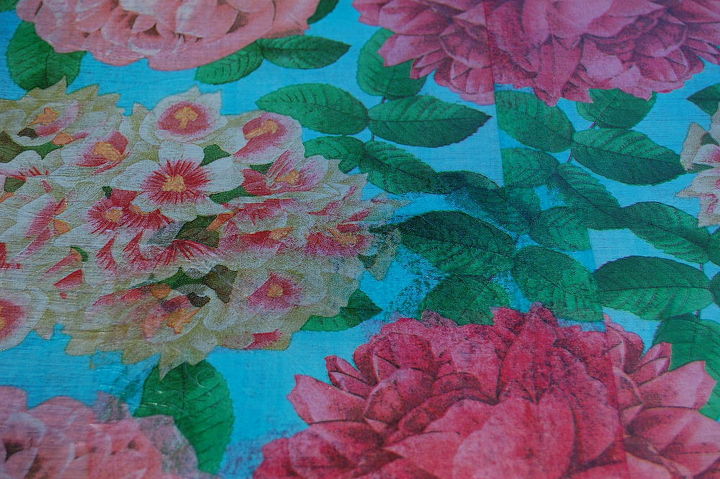
When the patches were dry, I brushed Mod Podge GENTLY!! over the entire tabletop again.
I have decoupaged photographs onto furniture before, but this was my first try with fragile paper napkins. I would love to hear other tips from Expert Decoupagers out there! And please check out our All Things New Again Blog for more DIY projects, tutorials and tips. Thank you! ~Courtney

Want more details about this and other DIY projects? Check out my blog post!
Comments
Join the conversation
2 of 18 comments
-
good job, nice colors, napkins are so fragile but you did very well
-
When you tear grocery sacks and use Modge Podge or the glue and water You can put this down after wrinkling up each torn piece to cover furniture or I gave a wood finish to cigar boxes or small boxes that I added small turning wood pieces for legs and made drilled holes in the box tops and added potpourri and really smelled nice.


Frequently asked questions
Have a question about this project?
thank you! I have a napkin furniture project I I will begin soon. What do you think about putting shellac on top of the surface as the final sealer? That's what I was planning on doing~
Being a decoupage virgin, I’ve just finished decoupaging seven small metal flower pots, they have handles that hook over my fence. I forgot to separate one napkin and it was the white back layer that stuck to my flower pot! Oops, that’s how you learn to ALWAYS separate the back white layers, there’s usually two to take off but whatever you stick down will NOT be your pretty top layer, but the white backing. If you’re quick you can easily rub the cursed paper off and pop your single pretty layer where you want it to go. You live and learn by your mistakes. I loved my first attempt at decoupaging and am now looking for other things to decoupage! I got a bit over enthusiastic ordering my tissues so have PLENTY of tissues to use in other projects. Of course I used all outdoor ingredients for this project!
love your table, it not only looks beautiful it fits more with your current decor. Perhaps you could decoupage a plain mirror frame to match your table?
sorry for the long post! 😵💫🤷♀️😊