


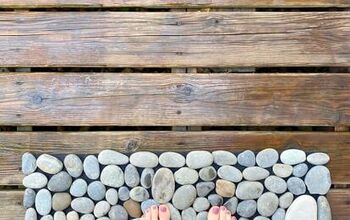
Wood Slat Door Mat

by
Bethany P
$3.00
3 Hours
Easy
First things first - the inspiration for this project was NOT original. A fellow-Hometalker posted a wood slat mat and I knew I had to have one! Mine turned out pretty differently, so I wanted to post & show it off, too, but a big hat tip goes to Wendi@H2OBungalow. Head on over to her awesome blog and check out her projects - www.H2OBungalow.com
Ok - with that out of the way...
Prince Charming brought home some leftover pressure treated 1.5" X 1" X 8ft boards the other day and called me out to his truck.
He: "I didn't know whether you'd want these"
Me: "PSHHHHHH.....have you met me??"
I new EXACTLY what I was going to make!
Ok - with that out of the way...
Prince Charming brought home some leftover pressure treated 1.5" X 1" X 8ft boards the other day and called me out to his truck.
He: "I didn't know whether you'd want these"
Me: "PSHHHHHH.....have you met me??"
I new EXACTLY what I was going to make!
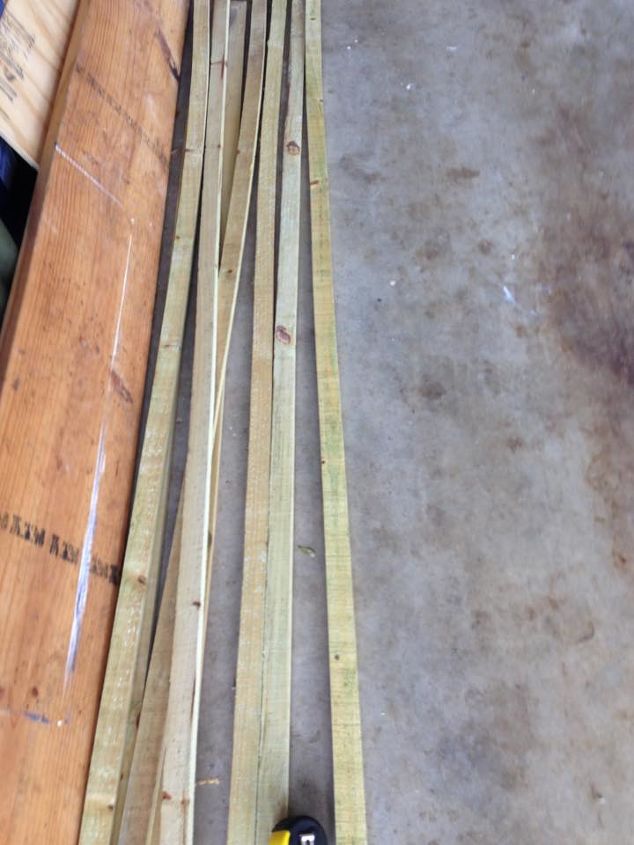
This was my score. It's awesome having a hubs in the home building industry.
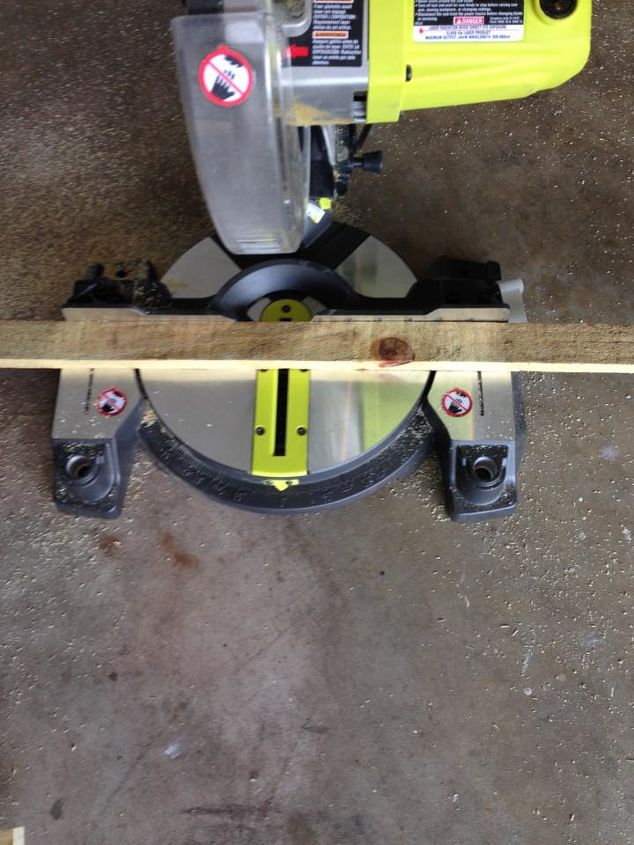
First I cut 16 - 18" slats with my handy-dandy miter saw.
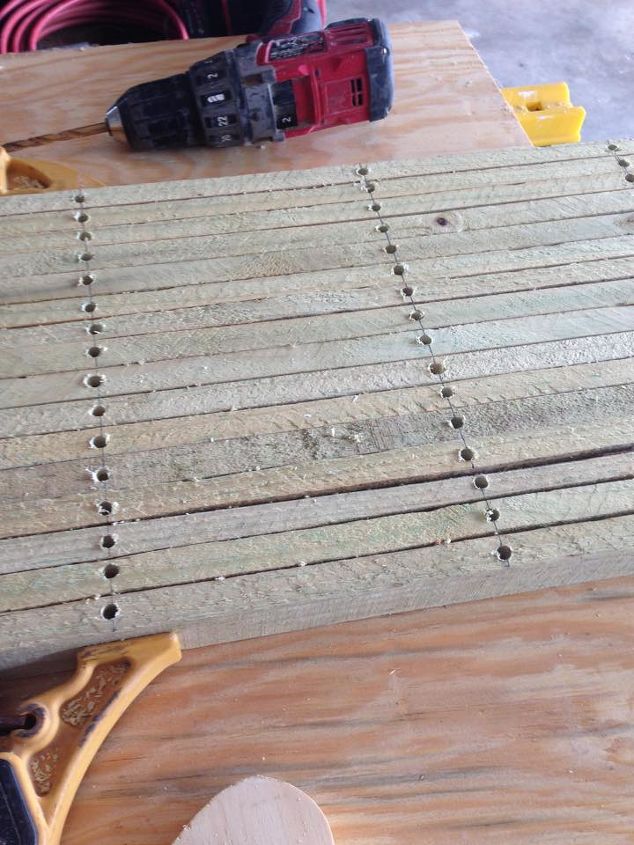
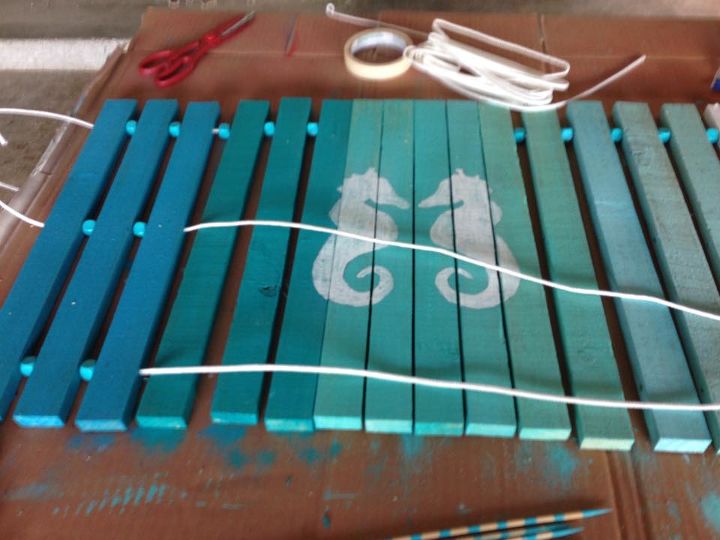
Next, each slat was marked and 48 holes were drilled. This was probably the most difficult step among a bunch of not-very-difficult steps - and only because they really needed to be somewhat precise.
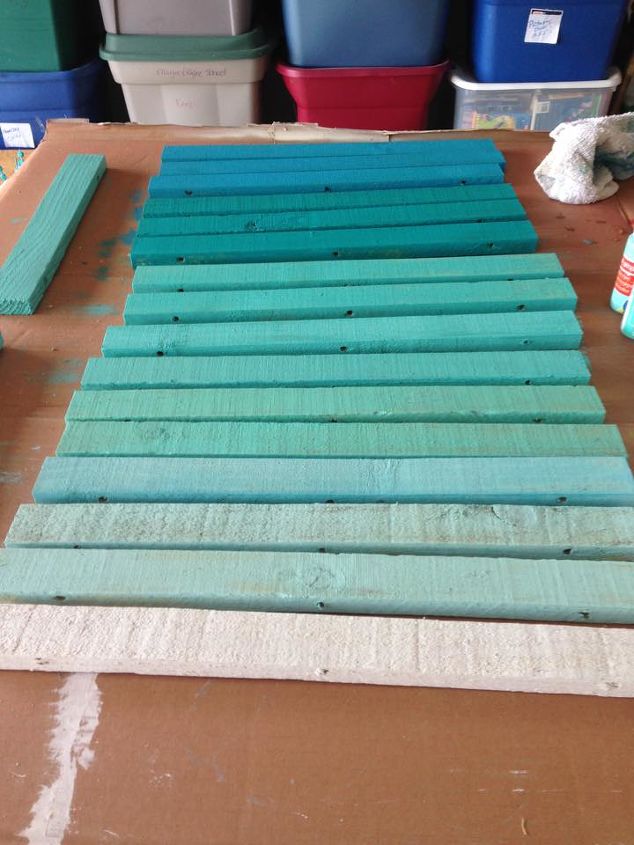
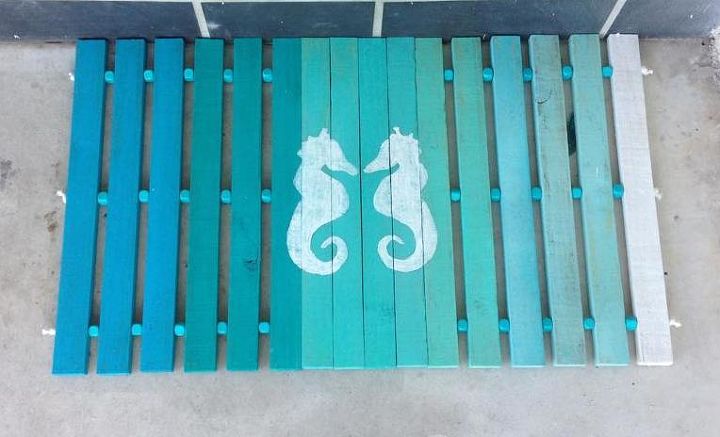
Next I painted the slats. I deliberately did not sand them down as I really like the rough cut look for this project (most of my projects) to make it seem as "beachy" as possible. I went with an "ombre" color scheme from white through the different shades of turquoise I had handy. For this, I used OUTDOOR craft paint.
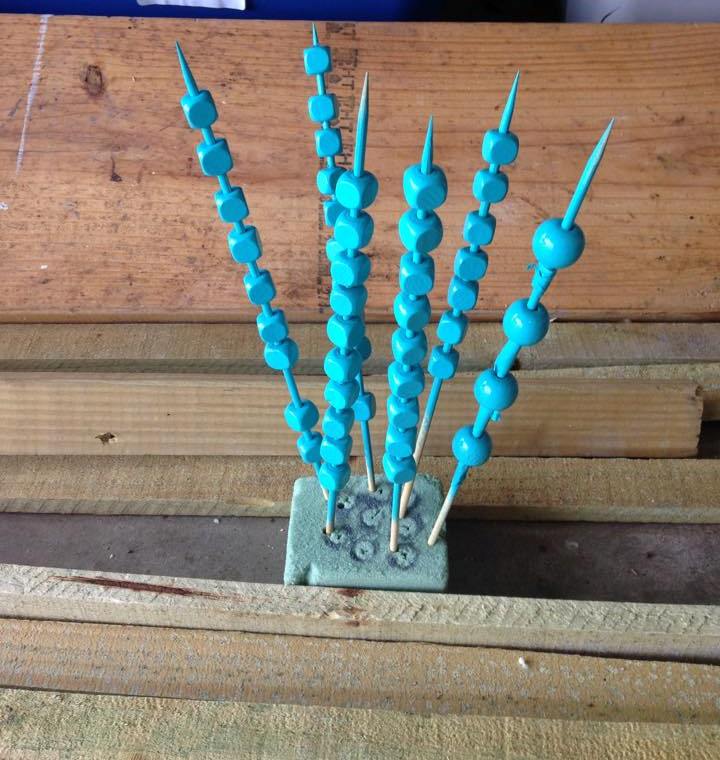
While my boards were drying, I put my beads on shish kebob skewers and spray painted them with all-weather spray paint, then placed the ends in a piece of floral foam to dry. These were just regular wood beads from Michaels.
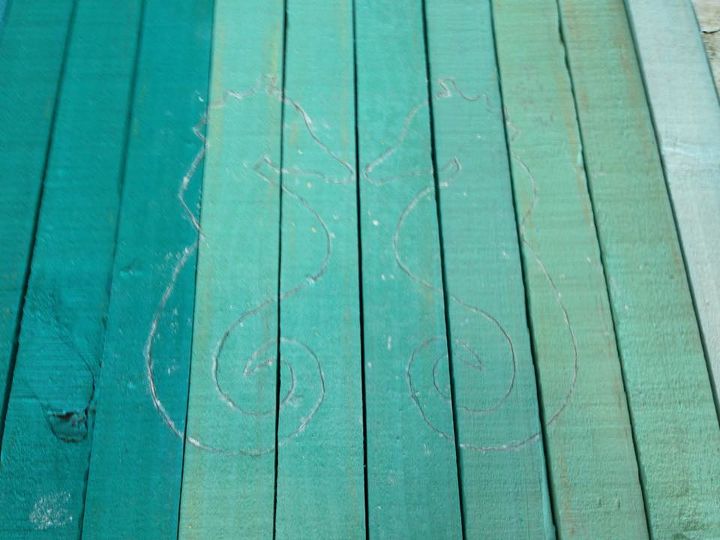
Next I pushed the boards together and transferred the image I chose.
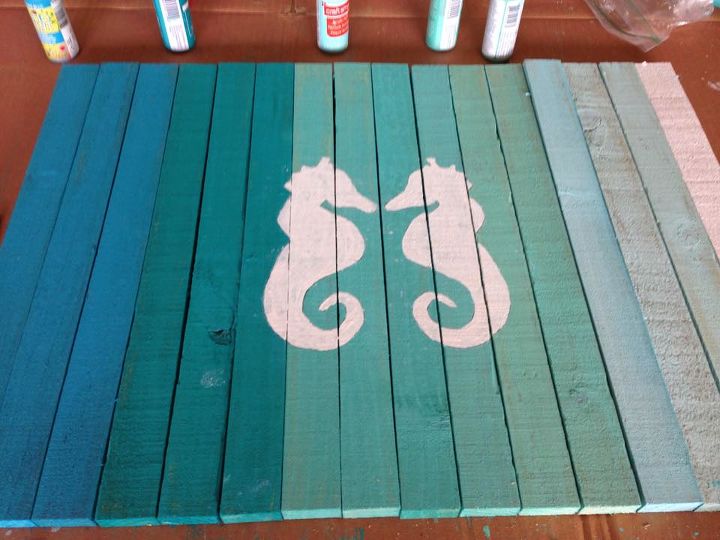
Then, painted the image in white.
Once everything was well dried, I sanded it well to give it more of a distressed look and then put several coats of matte finish clear-coat on both sides.
I left out the beads in the center section where the image appears.
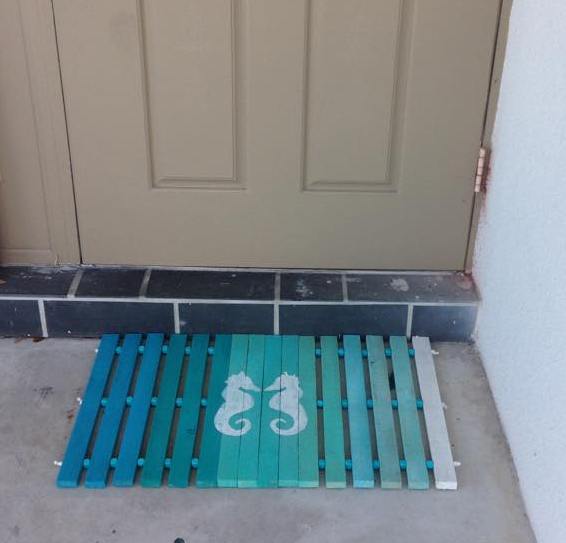
I'm thrilled with the way it turned out!
Comments
Join the conversation
2 of 24 comments
-
Good job
-
Adorable!!


Frequently asked questions
Have a question about this project?
what is the thickness of the slats