


Heart Transplant--Remodeling the Heart of the Home
On somewhat of a whim, we decided to completely gut our outdated kitchen in our "new to us" house. It was an adventure to say the least. My husband, father and I (with help from a family friend) DIY-ed practically the entire project ourselves. The difference is amazing! Follow along the whole story from beginning to (almost) end at www.chasingadreamblog.wordpress.com. The final reveal is now posted!
https://chasingadreamblog.wordpress.com/2015/02/05/heart-transplant-part-1-remodeling-our-kitchen-the-heart-of-the-home/
https://chasingadreamblog.wordpress.com/2015/03/04/heart-transplant-part-2-remodeling-our-kitchen-the-heart-of-the-home/
https://chasingadreamblog.wordpress.com/2015/03/23/heart-transplant-part-3-remodeling-our-kitchen-the-heart-of-the-home/
https://chasingadreamblog.wordpress.com/2015/04/23/heart-transplant-part-4-remodeling-our-kitchen-the-heart-of-the-home/
https://chasingadreamblog.wordpress.com/2015/07/13/heart-transplant-part-5-remodeling-our-kitchen-the-heart-of-the-home-final-reveal/
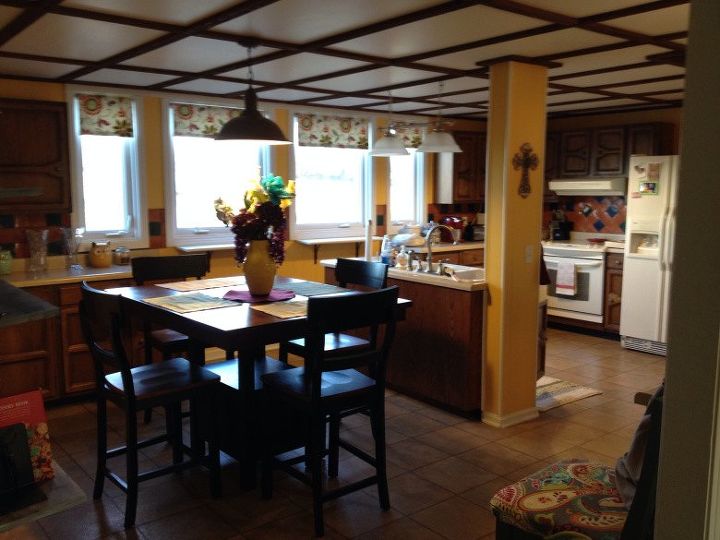
The "before" kitchen was just kind of blahhhhh. My favorite color is yellow, but this nacho cheese color (that is literally the name of the color--we found an old can of it in the basement) was not doing it for me. The cabinets were falling apart, had stains, and were way too dark for this room.
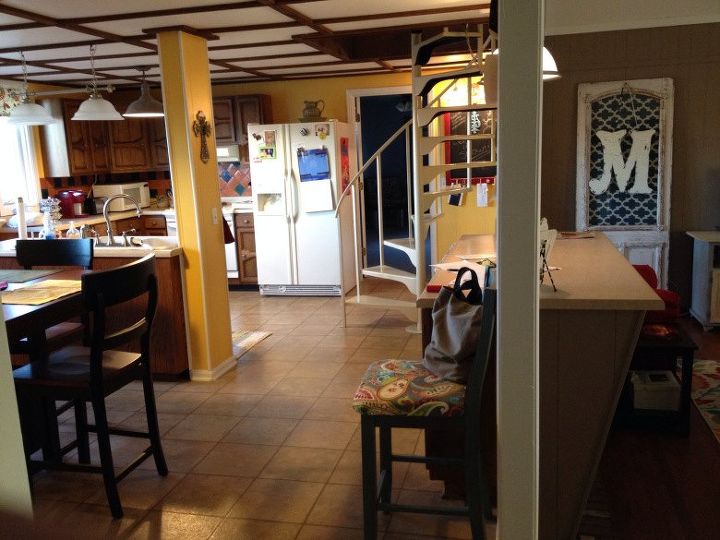
Oh, then there was this cabinet and metal staircase that took up VALUABLE space in my kitchen for NO APPARENT REASON. The cabinets here were only 12" deep, but it stuck out almost 2 feet into the living room and you had to walk around it to get into the room. Who does that?! I was so glad to see it gone!! The whole story of the demo is in the blog posts above. Check them out!
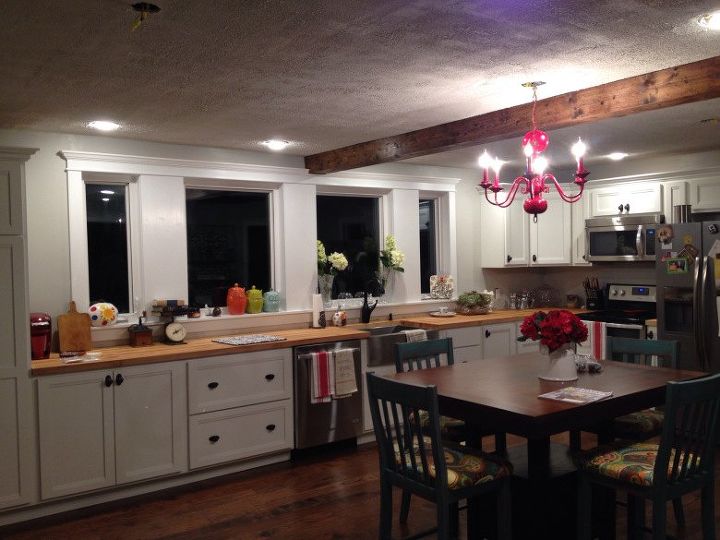
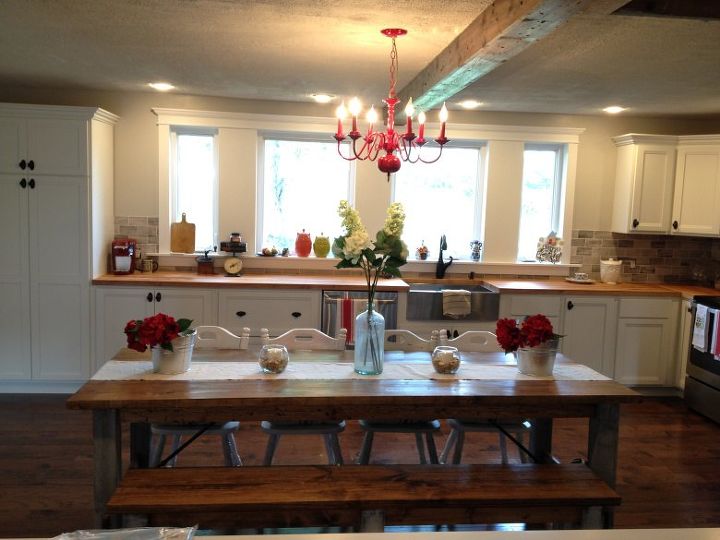
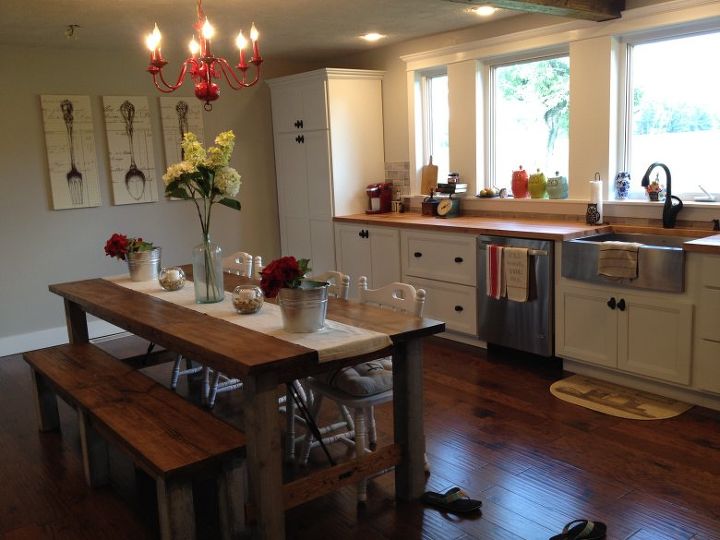
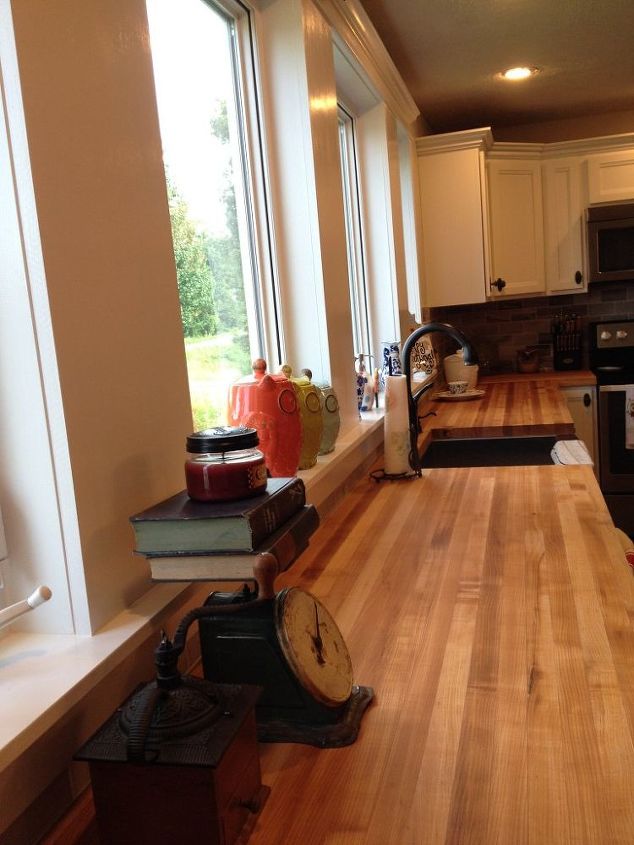
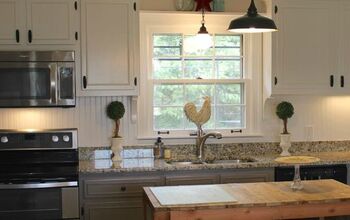
The "almost" done kitchen. The table and backsplash was still to be completed. We rearranged the layout, changed the colors, got rid of the column, added more light, removed the drop ceiling, installed butcherblock, new cabinets (with a pantry!!), appliances, moulding on the windows (did it myself!), new sink, new floor, new trim, and THEN I built us a new table.
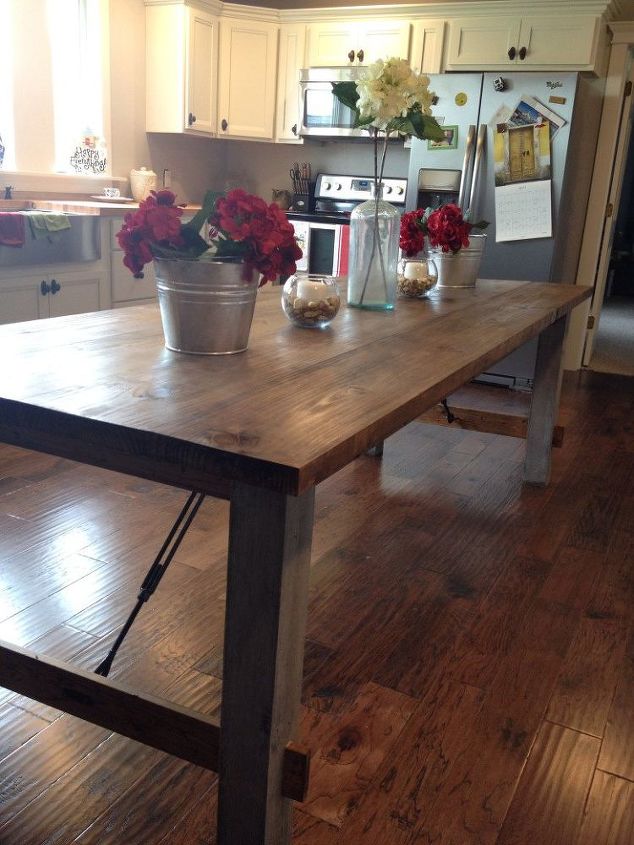
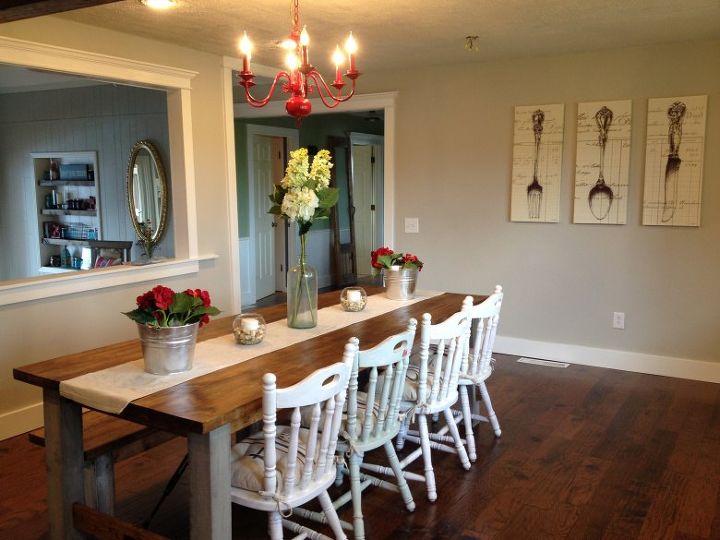
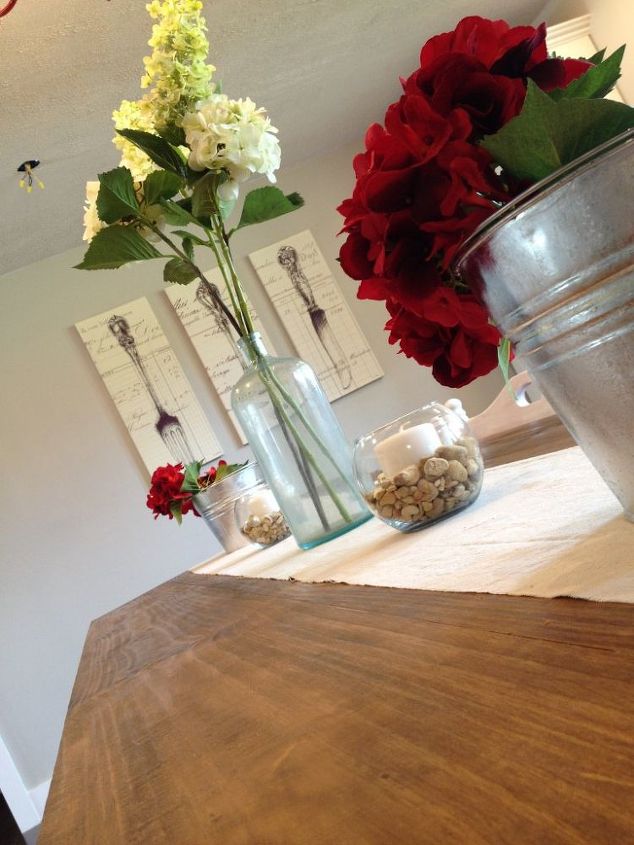
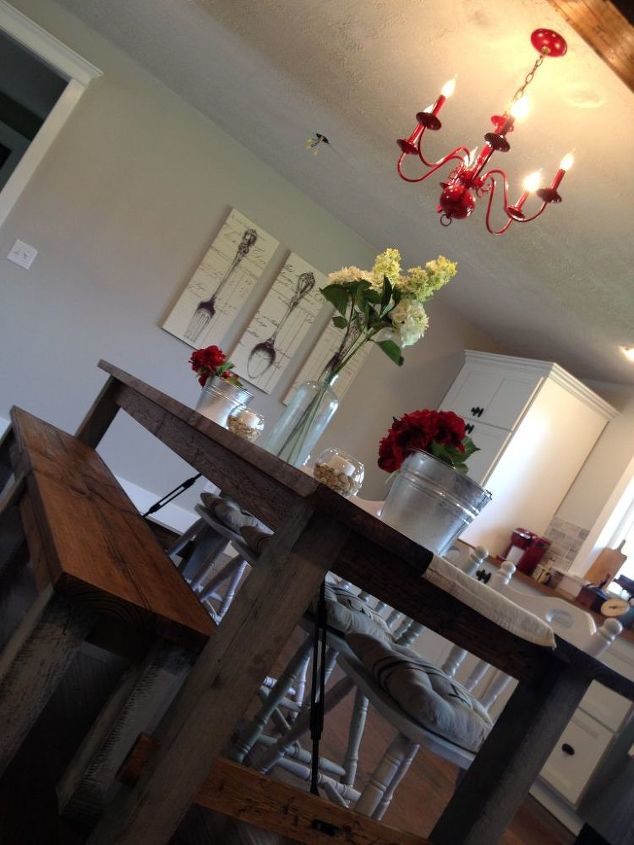
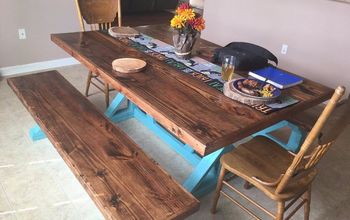
I built the table frame from scrap wood and bought the wood for the top new. I looked all over the internet for a good table to "copy" and I ended up just using several ideas all put together to make mine. I didn't go with plan, I just threw it together and there it was! I guessed on alot of the measurements, but it wasn't too difficult. It's just a simple table. But, it seats 10 people! I whitewashed the legs and stained the top, then I added large turnbuckles for a little "industrial" feel.
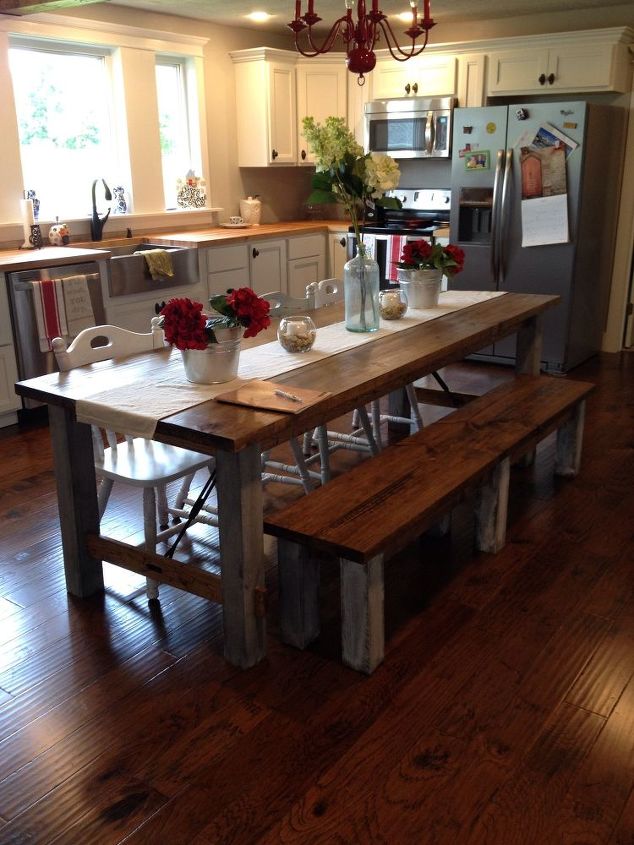
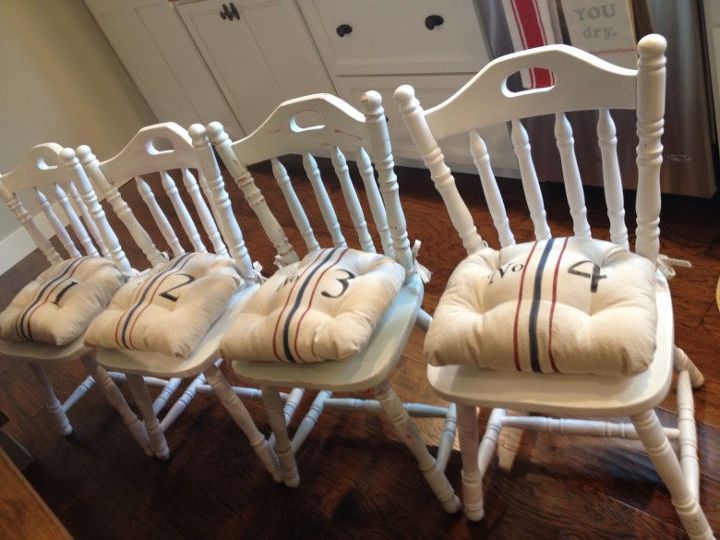
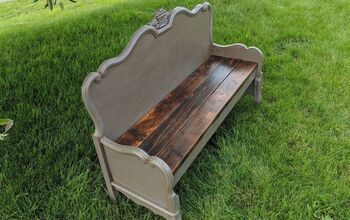
I made the matching bench and bought the chairs at a local "junk store" for $8 each!. I love our new kitchen. Now that the backsplash is complete, I have posted my final reveal!! Pictures are below and the link is posted above.

Want more details about this and other DIY projects? Check out my blog post!
Comments
Join the conversation
3 of 45 comments
-
Lovely! Especially the butcher block! We love butcher block counters but haven't run them right up to the sink for fear of staining or rot problems. How has the wood counter held up?
-
Wow, amazing, the previous kitchen looked like a dungeon, but it now looks so modern and up-to-date. Wonddrful job, well done


Frequently asked questions
Have a question about this project?