


Wall-Mounted Kitchen Hutch #WallCandy #Kitchen #Organization
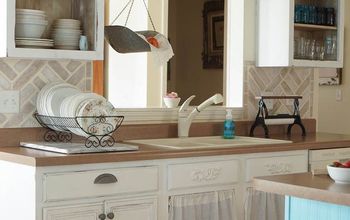
Have you heard the term sandbox when talking about software development? It's the term used for the testing area where the engineers can "play" with their ideas before they go live to the public. Well, this little kitchen desk and hutch (kitchen command center) was my sandbox before I ordered our kitchen cabinets.
Full materials list, instructions and lots of photos on the blog linked below.
Full materials list, instructions and lots of photos on the blog linked below.
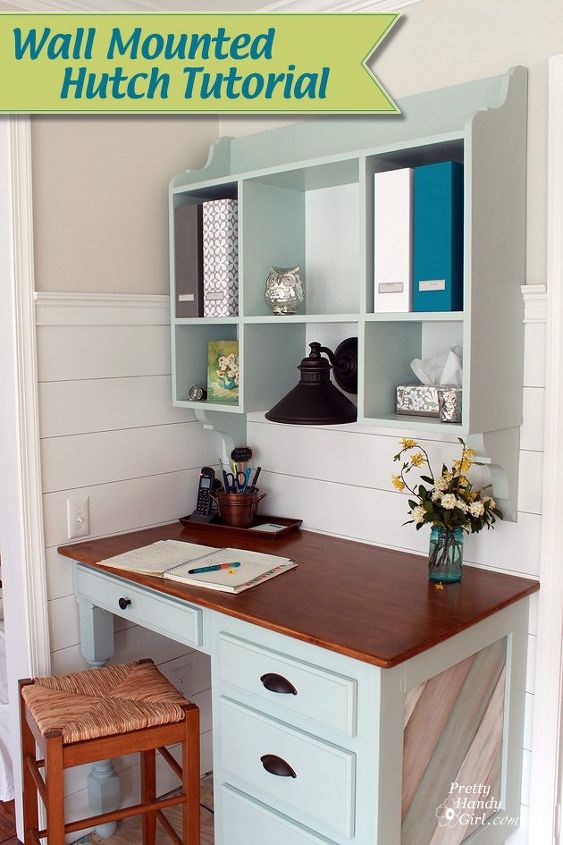
The result is a charming cottage style desk and hutch where I keep our lives organized!
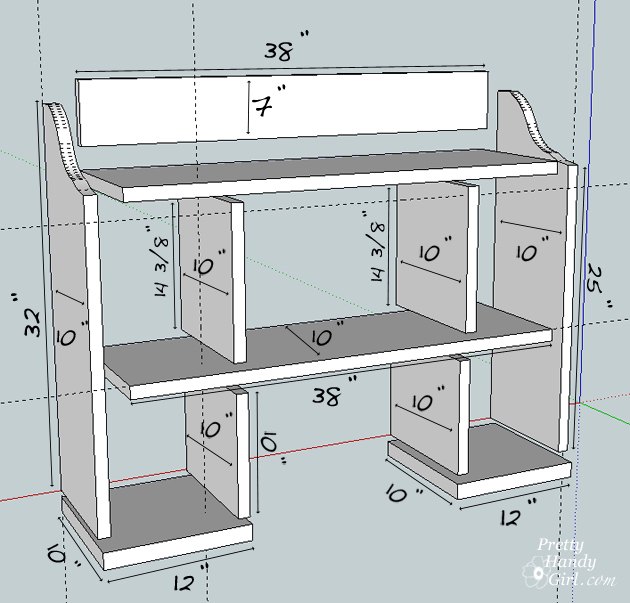
Are you ready to build your own wall-mounted hutch? Grab your tape measure and saw and let's get busy!
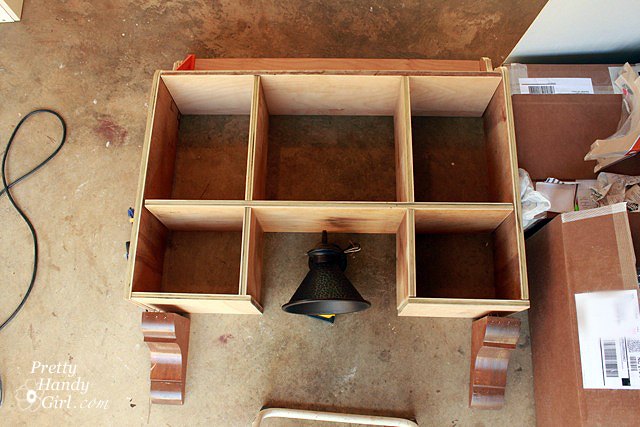
Once you've made your measurements and cuts, dry fit all your boards together. Make any adjustments to size now. (I also made sure my lamp was going to fit in the hutch.)

I chose to add a piece of beadboard to the back of the hutch. Cut a piece of beadboard to fit on the back of the hutch. Prime and paint the beadboard before attaching it. Prime and paint the hutch as well.
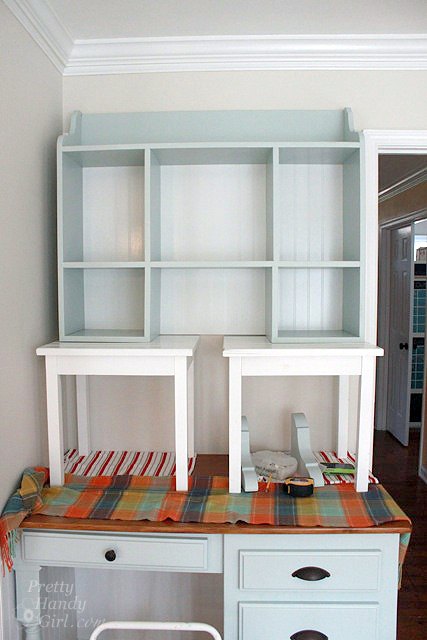
Prop the hutch up or have a helper hold it to determine the height you want to mount it.
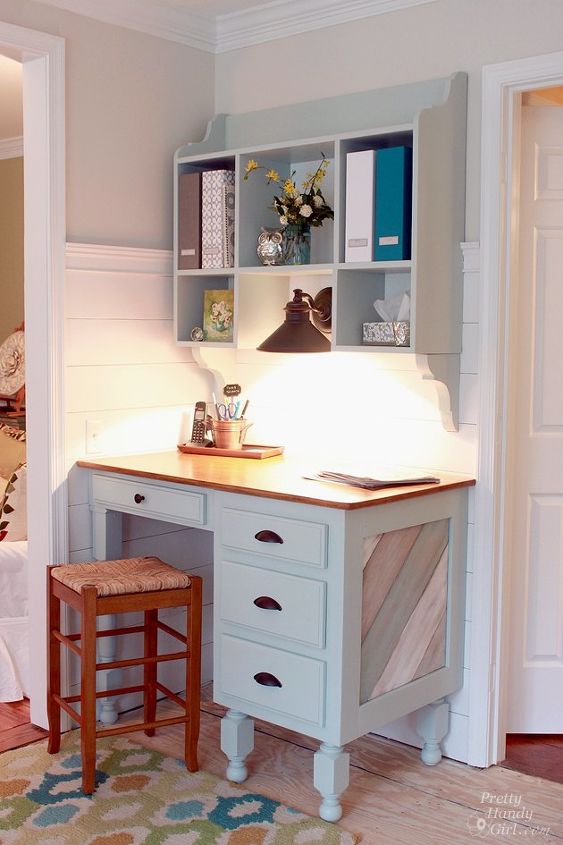
This wall-mounted kitchen hutch not only adds more storage in a vertical space, it has also become our Family Command Center!

Want more details about this and other DIY projects? Check out my blog post!
Comments
Join the conversation
2 of 41 comments
-
Awesome job, as always. Thanks for sharing
-
I love everything about your little corner of the world.....:))) It is so very pretty. Neatness and organization. Ya gotta have it all together.


Frequently asked questions
Have a question about this project?