


How To Cover Dresser With Fabric
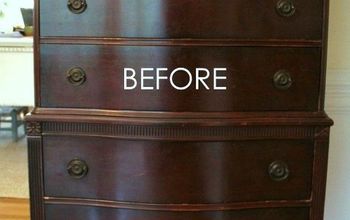
Do you have any old furniture at home that needs a makeover? Today I want to show you how to cover a dresser with fabric.
The first thing I did was clean the piece of furniture which is always really important. I also gave it a light sanding. Be sure to sand it after it has been cleaned so that you don’t drive down any grime and grease that's already on the piece of furniture.
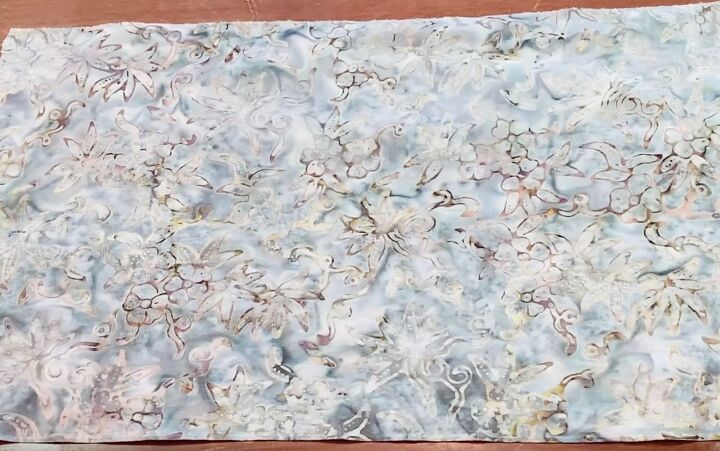
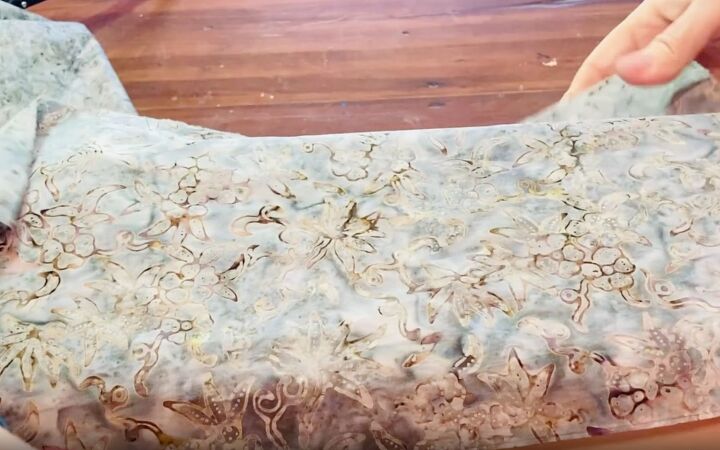
For this project, I used a really pretty batik fabric that I had. It was 100% cotton. Cotton fabric works so much better for this type of fabric dresser top.
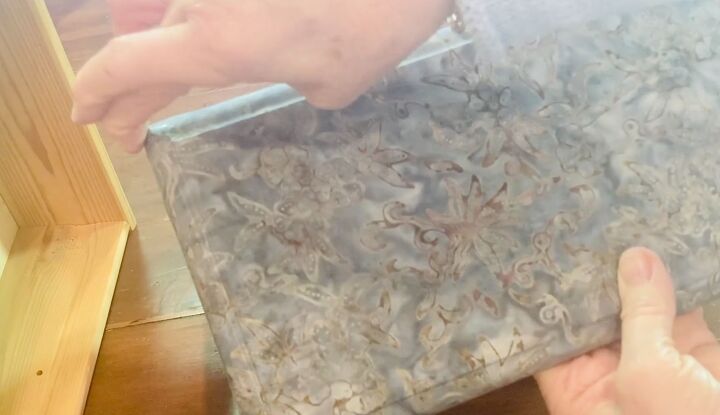
The next thing I did was cut a piece of the fabric larger than the surface I was going to be covering. Don’t cut it the same size and try and pull it to fit, you really need a piece that is bigger and then you can cut the excess off when it's dry.
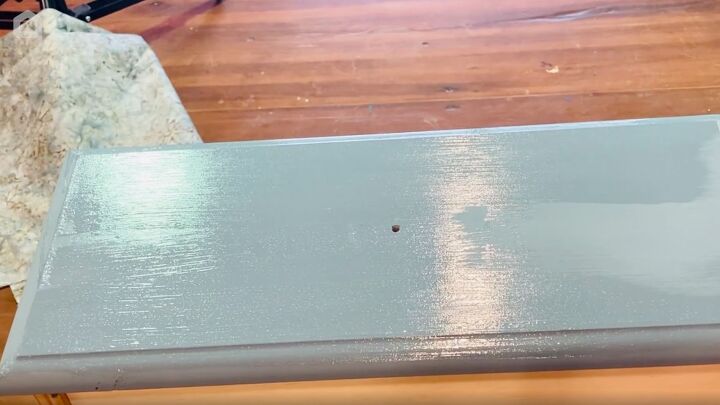
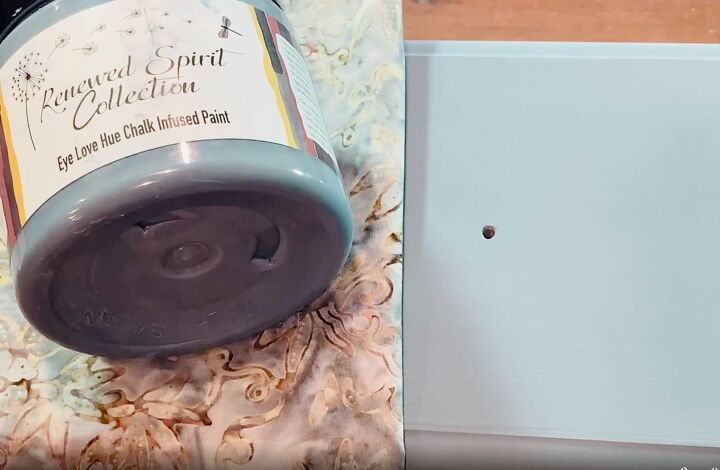
Once I had my fabric cut, I needed to stick it to the drawer top. I applied some high-performance topcoat by General Finishes first. You can use any water-based topcoat, or you can even use glue if you want. Mod Podge fabric works also.
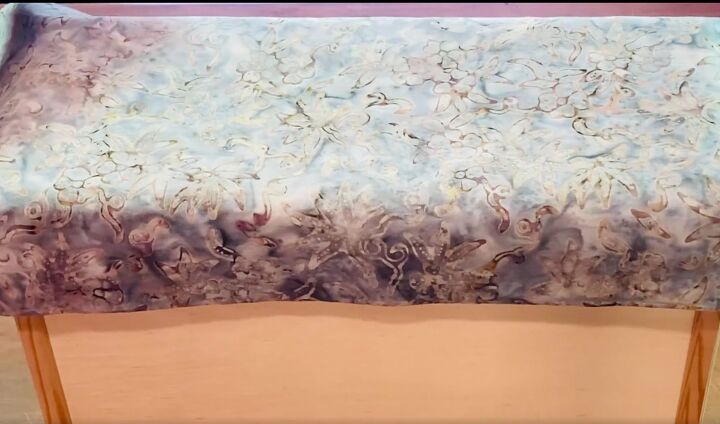
With the surface well coated, I took my fabric and laid it down on top of the polycrylic.

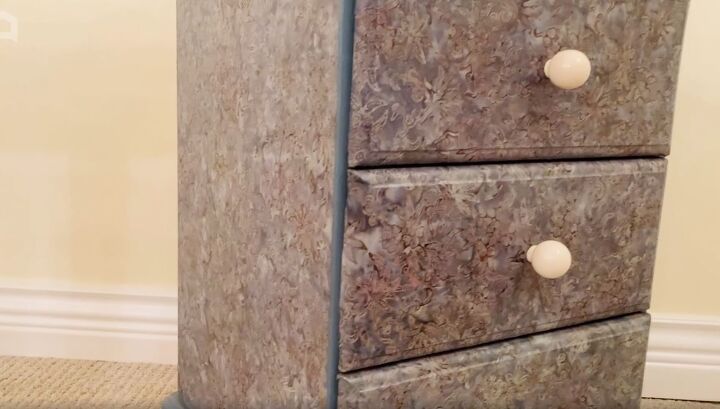
I used my hands to press it down and smooth it out. I made sure the fabric got into all of the little groves and details as well.

Once I was happy with how it was, I applied another layer of topcoat liberally over the top. Make sure that it goes over the edges so that it is all covered.
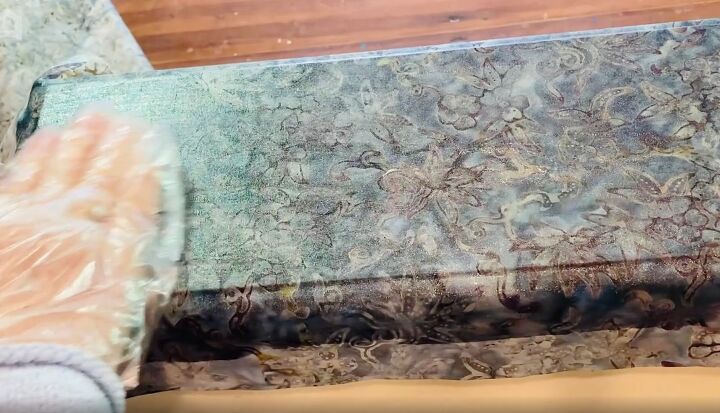
For the next part, I prefer wearing a pair of gloves because I used my hands to make sure it was smooth and all stuck down. You want to make sure there are no wrinkles in the fabric and then once it is smooth, leave it to dry.
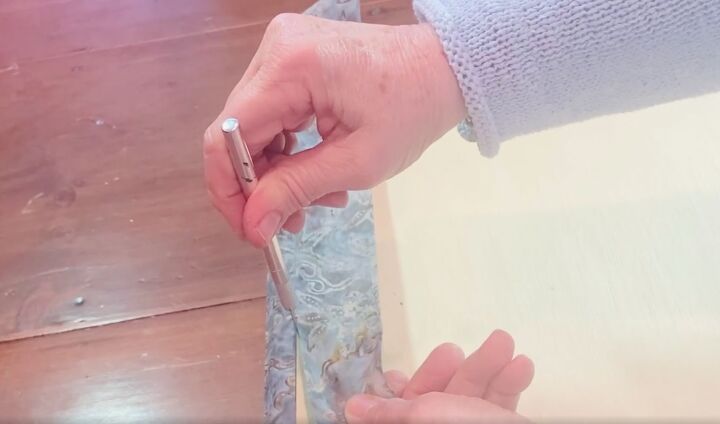
After the fabric was dry, I cut away any of the excess. It was really easy to cut because it was stiff from where I had applied the topcoat. I used a very sharp blade to cut the fabric while I was pulling the fabric away from me.
The corners can be a little bit difficult to maneuver so I just cut them as close as I could. I also used a little to stick them down in place once they were trimmed.
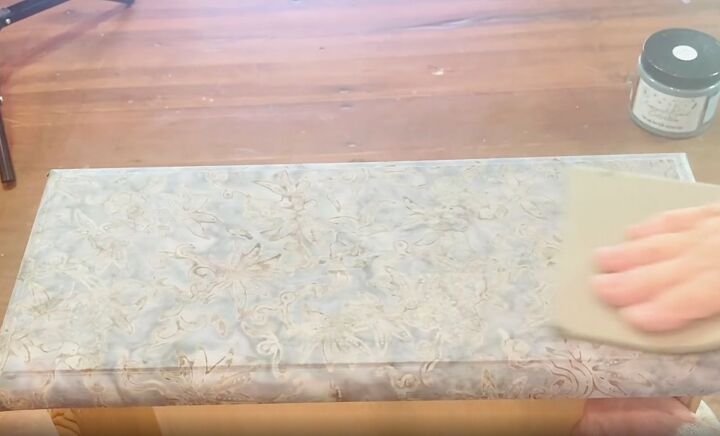
At this point, everything felt rough so I used a 320 grit sanding sponge to lightly sand it all.
Then I added another coat of the topcoat. This is the reason why I use the topcoat, the polyacrylic as my glue because I wanted to give it a nice glossy, or in my case, satin finish.
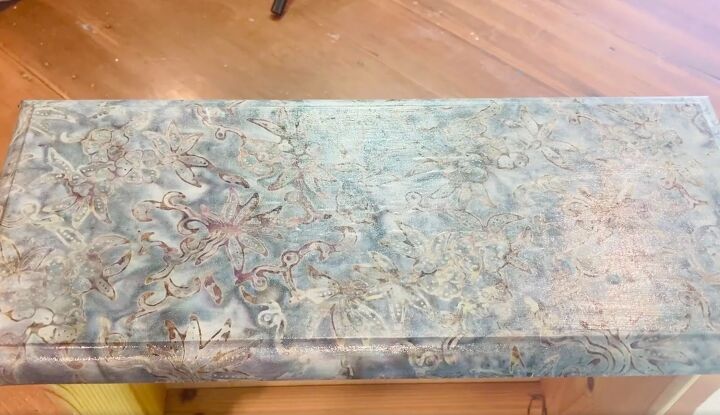
Once I had the topcoat on I left it to dry and then repeated the sanding and topcoat.
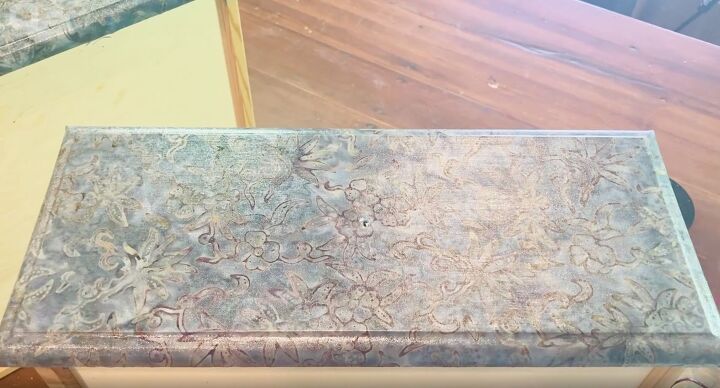
After the second coat the fabric felt really smooth almost like it had been painted.
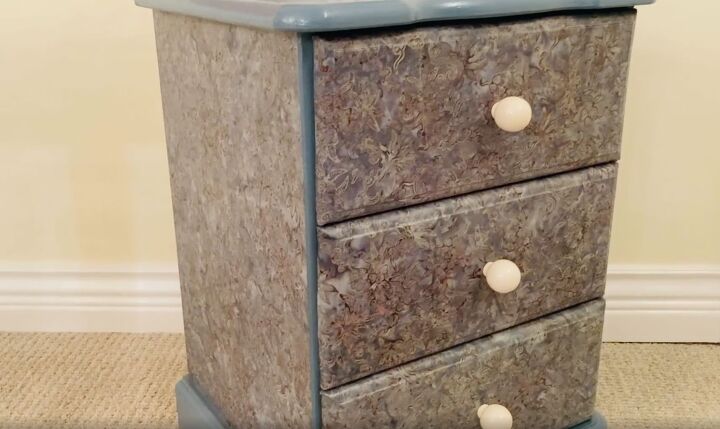
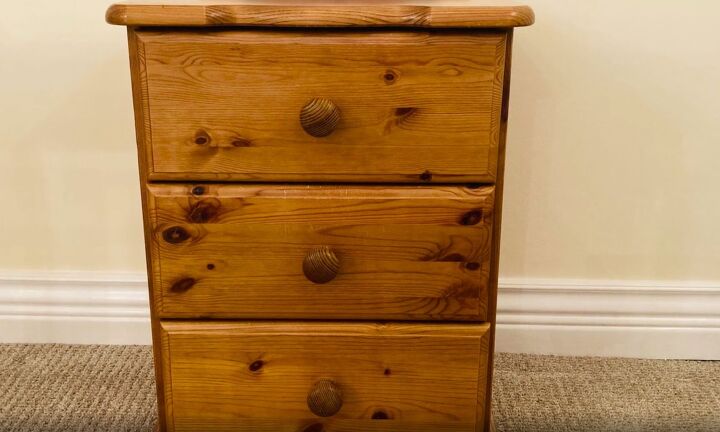
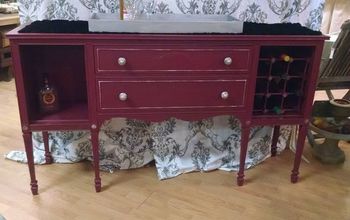
Here is my finished chest of drawers. I have given this little pine chest a whole new lease on life. It's all top coated and even has new hardware on the drawers. I ended up putting fabric onto the sides as well and am so happy with how it turned out. I absolutely love it. I hope you enjoyed this tutorial on how to cover a dresser with fabric and will give it a try.
DIY home decor using vintage fabric
Resources for this project:
See all materials


Comments
Join the conversation
-
Looks great! I had no idea you could sand fabric,even with a topcoat. Thanks for the directions.
-
Who knew ? Awesome!


Frequently asked questions
Have a question about this project?