


How to Turn Your Favorite Art Into Secret Hidden Wall Storage

A precious piece of art from my beloved grandmother deserves a special place in my home.
I decided to frame this gift and turn it into secret hidden wall storage that not only showcases the art in a beautiful way but also keeps my other cherished family heirlooms safe.
Join me as I take you through the process of creating a secret diy hidden storage frame to preserve your family's special mementos.
This post was transcribed by a member of the Hometalk editorial team from the original HometalkTV episode.
Tools and Materials:
- Wood (for the frame and shelves)
- Saw
- Miter saw (for 45-degree cuts)
- Nails and nail gun
- Wood glue
- Sandpaper
- Wood stain
- Paintbrush or towel
- Decorative hinges
- Screwdriver
- Nails
Hometalk may receive a small affiliate commission from purchases made via Amazon links in this article but at no cost to you.
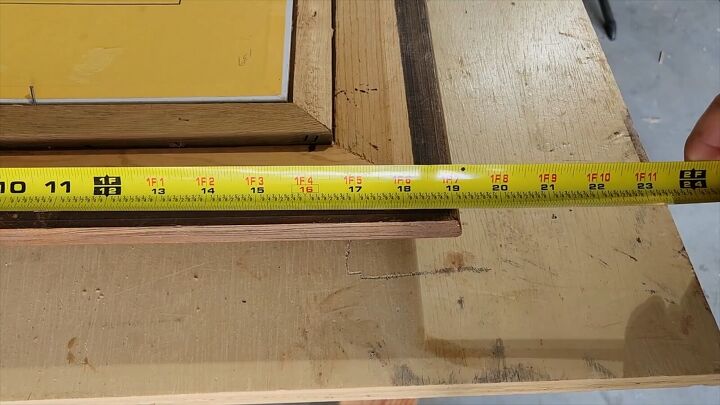
1. Planning and Measuring
To build the frame around the artwork, we'll start by measuring the four sides.
You'll need two pieces for the top and two for the sides.
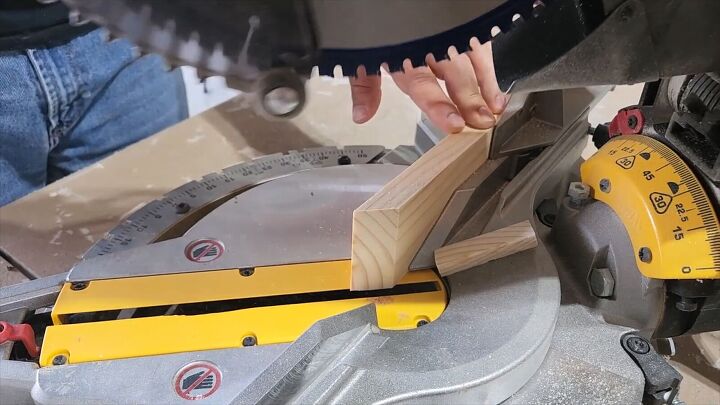
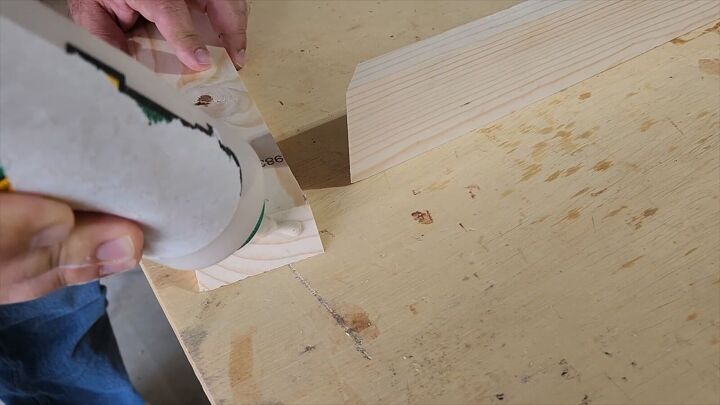
2. Cut at 45-Degree Angle
To create frames for your artwork, you'll need to cut each of your four wood pieces with 45-degree angles on both ends.
Start by cutting one end of your wood piece at a 45-degree angle.
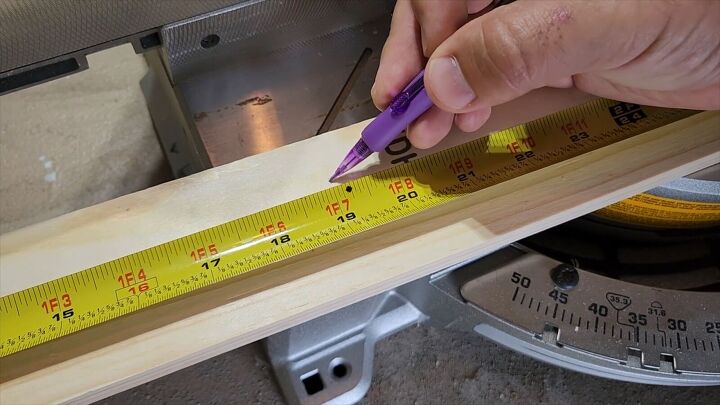
Then measure the length it needs to be.
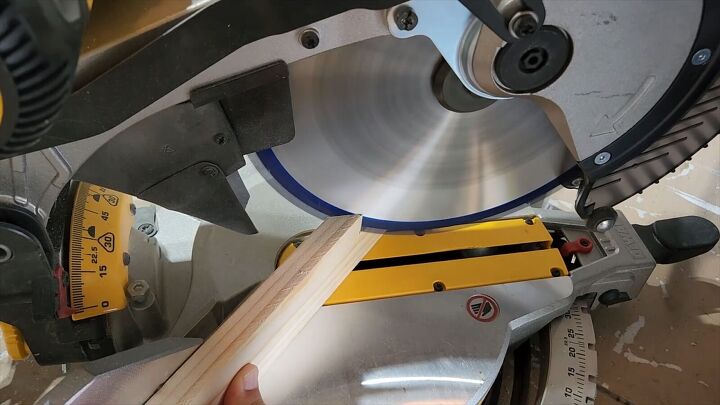
Now, cut this end at a 45-degree angle.
Remember, you need two pieces for each side, so make sure you get them just right.
3. Assemble with Nails and Glue
Secure the frame by using a nail gun and wood glue to ensure your frame is strong and sturdy.
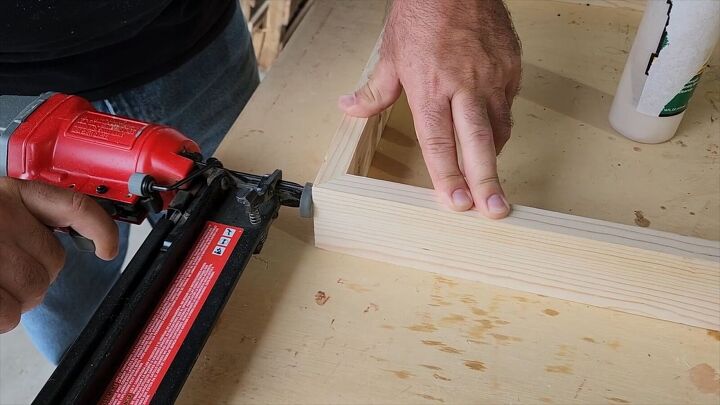
Attach all four corners.
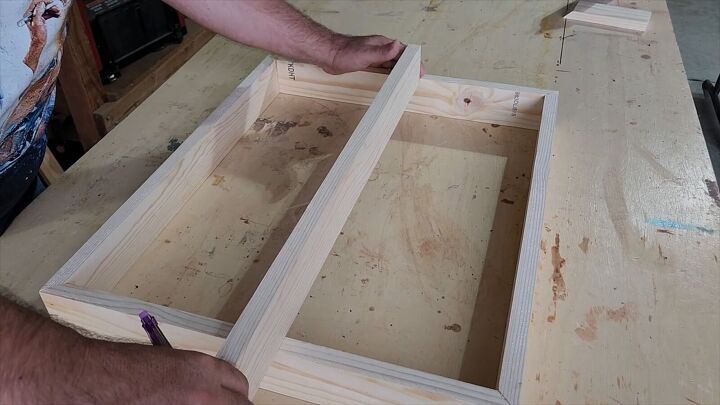
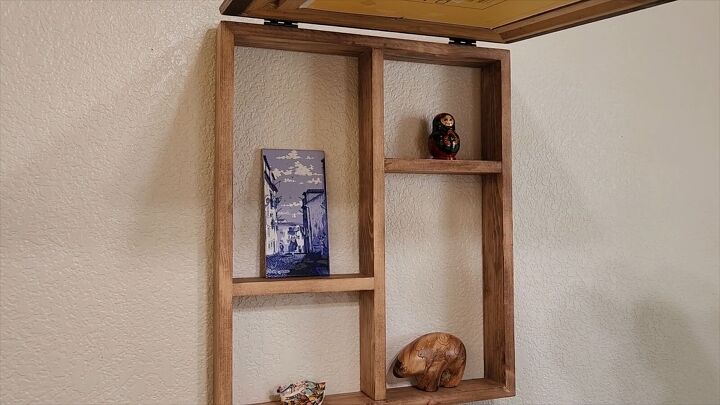
4. Add Shelves
To create the hidden storage compartment, we are going to add shelves inside the frame. Measure a piece of wood for the center support.

Attach this support piece with glue and nails.
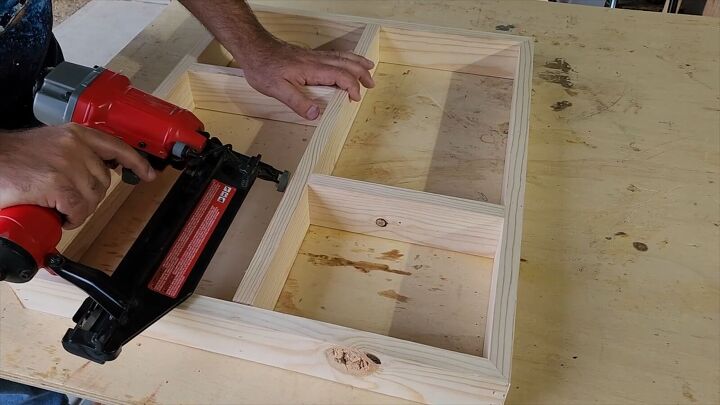
Now measure and cut two more pieces that will be your shelves.
Attach these smaller pieces to the center plank.
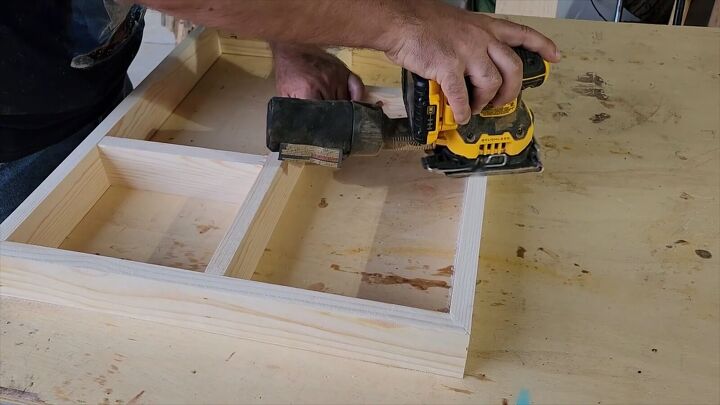
5. Sand and Stain
Sand the entire frame to prepare it for staining. Sanding not only smooths the surface but also allows the stain to penetrate the wood effectively.
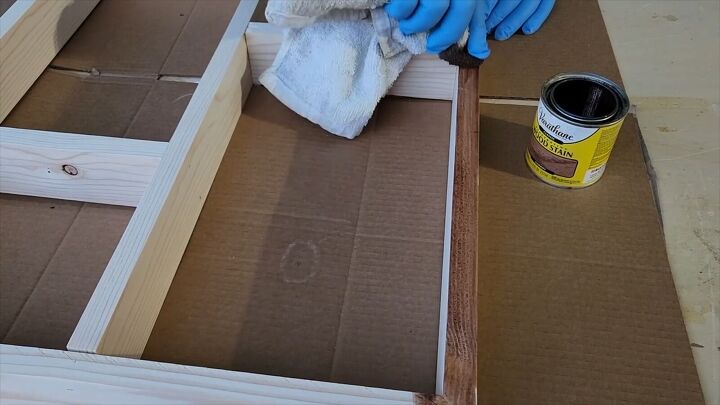
Choose a wood stain that closely matches the frame's color and apply it with a brush or a towel for a seamless finish. Wipe off any excess stain to ensure a clean look.
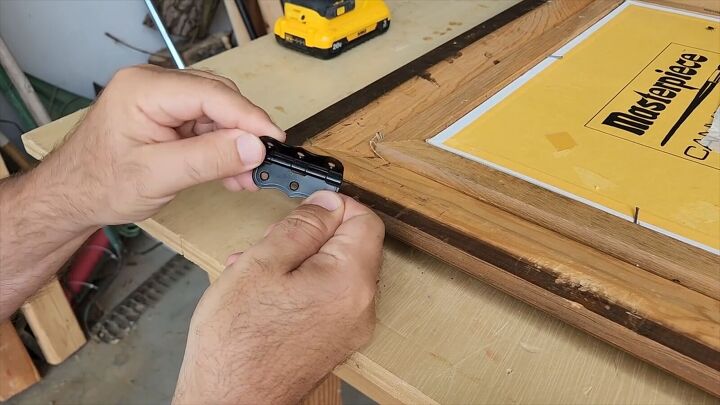
6. Install Decorative Hinges
Attach decorative hinges to the frame to create the hidden storage door.
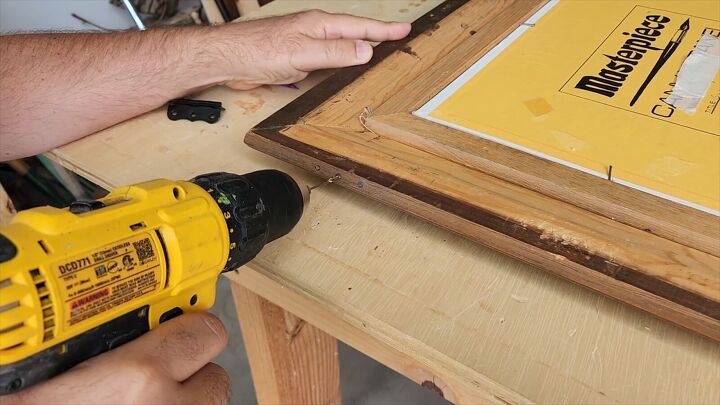
Mark and drill holes for the hinges to ensure they are securely in place.
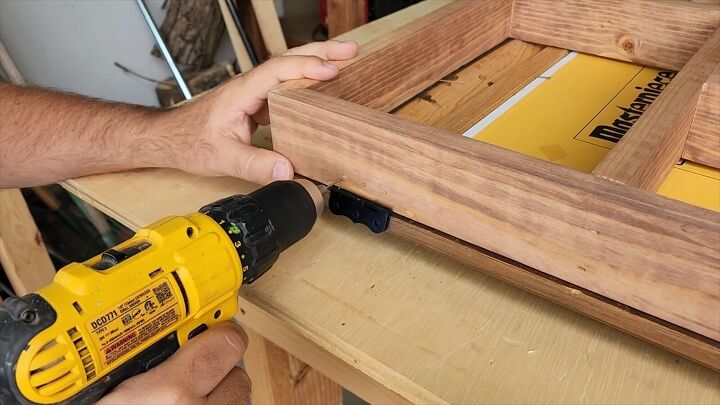
Pre-drilling ensures that you won't split the wood.
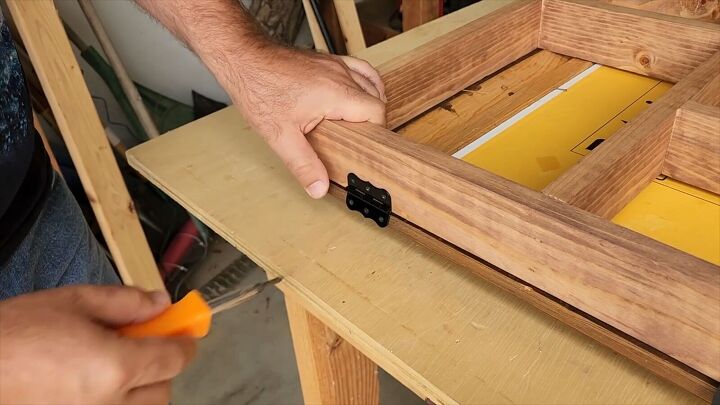
Use a screwdriver to install the hinges, avoiding the need for a drill.
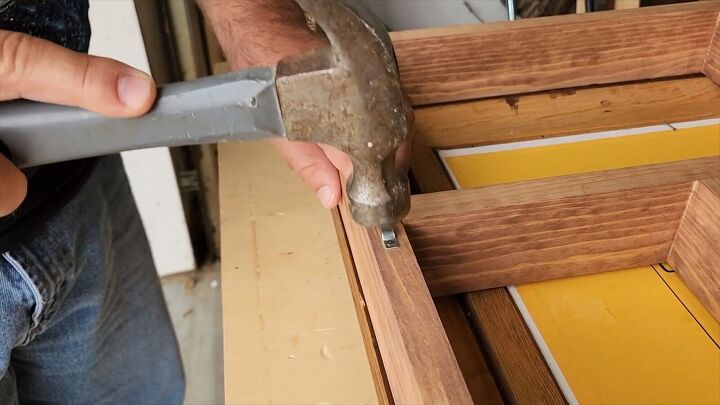
7. Hang the Storage Frame
Attach a hook to the back of the shelf.
With the hook in place, hang the hidden storage frame on the wall.
Secure it with nails and ensure it's firmly attached.
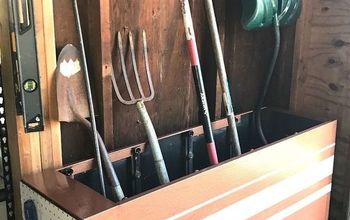
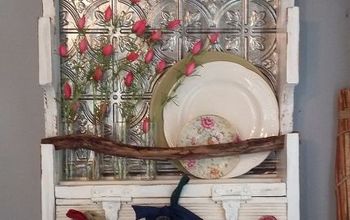
More Creative Hidden Solutions
Secret Hidden Wall Storage Tutorial
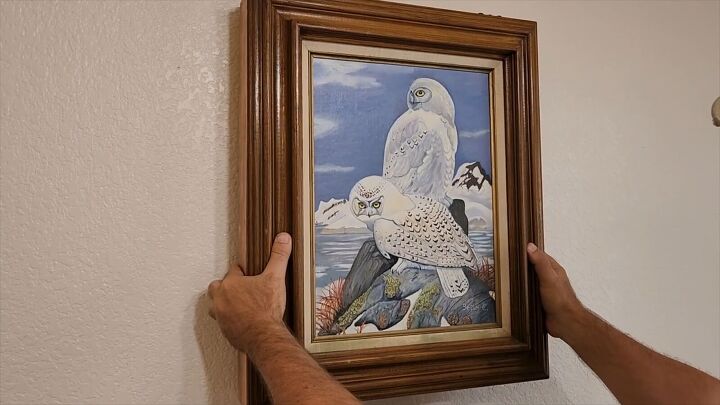
And there you have it! Your DIY keepsake box is complete.
The beauty of this project lies in its versatility. While I've used it to store cherished family heirlooms, you can customize it to suit your needs.
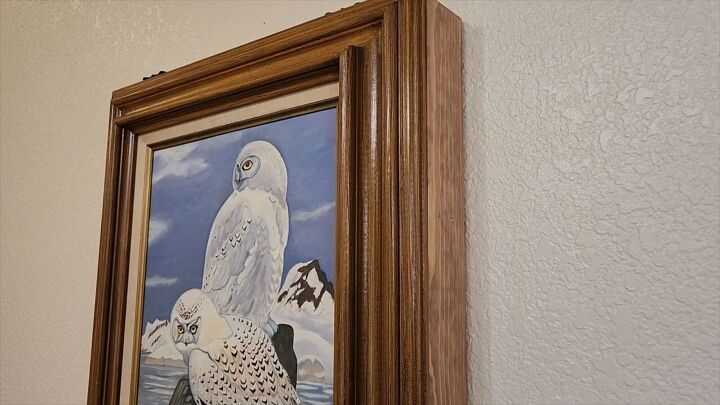
Make it your own by framing a piece of artwork you adore and transforming it into a discreet storage solution for your own unique treasures.
Let us know how you plan to adapt this concept in the comments below.
Comments
Join the conversation
-
Loved your attention to detail and the sentiment.
-
Great idea!


Frequently asked questions
Have a question about this project?