


How to Easily Make Galvanized Buckets Filled With Mini Pumpkins

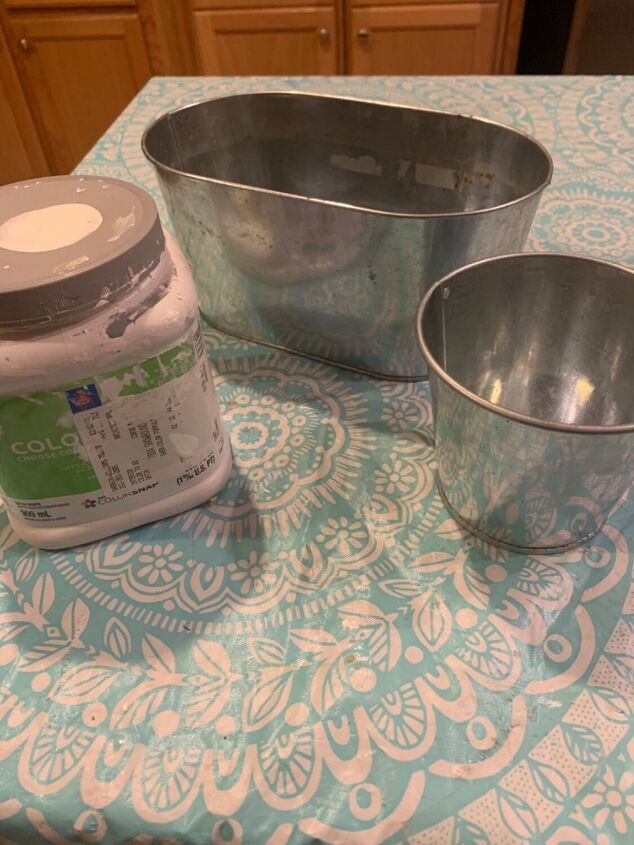
I came across two small galvanized buckets. I had a few mini pumpkins and some really pretty fall napkins. So I decided to marry all these items together!
Let’s get started…
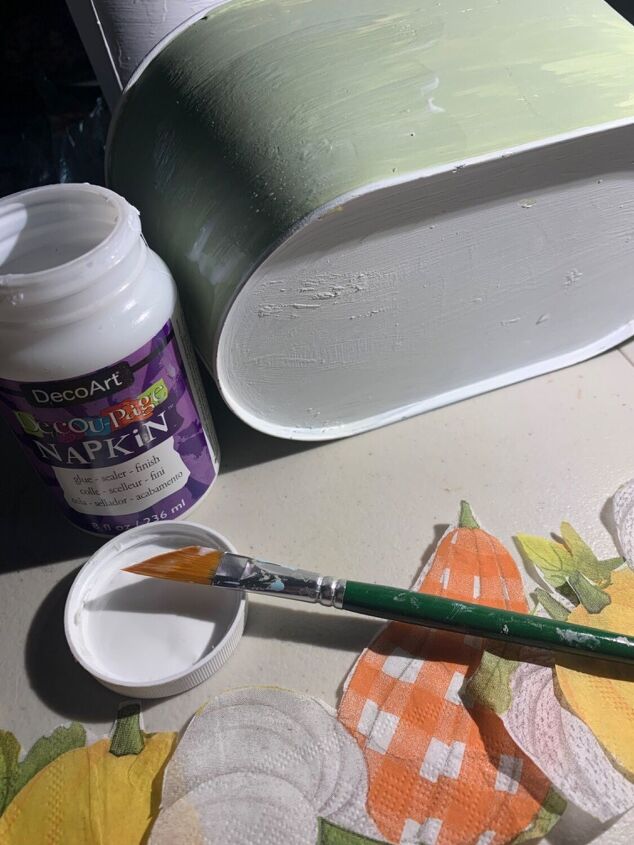
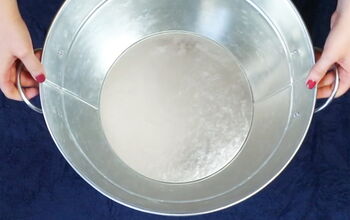
1. Paint the buckets white
I started by painting each bucket white.
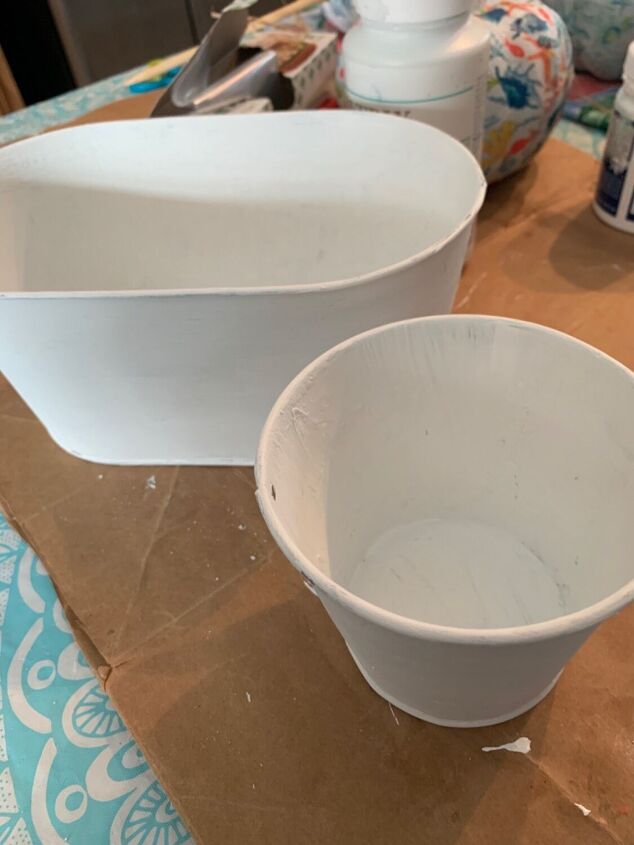
It took two coats to make them nice. I painted it white just so everything else I put on will be vibrant without the silver peeking through.
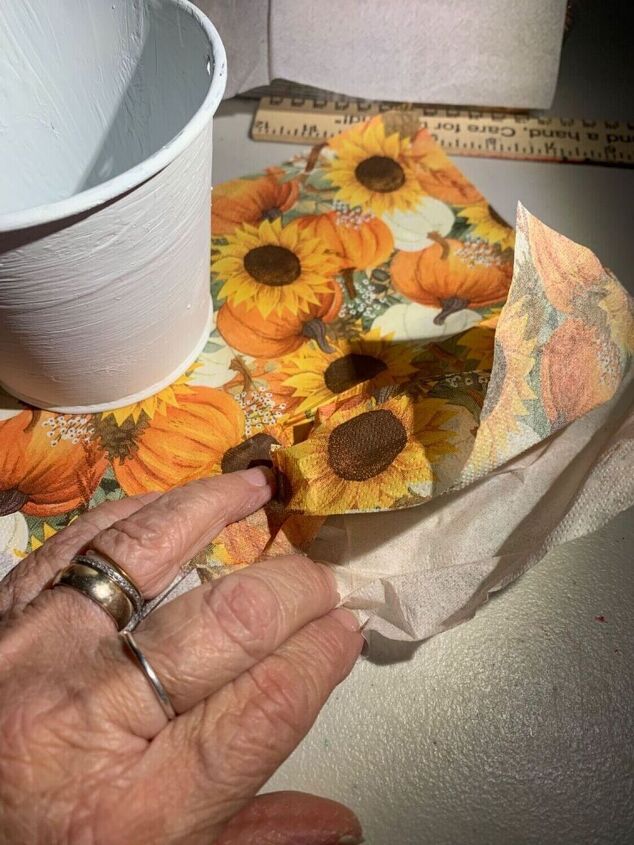
2. Decoupage the buckets
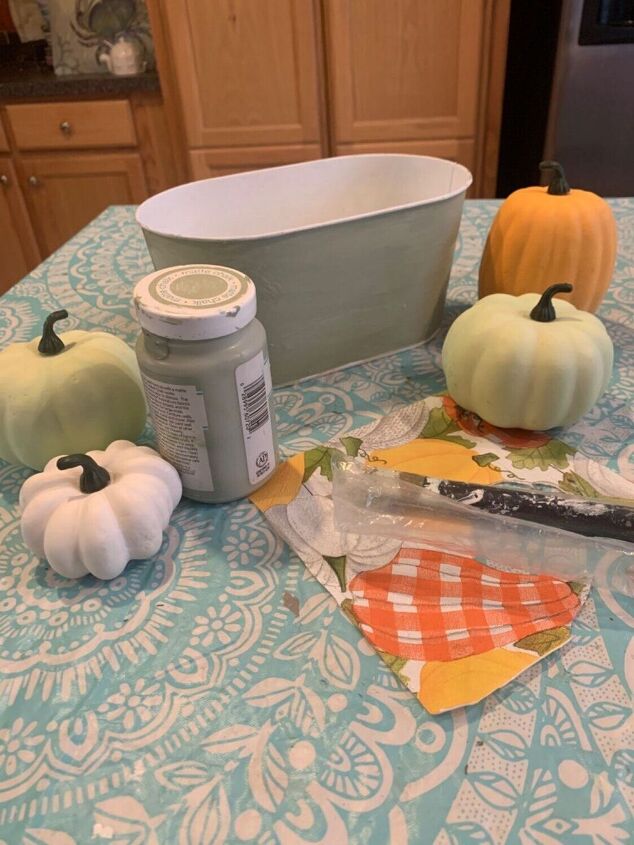
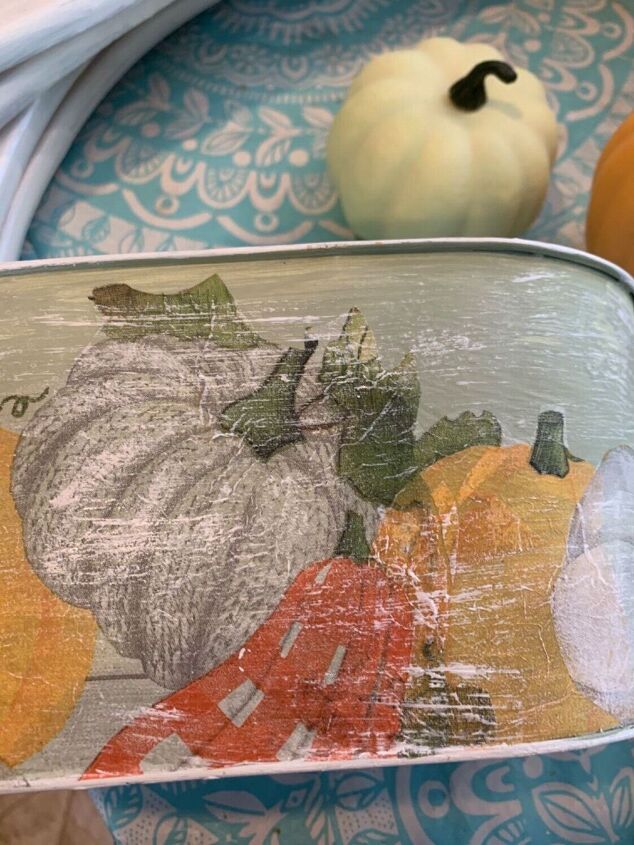
I painted the larger bucket a very pretty shade of chalk paint green. I plan to decoupage both buckets using the napkins. But on the larger bucket, I’m only going to use a portion of the napkin leaving the green showing.
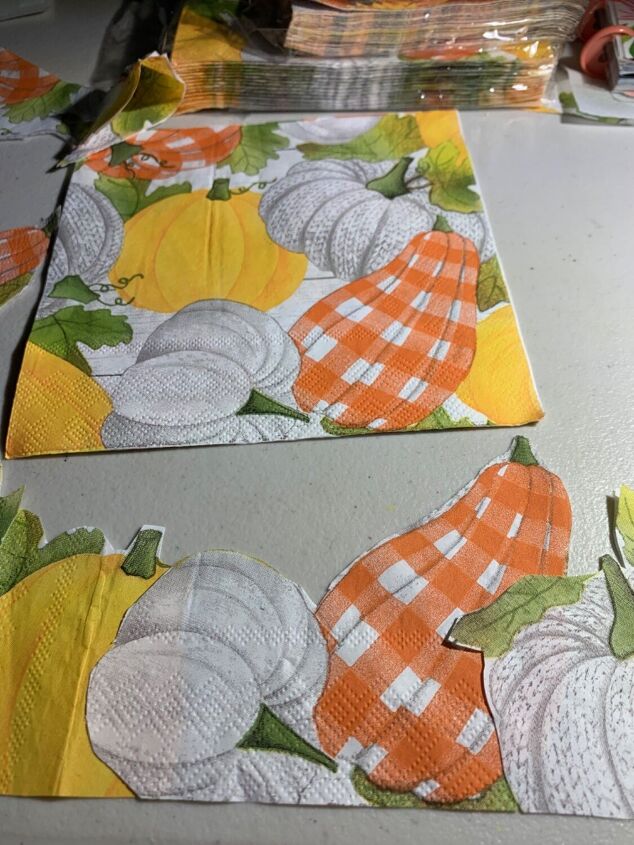
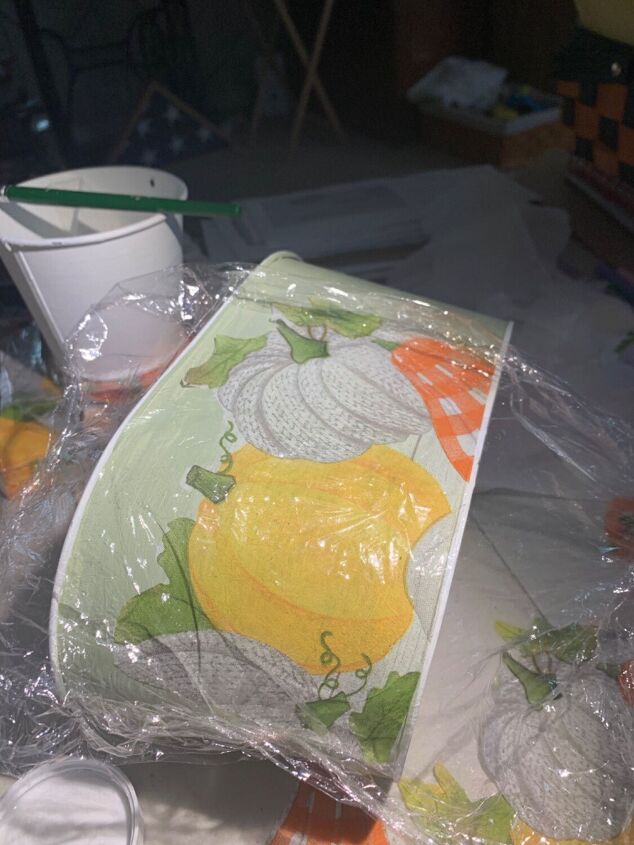
I decided to cut around the different pumpkins on this particular napkin. I mixed and matched them so they would make a nice-looking border on the bottom of the bucket.
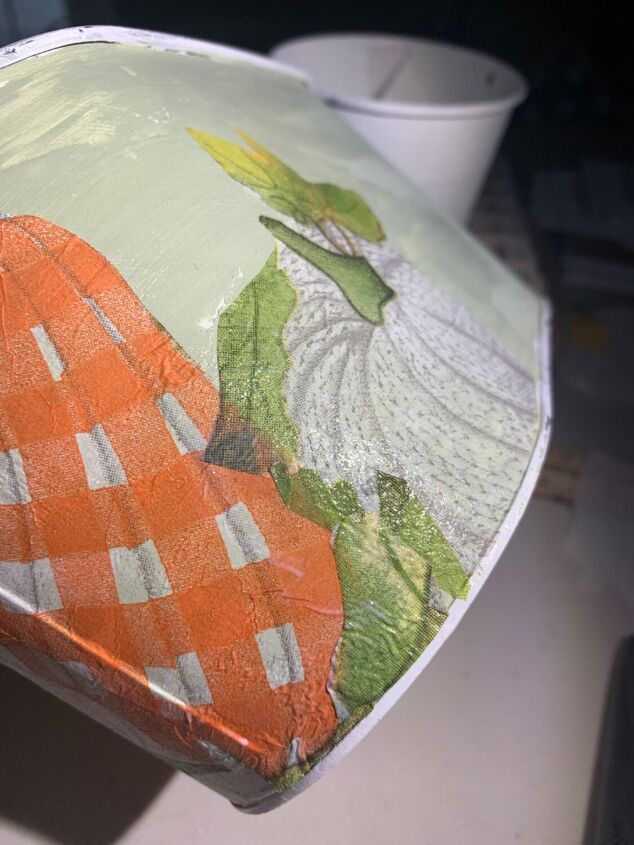
Using a napkin decoupage I started adding the pumpkins piece by piece. Napkin decoupage is a bit more watery than mod podge. You can use mod podge but if it’s too thick just water it down a little bit. It will help the napkins from tearing.
3. Smooth out the design
I use plastic wrap to smooth out the napkins without tearing them. This will help to minimize the wrinkles.
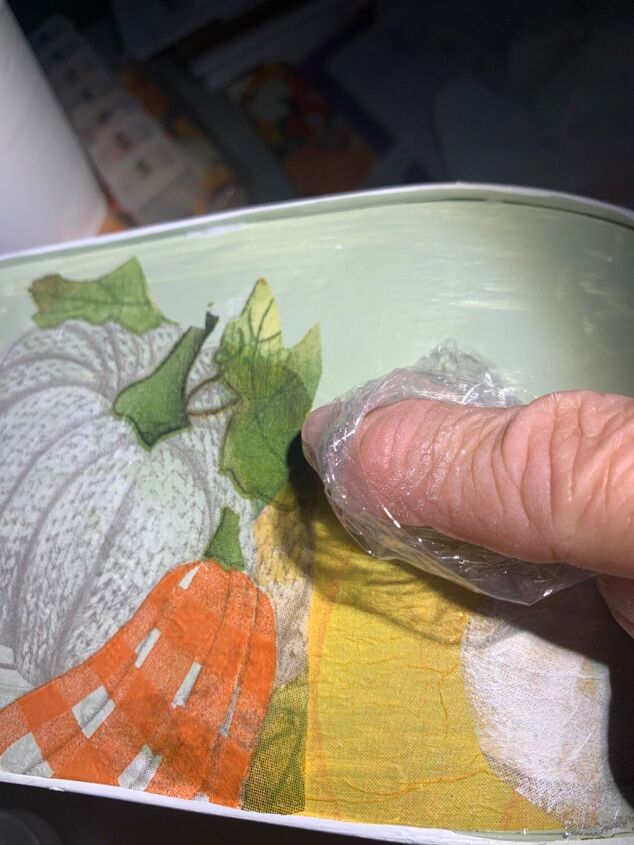
I’ll put a little bit of plastic wrap around my finger to smooth out those stubborn wrinkles. Just be careful not to tear the napkin. I usually press down without too much back-and-forth motion.
4. Fill the gaps & seal
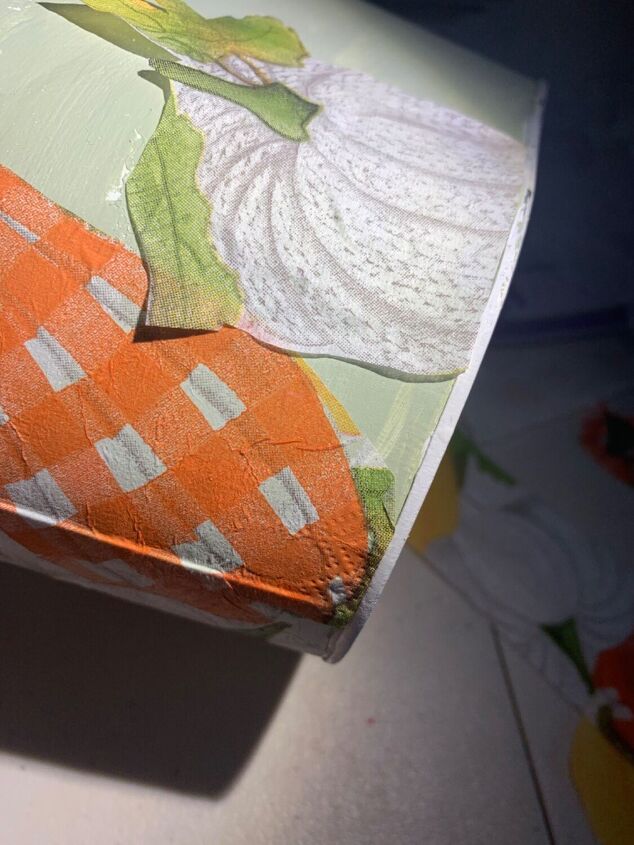
I cut all the pumpkins to have straight edge pieces on the bottom. Here you can see a little gap between the two pumpkins.
I fill the gap with a little piece of green leaves from the napkin. I really enjoyed working on this. After everything dried I covered the entire project with Polycrylic. This will seal in not only the napkins but also the chalk paint. Let it dry completely before moving on.

5. Dry brush with white paint
Now I want to use a little bit of white paint to dry brush the next step. I used an old chippy brush. First, I load the paintbrush with a little bit of paint and then offloaded it onto a paper plate to make it very dry.
I want just a hint of white brush strokes to give the piece dimension. I went over both the napkins and the green chalk paint.
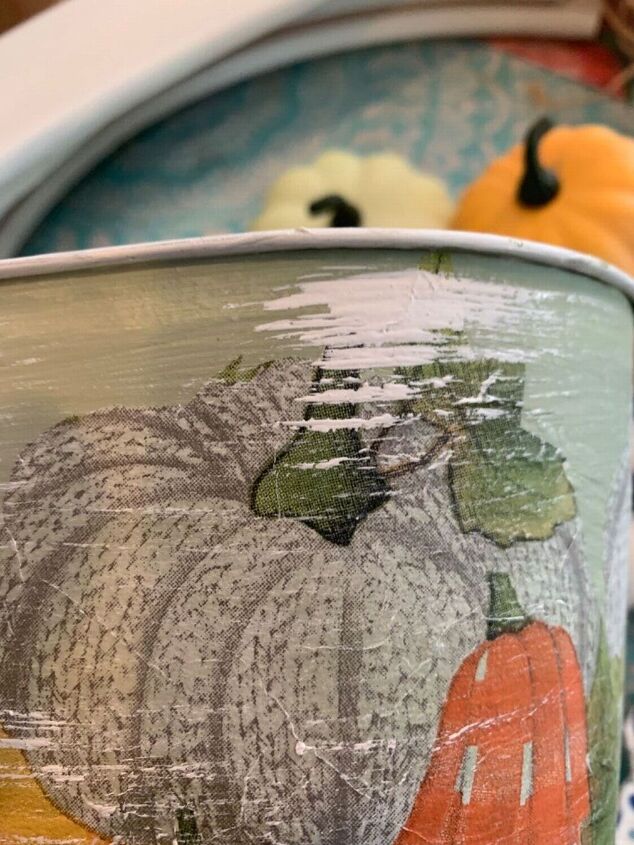
Oh no! It went on too thick in this one spot.
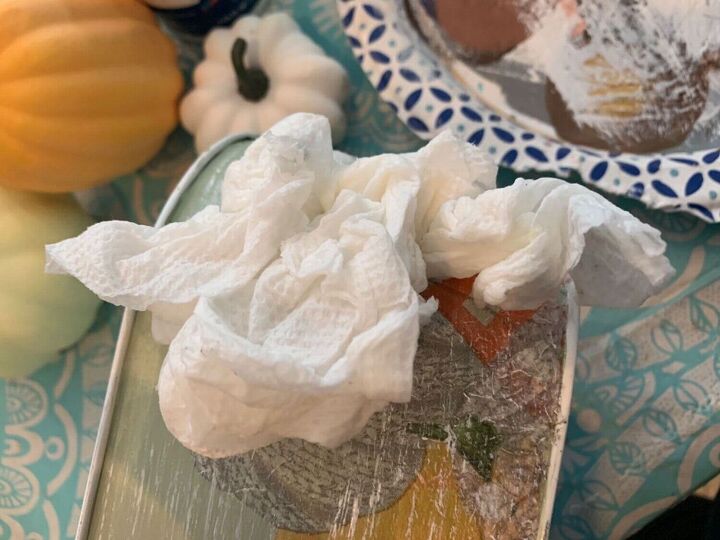
So I just use a very slightly damp paper towel to quickly wipe it off. This is possible because I laid down the polyacrylic sealer first. Chalk paint can be reactivated with moisture. The sealer protects that from happening.
See how much better that one spot looks now?
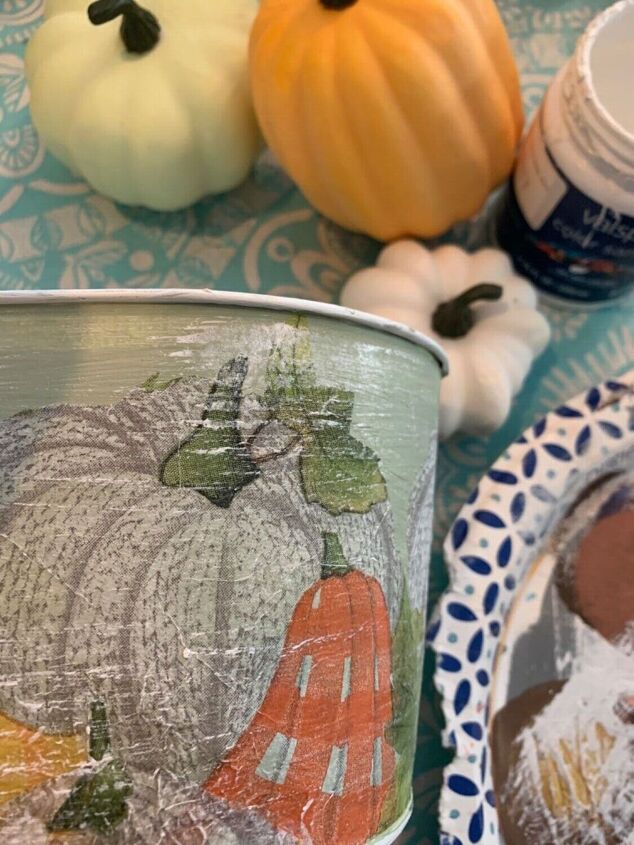
6. Seal
And here is how it looks. Just need to give it another coat of polycrylic.
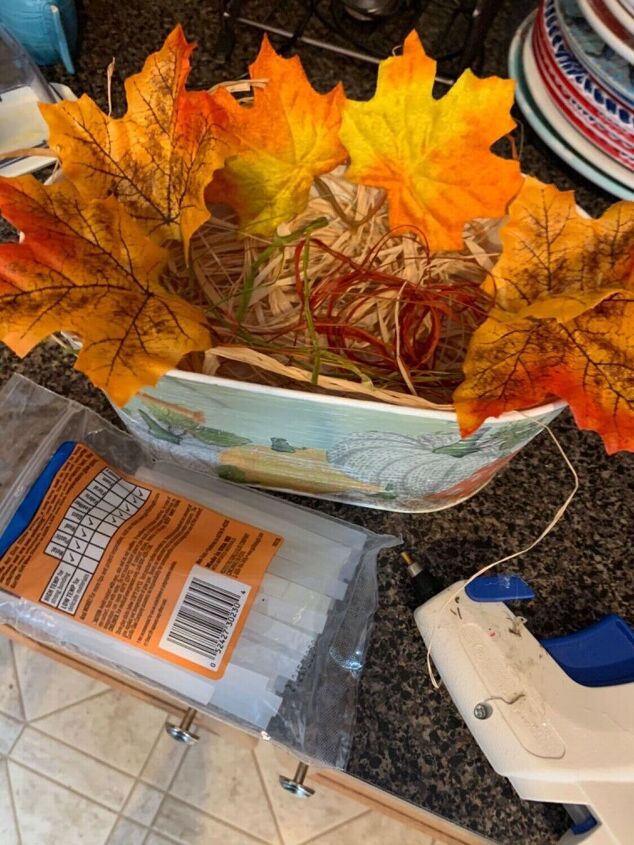
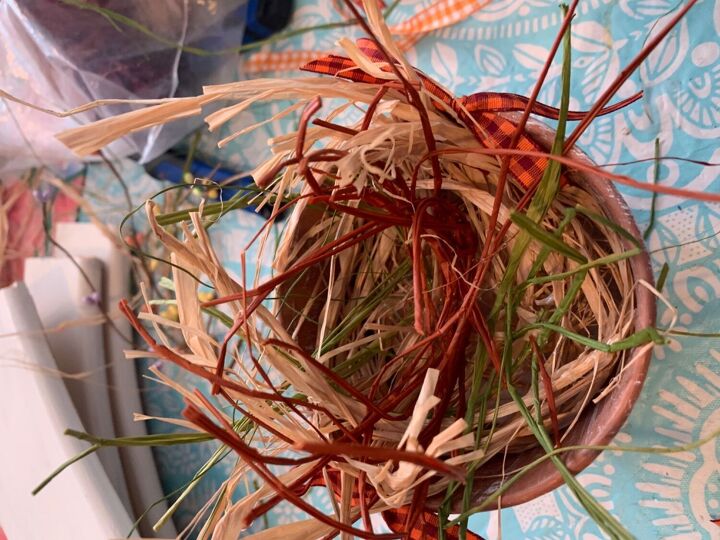
7. Fill the buckets
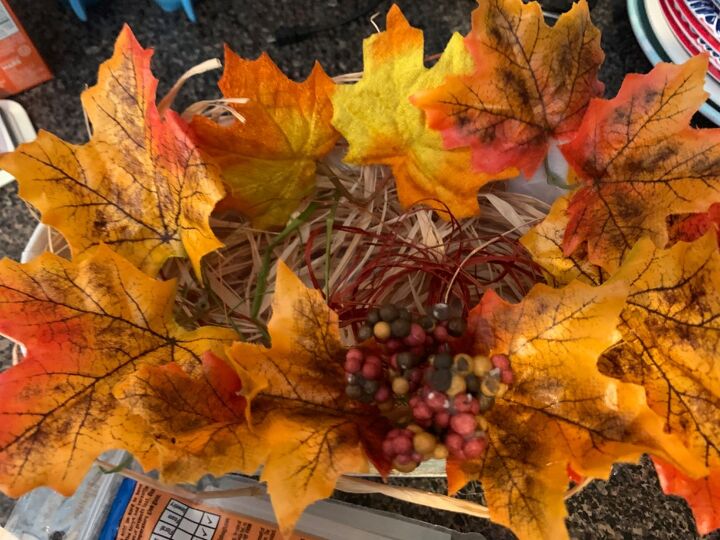
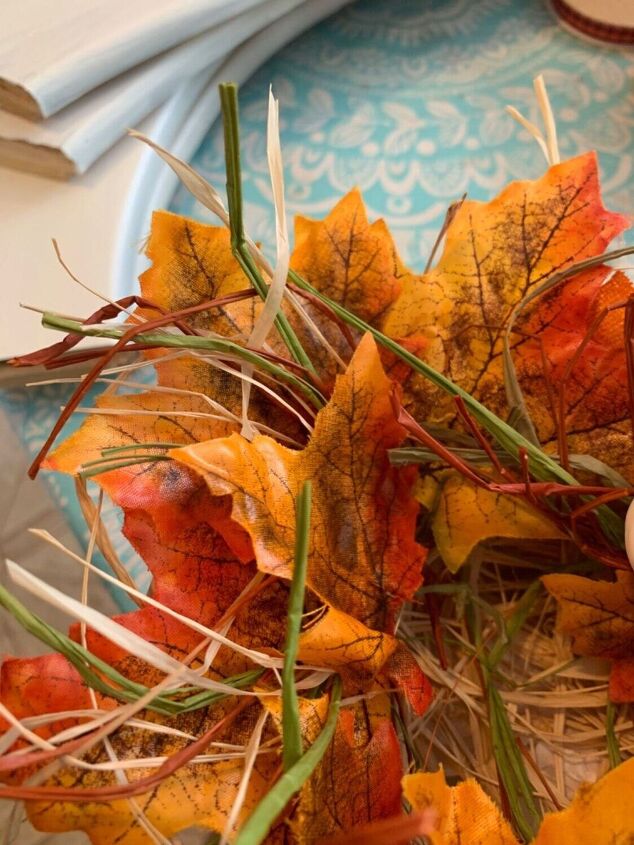
I laid a bed of raffia on the bottom and added fall leaves. I hot-glued the leaves onto the raffia to keep them in place.
I think it looks really nice but I want to see more raffia poking out.
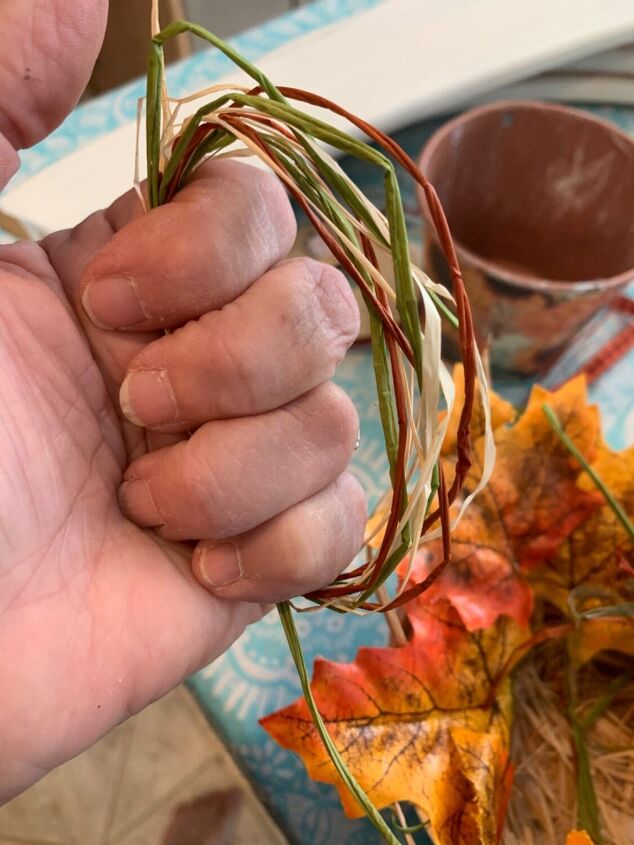
So I wrapped three different colors of raffia around my hand and then cut one end. I took the U-shaped raffia and hot glued them here and there.
Doesn’t it look nice!
Here is a good look at it before I added the pumpkins.
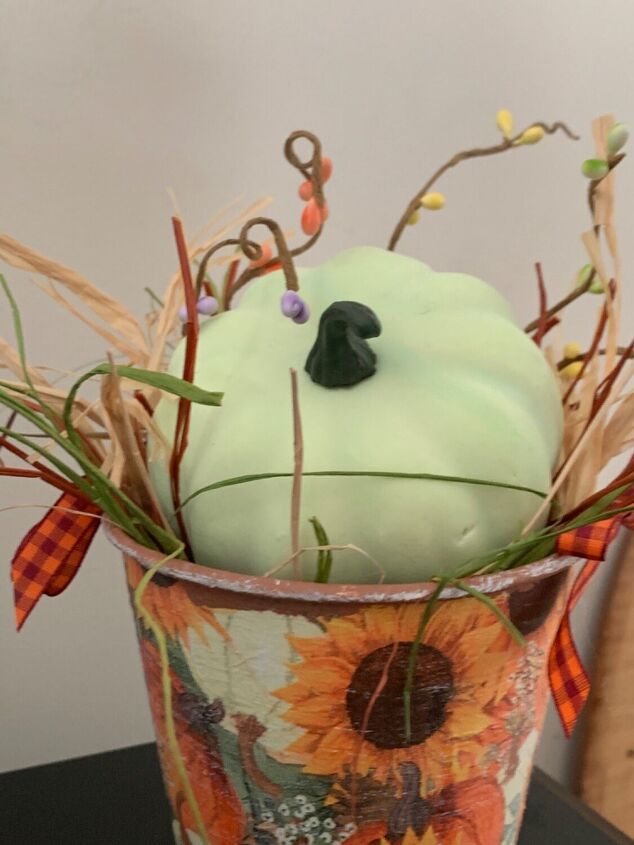
Let’s not forget the other little bucket. I used a different napkin with pumpkins and sunflowers to decoupage the entire bucket.
I added raffia and fall leaves just like the other bucket.
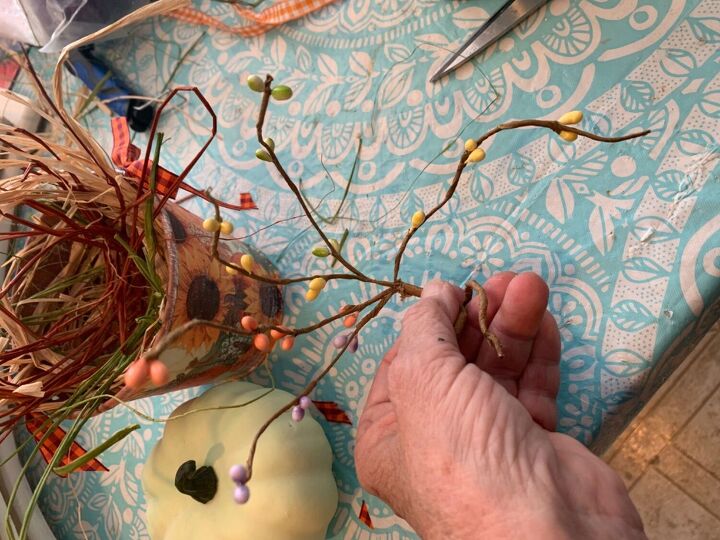
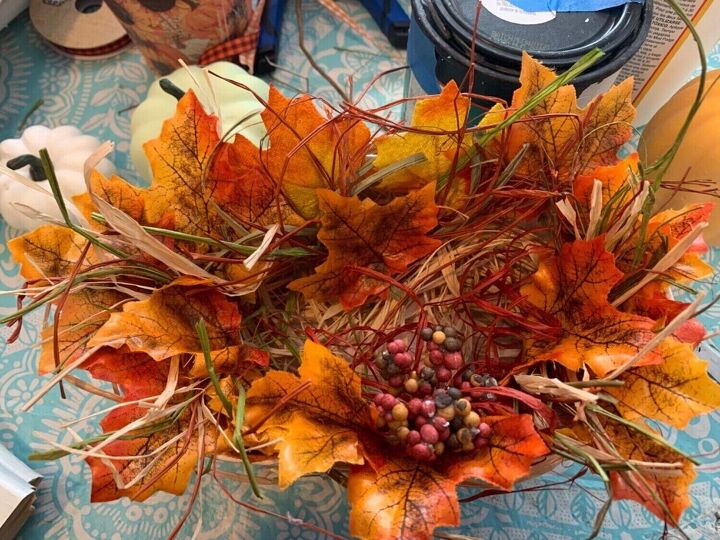
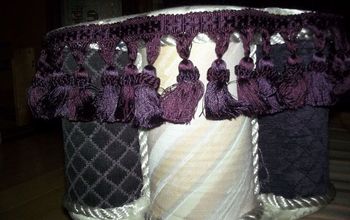
And this one I also added a little bit of beaded twigs. I didn’t like how the white paint looked on the rim so I painted it with a matching brown.
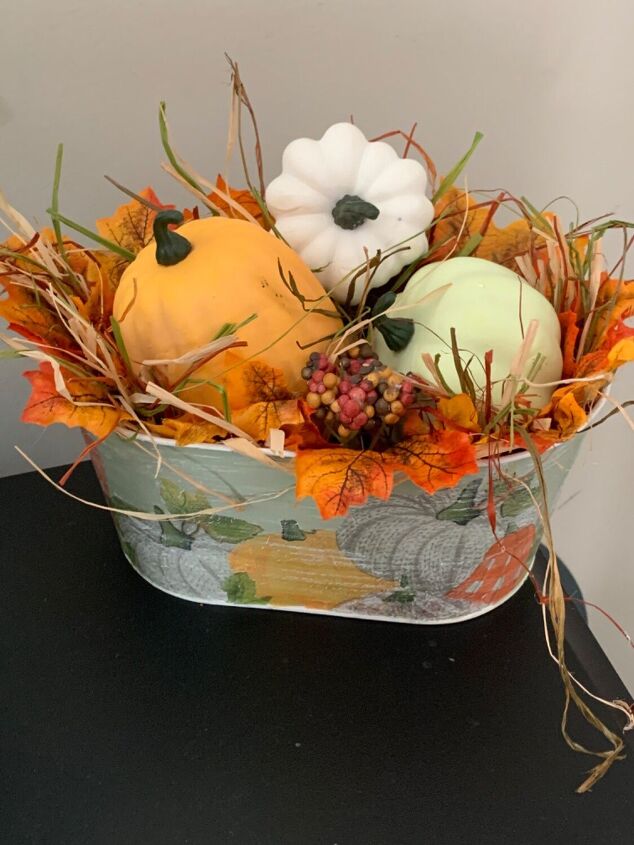
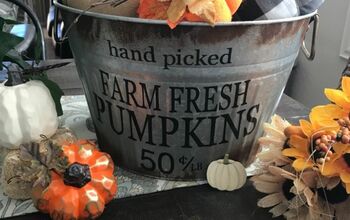
Now it’s time to add the pumpkins and look at the finished piece.
Since this smaller bucket had holes on the side I added some pretty ribbon too.
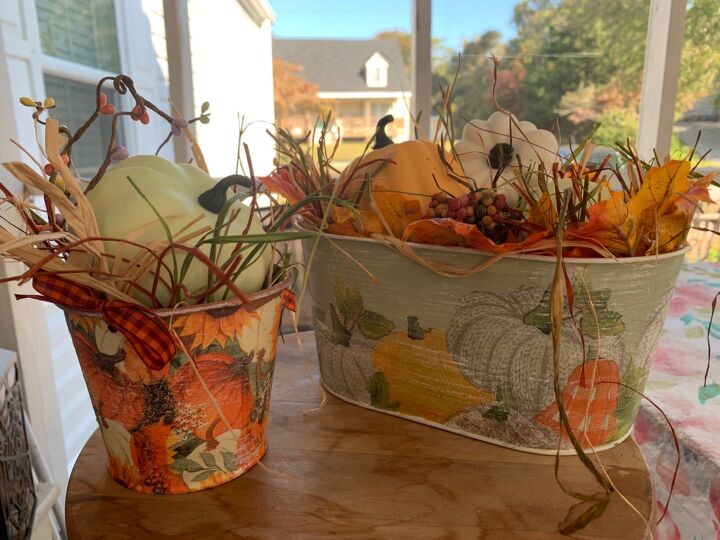
DIY pumpkin buckets
I hope you liked this project. I’m sure you could use any size bucket and pumpkins to come up with a similar display that would look so pretty in your home. Enjoy!
DIY fall crafts
Resources for this project:
See all materials


Comments
Join the conversation
-
Super cute! Also, looks fun to make.
-
I love this! 💖💕


Frequently asked questions
Have a question about this project?