


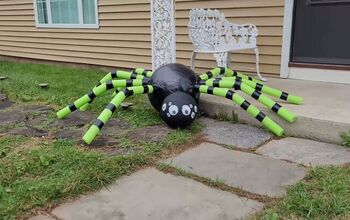
DIY Spider Yard Decor

With spooky season upon us, I naturally am decorating my house. While cleaning out my garage I found some PVC pipe laying around that I had no use for, and decided to make a piece of yard decor with it, while keeping the spooky theme alive!
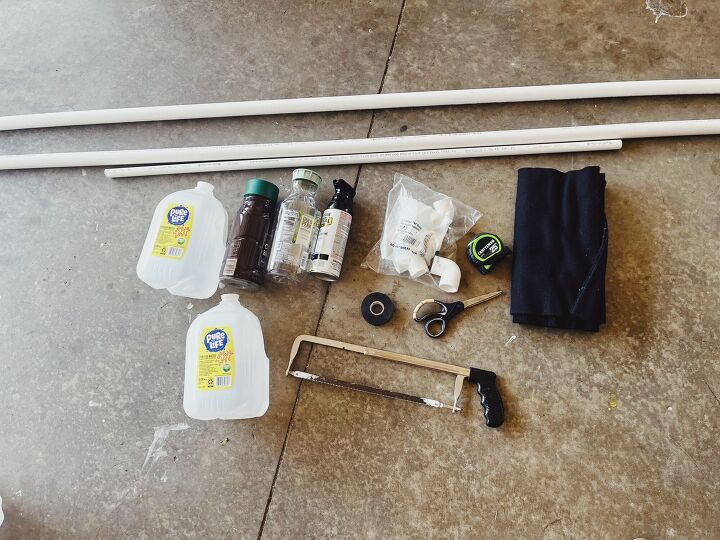
Materials Needed -
*this photo was taken before I started, so not everything is pictured* It’s rather hard to put it all out before you start a project that you might not know exactly what you need until you’re making it.
PVC Pipe - (2) 1inch x 10ft
3/4inch roughly 2ft (I just had scraps left from this size)
8 - PVC elbows - 1 inch
Empty water jug or something similar
Electrical tape - I used 2 full rolls
Hand saw
Measuring tape
Marker
Felt cloth
Black spray paint
Liquid nails
Scrap card board
Googley eyes
Garbage bag
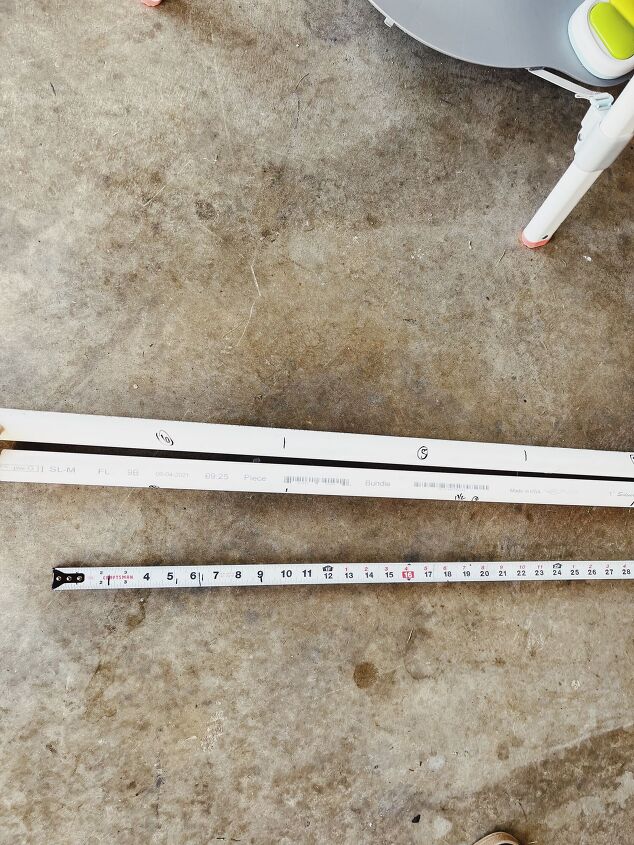
Step One - Get measurements for ‘legs’
I had 2 10ft long pieces of pipe. I divided 20 by 8 = 2.5. This is how much length I knew I would have to yield 8 legs. I then decided I was going to make each leg as so - 1ft + 1.5ft, connected together.
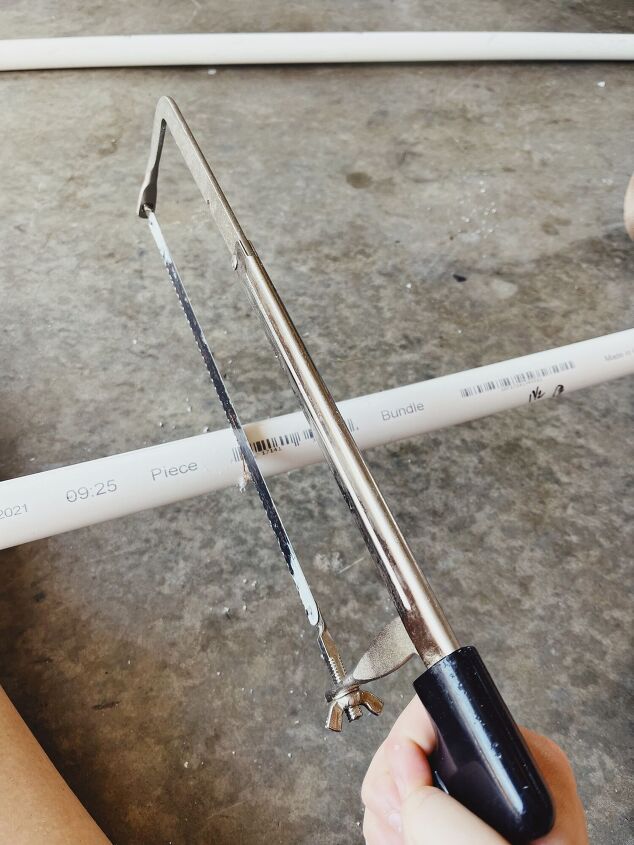
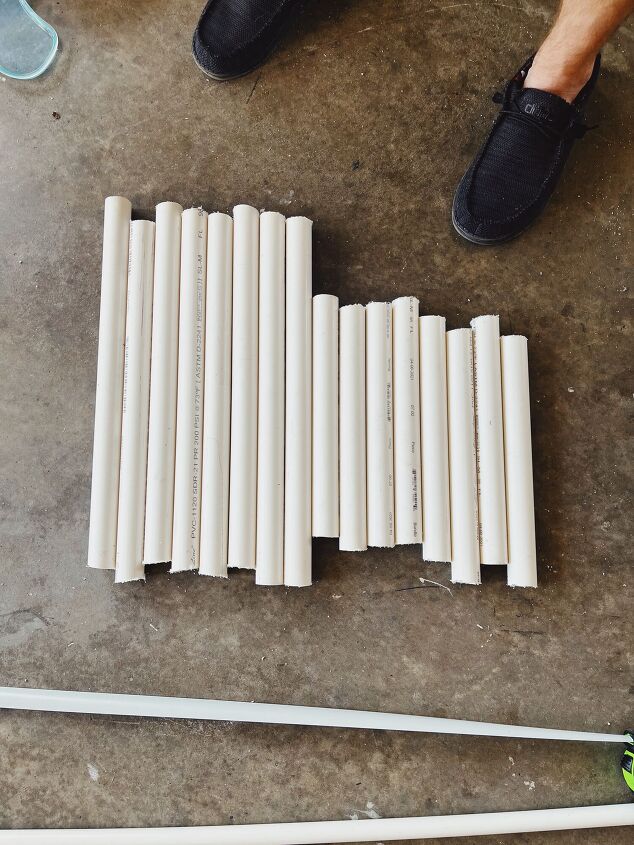
Step Two - Cut Pipe
With those measurements I marked off on each pipe 8 1ft sections and 8 1.5ft sections. My husband cut the pipe using a hand saw - it cuts very easily.
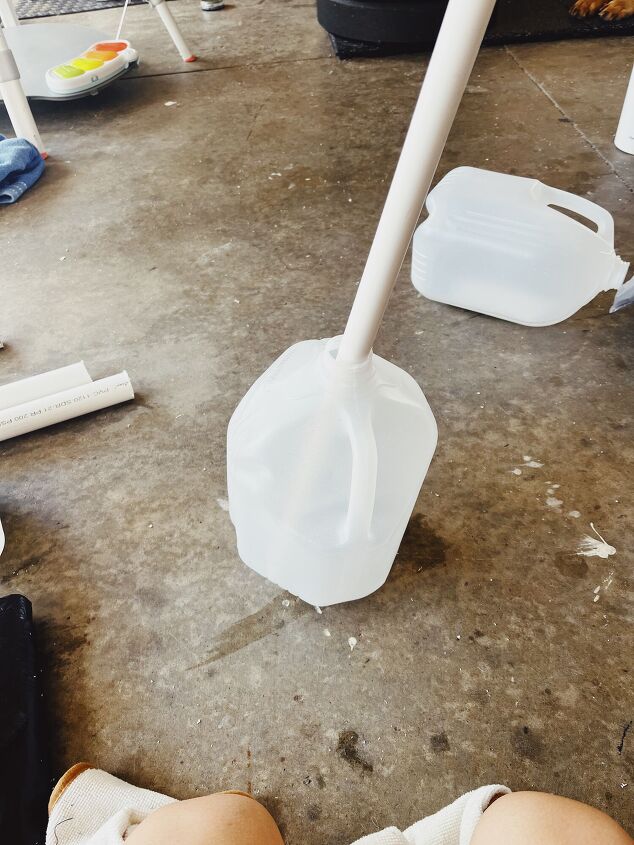
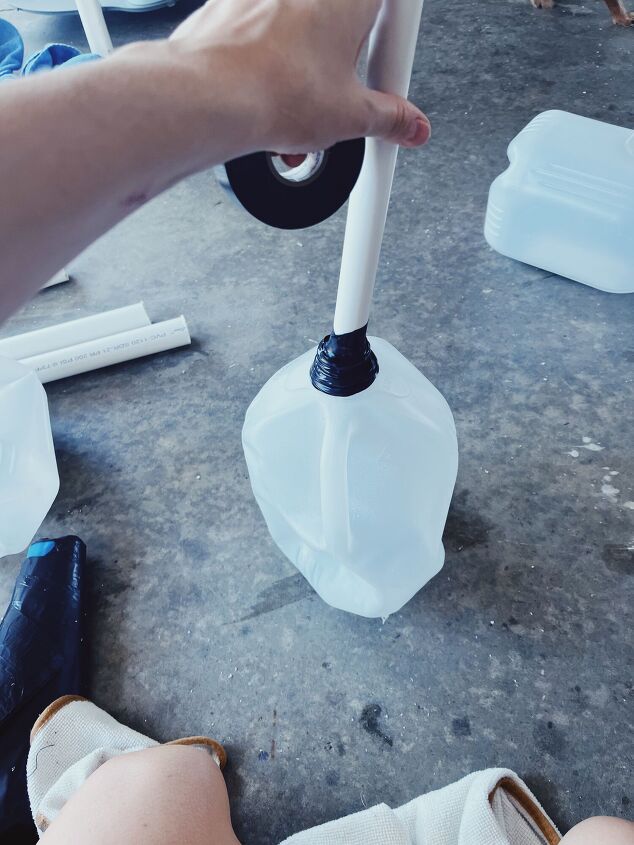
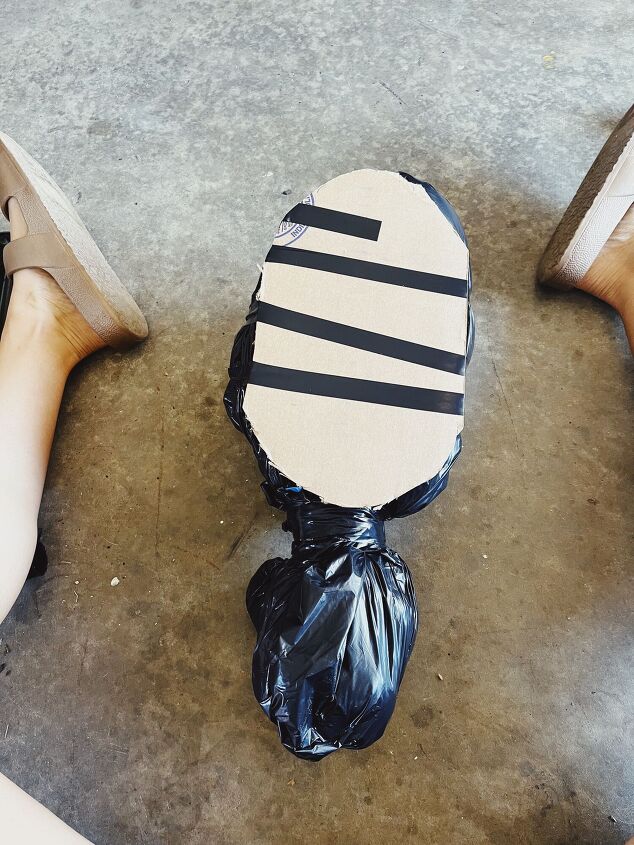
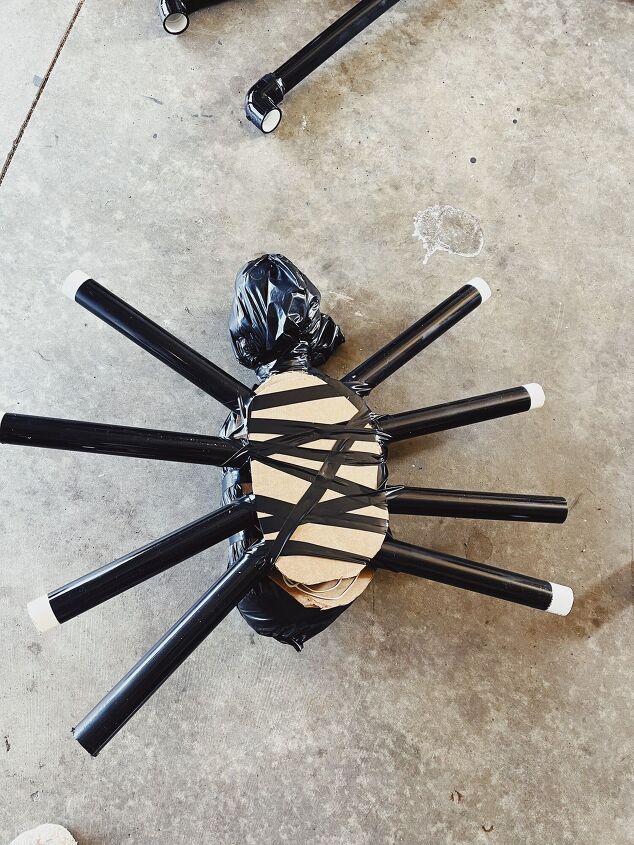
Step Three - Make Spider Body
To make the spider body I was originally going to just use the jug and paint it. Well that wasn’t looking so good, so with some playing around this is what I ended up doing.
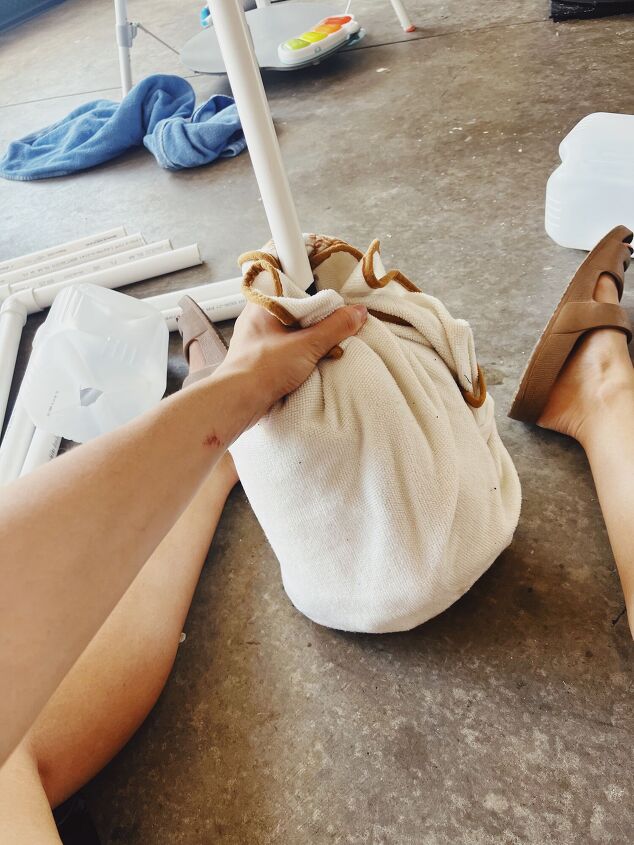
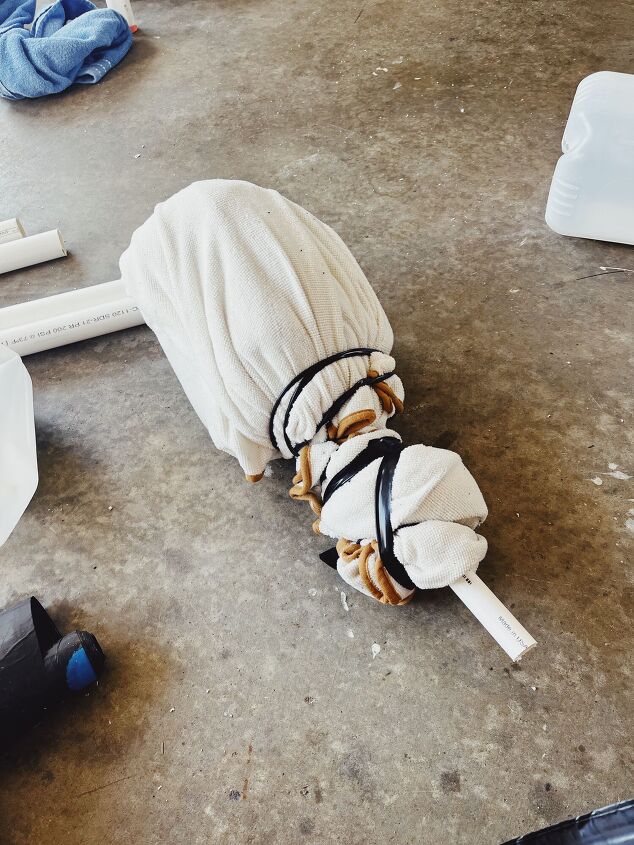
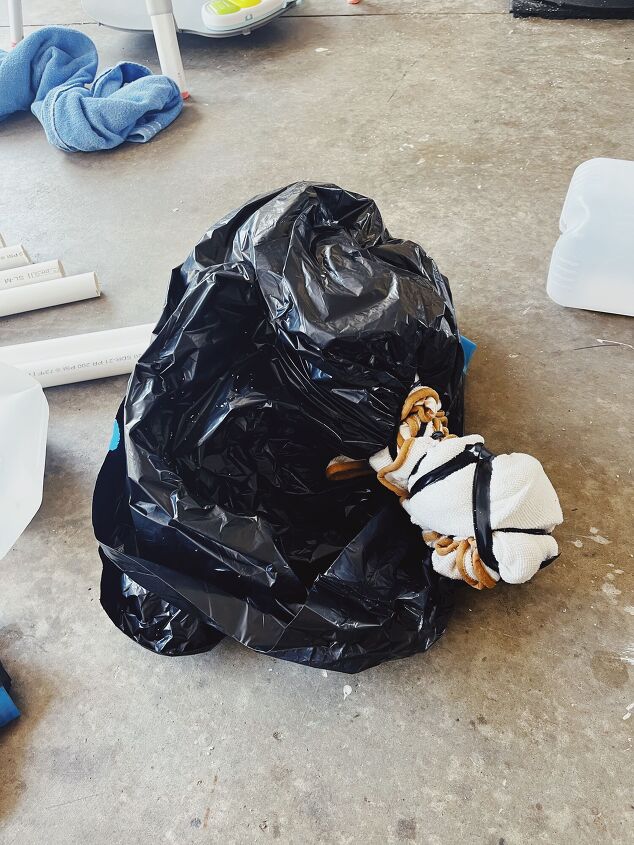
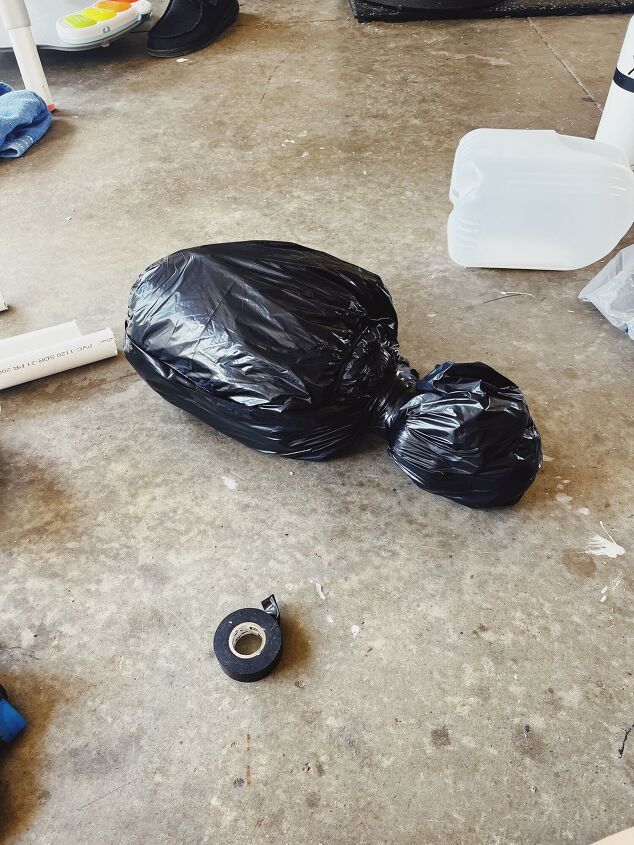
Attached water jug to smaller size pipe with electrical tape. I then took an old towel and wrapped that around to give it some size. I did this with you guessed it, electrical tape. I then took a black garbage bag and wrapped that around the towel.


Step Four - Paint legs
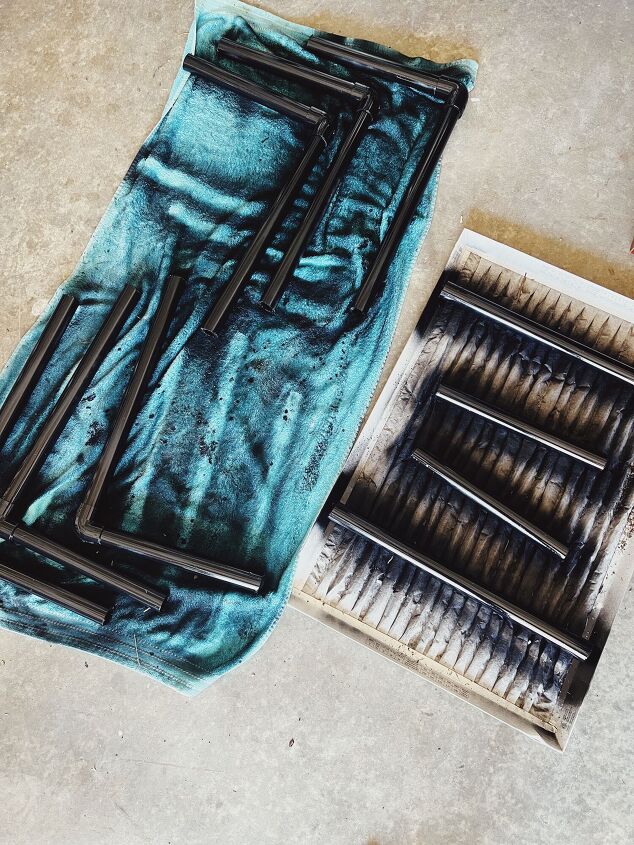
I grabbed some spray paint and gave the cut legs and elbow pieces a good coat.
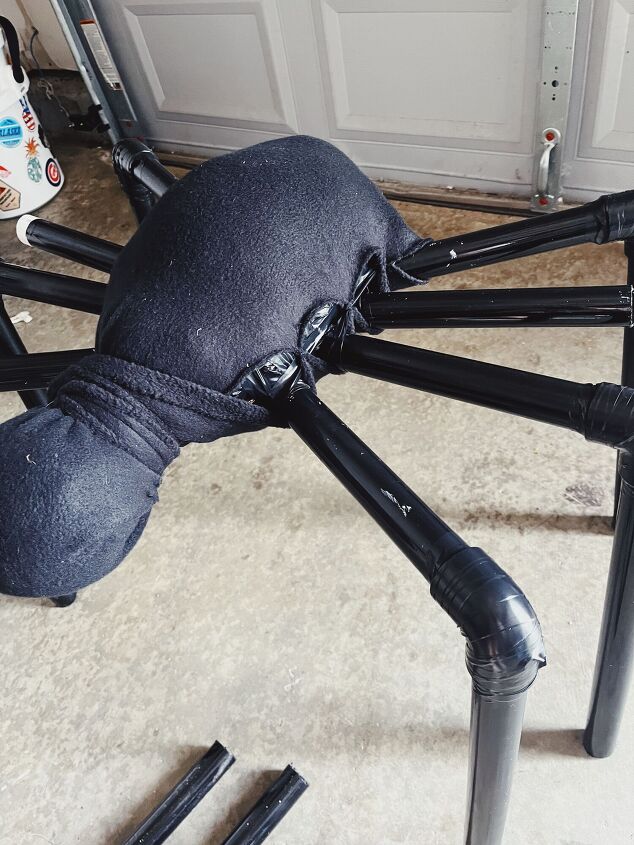
Step Five - Attach legs to body
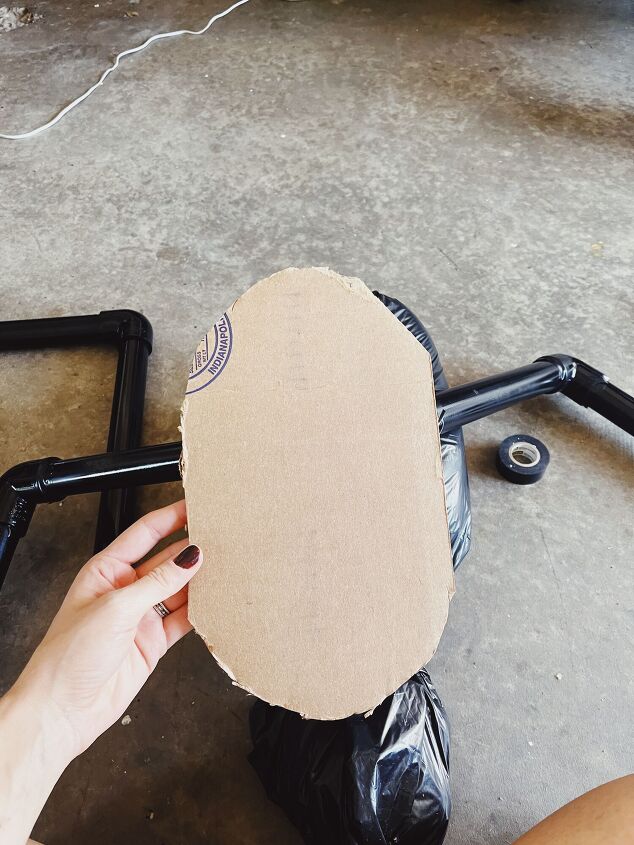
Now this is where it got tricky. I had a heck of a time getting the pipes connected to the body piece I made. I had thought about buying some more pvc pipe and getting more connector pieces and connecting it that way. Well, if you have read any of my other posts - I typically like to do and complete projects with things that I have on hand in order to save money. I was determined to do this project while spending as little as possible. I cut a piece of cardboard I had lying around and taped it to the body. This gave me something a bit more sturdy to attach the legs to.
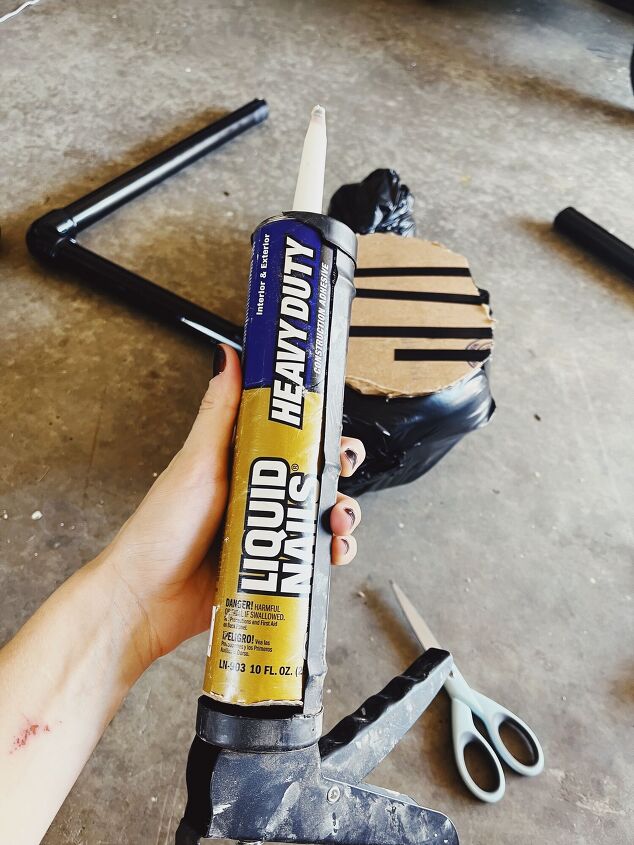
I then grabbed some liquid nails. I put that all over the cardboard piece and laid it down on the pipe.
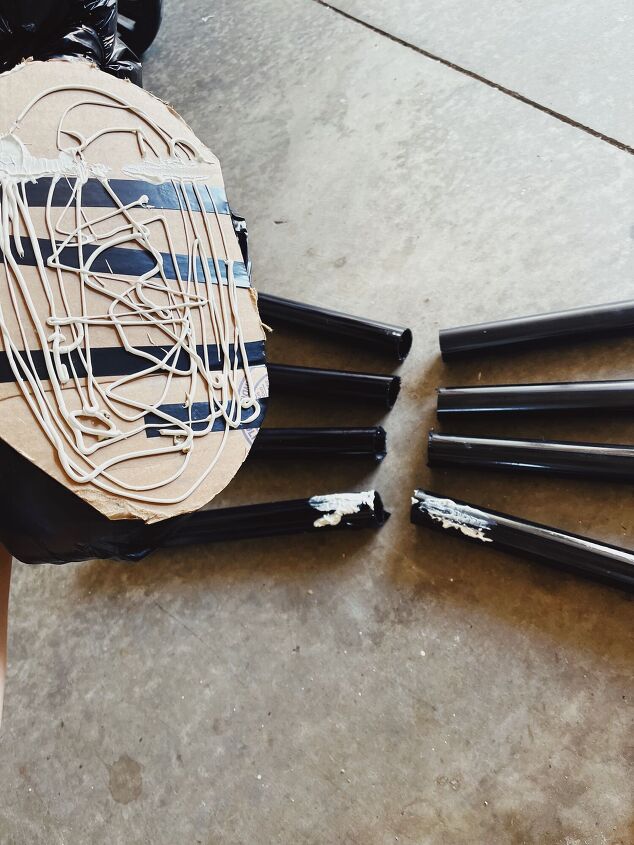
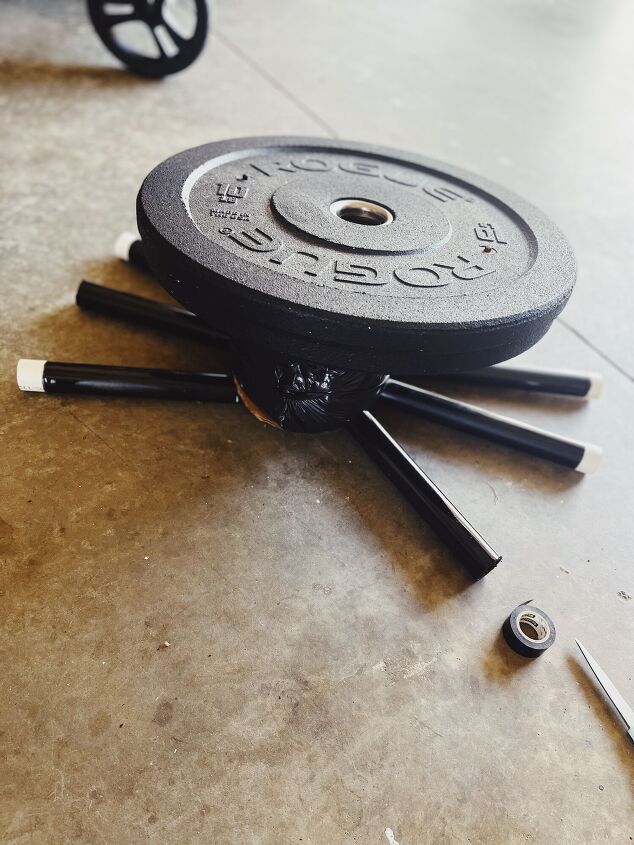
I put some weight on it and left it for a while. I ended up having to put more liquid nail on and allowing it a full day or so to dry.
I also added a piece of cardboard to the bottom of the pipes.
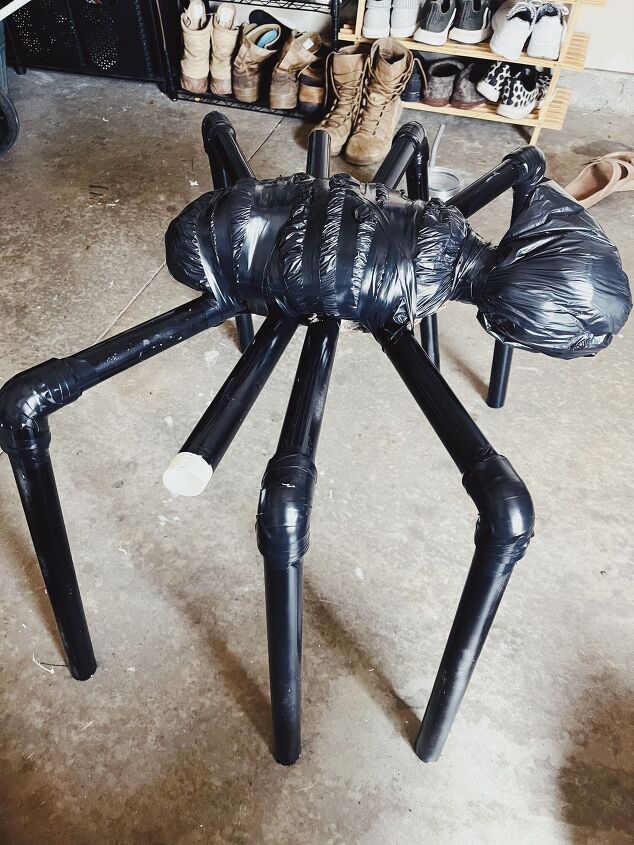
Step Six - Put together
Finally after a day or so of letting the liquid nails dry I was able to attach the bottom part of the legs. Well to my surprise - I only purchased 6 of the 90 degree connectors. After another trip to Lowe's to grab 2 more, it was looking more like a spider!
I went to town with electrical tape to make sure the legs were real secure.
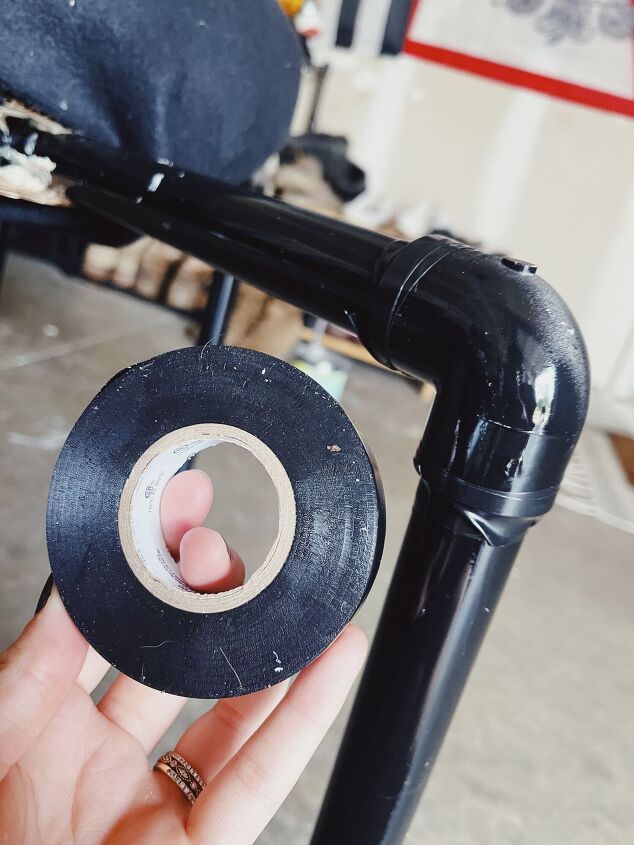
I also wrapped the pieces of pipe where the connector piece was with electrical tape to make sure they wouldn’t come apart
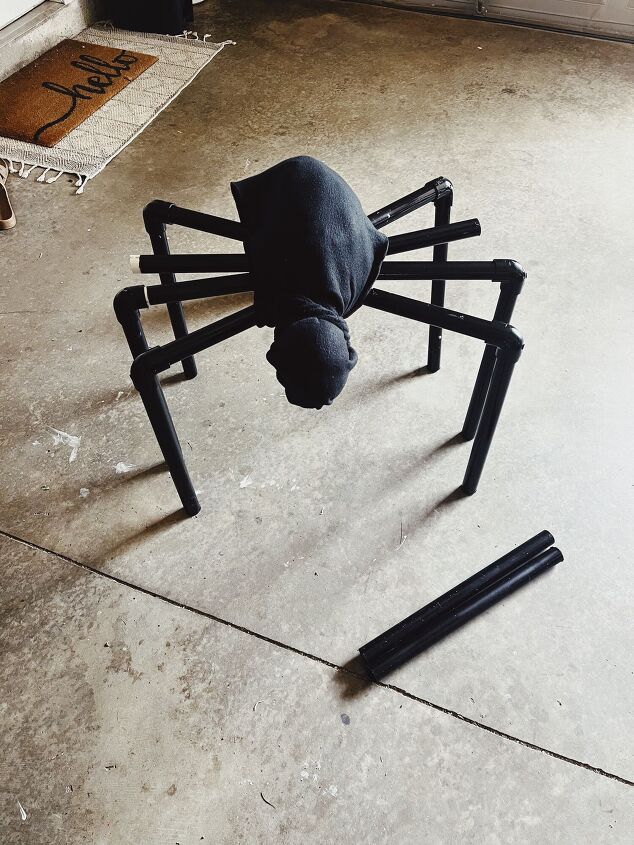
I wasn’t loving the way just the garbage bag was looking - I had to cover up the cardboard and tape anyway so I just grabbed some extra felt fabric I had laying around and sewed that around the body.
I grabbed some thread and sewed the fabric together to give it a more finished look.
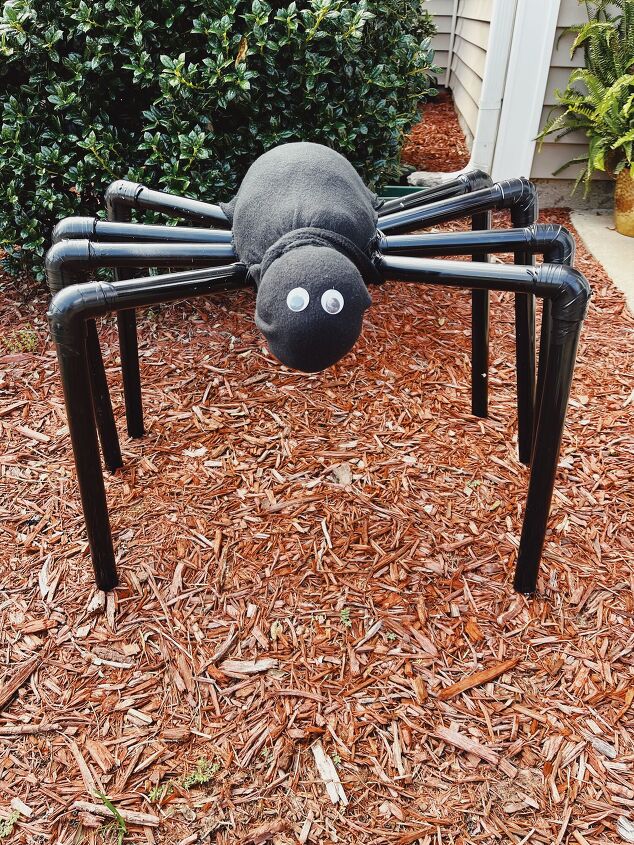
Step Seven - Add eyes
After setting the spider in my yard I decided it needed some eyes, so I glued some goggley eyes on and that’s it! A fun yard decor spider. This isn't perfect - that was never the intention but for the cost of only having to buy the connector pieces - I'm happy with how it turned out!
The cost of the project will greatly differ from person to person. The cost listed is what it cost me to make.
DIY Halloween Decor
Resources for this project:
See all materials


Comments
Join the conversation
-
You did a great job!
-
Looks like a giant Cootie! Lol


Frequently asked questions
Have a question about this project?
Good job, thank you for sharing! Not sure how heavy your spider is but do you think 4 tent stakes attached to the bottom of the legs with electrical tape would be enough to hold it down in case of wind??